Bringing your own creative ideas to life on fabric is easier than ever with transfer paper. Whether you want to personalize t-shirts, tote bags, or home décor, this simple technique allows you to apply vibrant, professional-looking images and text to a wide range of textiles. Understanding how to use transfer paper for fabric designs is the first step to unlocking a world of DIY customization from the comfort of your home.
Transfer paper acts as a medium between your chosen design and the fabric. By following a few straightforward steps, you can achieve crisp, long-lasting prints without the need for specialized equipment. This guide covers the essentials, from choosing the right materials to troubleshooting common issues, so you can confidently start your own fabric printing projects.
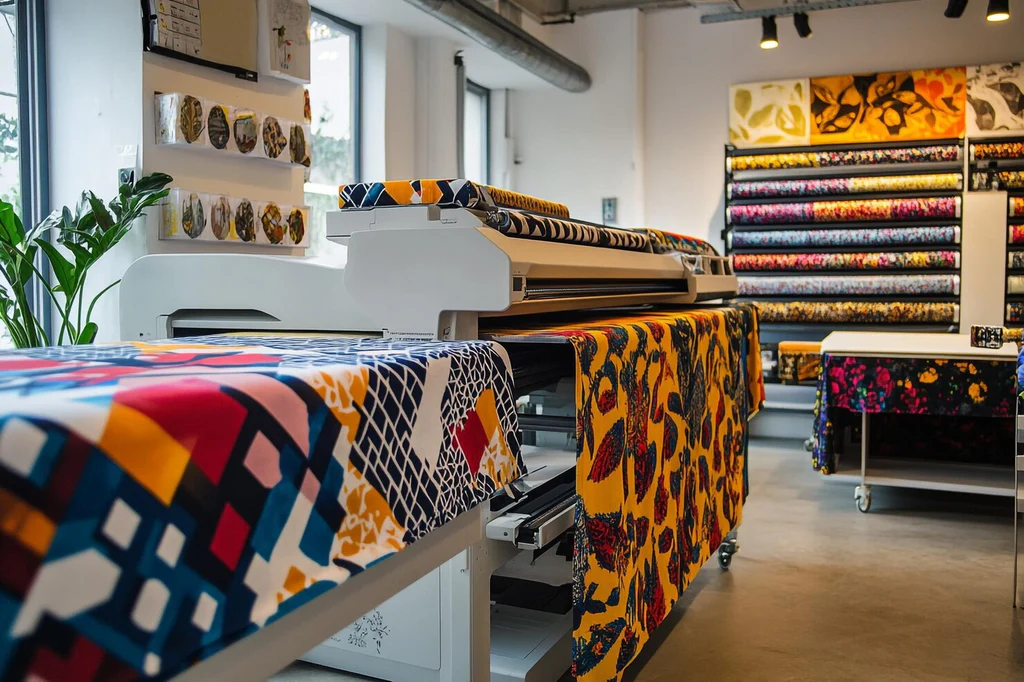
If you’re interested in expanding your skills or setting up a dedicated workspace, you might find inspiration in how to set up a small scale fashion printing studio, which explores practical tips for home-based fabric printing enthusiasts.
Understanding Transfer Paper for Textile Projects
Transfer paper is a specially coated sheet that allows you to move images, graphics, or text onto fabric surfaces using heat. There are two main types: inkjet transfer paper and laser transfer paper, each designed for use with specific printers. The process is straightforward: print your design onto the transfer paper, position it on your fabric, and apply heat (usually with a household iron or heat press) to transfer the image.
One of the main advantages of this method is its accessibility. You don’t need industrial machinery or advanced skills to get started. With a few household tools and some creativity, you can produce custom garments, accessories, and décor items that reflect your personal style.
Choosing the Right Materials for Fabric Transfers
Before you begin, gather the necessary materials to ensure the best results:
- Transfer paper compatible with your printer (inkjet or laser)
- A printer with high-quality ink or toner
- Plain, light-colored cotton or cotton-blend fabric (dark fabric requires special transfer paper)
- Scissors for trimming your design
- A household iron or a heat press
- A hard, heat-resistant surface for ironing
- Parchment paper (sometimes included with transfer paper)
It’s important to match your transfer paper to both your printer type and your fabric. For example, inkjet transfer paper is not suitable for laser printers, and vice versa. Similarly, using paper designed for light fabrics on dark materials will result in poor visibility and durability.
Step-by-Step Instructions: Applying Your Design
Follow these steps to achieve the best results with your custom fabric projects:
- Create or select your design. Use graphic design software or choose an image you want to transfer. Remember to mirror (flip horizontally) your design before printing, especially if it contains text, as the transfer process reverses the image.
- Print on the correct side. Load the transfer paper into your printer, ensuring you print on the coated side. Use the highest quality print settings for vibrant results.
- Trim the excess paper. Cut around your design, leaving a small border if desired. This reduces the amount of unprinted film transferred to the fabric.
- Prepare your fabric. Lay the fabric flat on a hard, heat-resistant surface. Smooth out wrinkles and pre-iron if necessary to ensure an even transfer.
- Position and transfer. Place the printed transfer paper face down (design side against the fabric) for light fabric paper, or face up for dark fabric paper (following manufacturer instructions). Cover with parchment paper if required.
- Apply heat. Use a hot, dry iron (no steam) or a heat press. Apply firm, even pressure for the recommended time (usually 60–90 seconds for an iron). Move the iron slowly to cover the entire design.
- Peel and reveal. Allow the transfer to cool for a few seconds, then carefully peel away the backing paper. Some papers require a hot peel, while others work best when cool—always check the instructions.
With these steps, you can create personalized t-shirts, bags, pillowcases, and more, all from home.
Tips for Achieving Professional Results with Transfer Paper
To enhance the quality and longevity of your fabric designs, consider these helpful tips:
- Pre-wash your fabric to remove sizing and reduce shrinkage after printing.
- Use high-resolution images for crisp, detailed transfers.
- Test on a scrap piece of fabric before applying to your final item.
- Apply even pressure and consistent heat for a uniform transfer.
- Follow care instructions—typically, wash inside out in cold water and avoid harsh detergents or bleach.
Experimenting with different fabrics and designs can help you master the process and discover new creative possibilities. For those interested in the broader impact of digital textile printing, the article on how digital textile printing is revolutionizing fabric production offers valuable insights into industry trends and innovations.
Common Mistakes and How to Avoid Them
Even with careful preparation, mistakes can happen. Here are some frequent issues and solutions:
- Design not transferring fully: Check that you used enough heat and pressure. Ensure your iron or press covers the entire design area.
- Image appears faded: Increase print quality settings and make sure you’re using the correct side of the transfer paper.
- Edges peeling after washing: Allow the transfer to cool completely before removing the backing, and follow garment care instructions closely.
- Paper sticking to fabric: Let the transfer cool if required, or peel while hot if the instructions specify. Using the wrong peeling method can cause sticking.
By understanding these pitfalls and how to address them, you can improve your results and enjoy longer-lasting custom prints.
Expanding Your Fabric Printing Skills
Once you’re comfortable with basic transfers, you might want to explore more advanced techniques or materials. For example, experimenting with specialty transfer papers for dark fabrics, glitter effects, or stretch materials can open up new creative avenues. If you’re curious about how digital printing intersects with fashion trends, the article on how to use digital printing for fashion trend forecasting provides a deeper look at the role of technology in modern textile design.
Additionally, learning about the future of smart textiles and advanced printing can inspire you to think beyond traditional fabric projects and consider integrating technology into your creations.
Frequently Asked Questions
What types of fabric work best with transfer paper?
Most transfer papers are designed for use with cotton or cotton-blend fabrics. Light-colored materials work best with standard transfer paper, while dark fabrics require a special type. Always check the manufacturer’s recommendations for compatibility.
Can I use transfer paper with any printer?
No, transfer papers are typically formulated for either inkjet or laser printers. Using the wrong type can result in poor transfers or damage to your printer. Always match your paper to your printer type.
How do I care for fabric with a transferred design?
To preserve your custom design, wash the item inside out in cold water and use mild detergent. Avoid bleach and high-heat drying. Air drying or tumble drying on low helps extend the life of the transfer.
Conclusion
Learning how to use transfer paper for fabric designs empowers you to create unique, personalized textiles with minimal investment and effort. By selecting the right materials, following proven techniques, and avoiding common mistakes, you can achieve professional-quality results at home. As you gain confidence, consider exploring new materials, advanced transfer papers, or even setting up a dedicated workspace to further expand your creative possibilities.