Choosing the right mesh for screen printing is a crucial step that directly affects the quality and outcome of your prints. With so many variables—such as mesh count, material, ink compatibility, and design complexity—making an informed decision can feel overwhelming. Understanding these factors will help you select the most suitable mesh for your specific project, ensuring sharp details, proper ink flow, and consistent results. This guide will break down the essential considerations and provide practical advice for anyone looking to optimize their screen printing process.
Introduction to Screen Printing Mesh
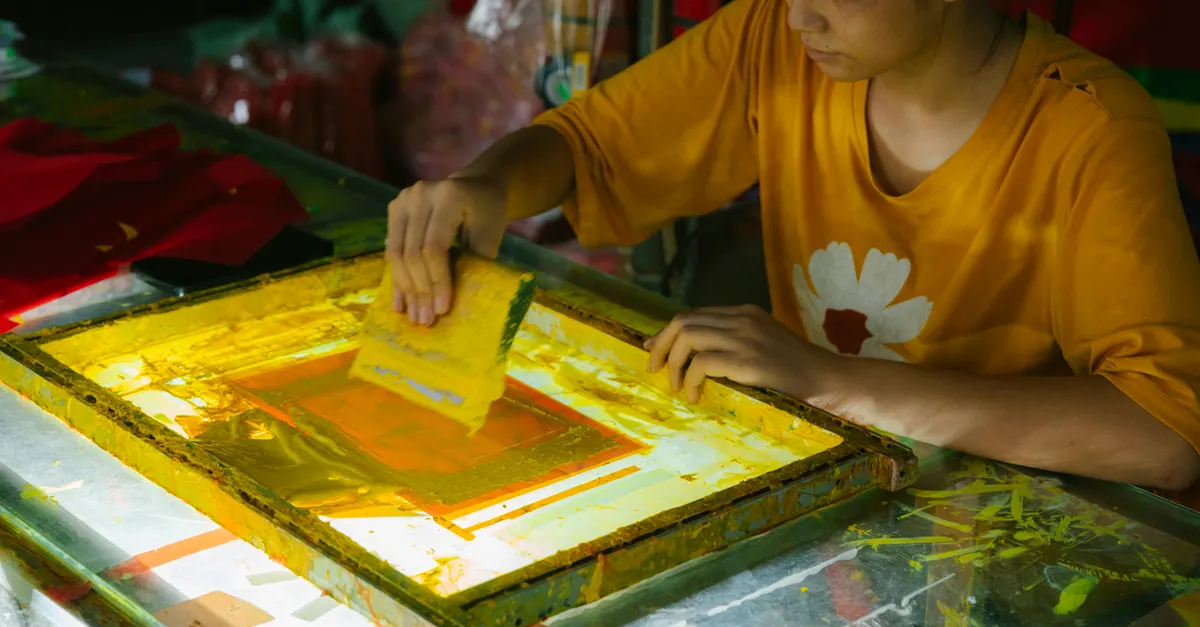
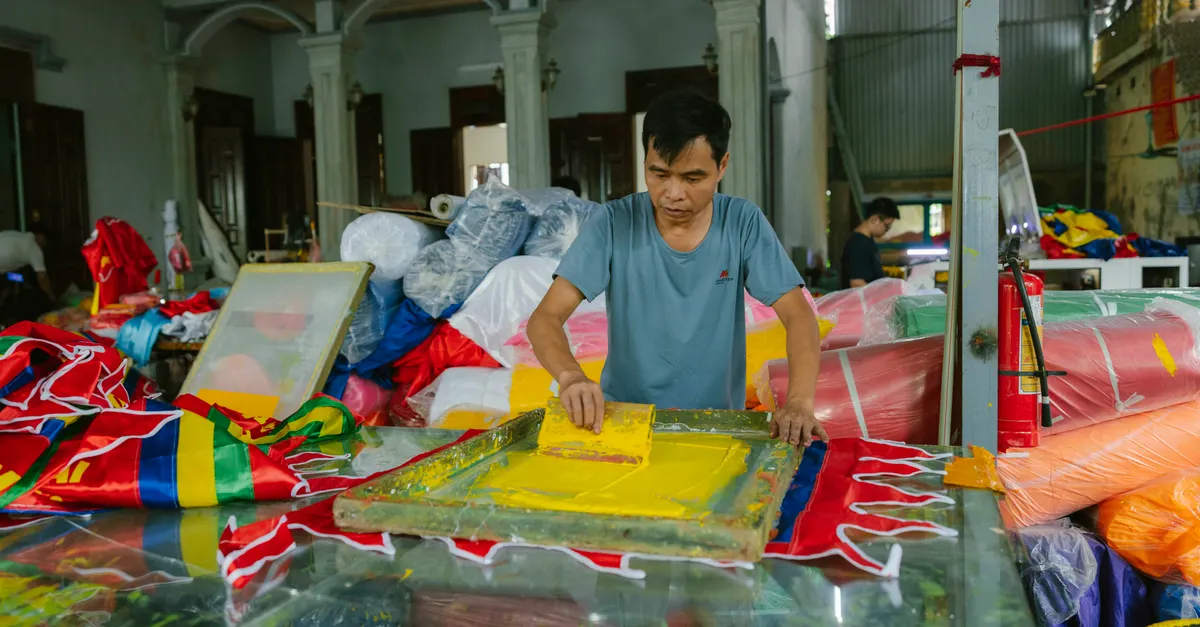
At the heart of every successful screen printing project lies the mesh stretched across the frame. This mesh acts as the stencil through which ink is transferred onto the substrate, whether it’s fabric, paper, or another material. The choice of mesh is not just a technical detail—it’s a foundational decision that influences everything from print clarity to ink coverage and durability.
Making the right selection means understanding what mesh is, how it functions, and why its characteristics matter. The wrong mesh can lead to issues like blurry details, excessive ink deposit, or even screen damage. By learning the basics, you lay the groundwork for consistently high-quality prints.
Understanding Mesh Count and Its Impact
One of the most important factors in how to choose screen printing mesh is mesh count. Mesh count refers to the number of threads per inch (TPI) running both horizontally and vertically in the mesh. For example, a 110 mesh has 110 threads per inch. This number directly affects how much ink passes through the screen and the level of detail you can achieve.
Lower mesh counts (e.g., 86–110 TPI) have larger openings, allowing more ink to pass through. These are ideal for bold designs, heavy ink coverage, and printing on absorbent materials like textiles. Conversely, higher mesh counts (e.g., 230–305 TPI) have finer openings, which restrict ink flow but enable crisp, detailed prints—making them perfect for intricate graphics, halftones, and fine text.
For example, if you’re printing a large, solid logo on a cotton t-shirt, a 110 mesh will lay down a thick, opaque layer of ink. If your design includes delicate lines or photographic elements, a 230 mesh or higher will help preserve those details without flooding the fabric.
To dive deeper into mesh sizing and its practical applications, you might find the screen printing mesh sizes explained resource helpful.
The Role of Mesh Geometry in Print Quality
While mesh count is widely discussed, the geometry of the mesh—specifically thread diameter and mesh opening size—plays an equally important role in screen printing outcomes. Mesh geometry refers to the physical structure of the threads and the spaces between them, both of which influence ink flow, print resolution, and screen durability.
Thread Diameter
The thickness of each thread in the mesh affects both the strength of the screen and the way ink passes through. Thicker threads provide added durability, making the mesh more resistant to tension and wear over time. However, they also reduce the size of the openings, which can restrict ink flow and potentially limit the vibrancy or opacity of the print.
On the other hand, thinner threads create larger openings for a given mesh count, allowing more ink to pass through. This can be beneficial for bold designs or when printing with thicker inks, but it may also make the mesh more fragile and less suitable for long production runs.
Mesh Opening Size
The actual size of the openings between threads—determined by both mesh count and thread diameter—dictates how much ink is deposited onto the substrate. Larger openings are better for heavy ink coverage and specialty inks like glitter or puff, while smaller openings are essential for fine detail and sharp edges.
Balancing thread diameter and mesh opening size is key to achieving the desired print quality. For example, a 156 mesh with a thin thread will behave differently than a 156 mesh with a thick thread, even though the mesh count is the same. Understanding these nuances helps you tailor your mesh selection to your project’s needs.
Matching Mesh to Project Requirements
When considering how to choose screen printing mesh for your project, it’s important to look beyond just the numbers. Several practical factors come into play, including ink type, substrate, and the level of detail in your design.
Ink Type Compatibility
Different inks have varying viscosities and particle sizes, which affect how easily they pass through the mesh. For example:
- Plastisol inks are thicker and work well with lower mesh counts (110–156 TPI), ensuring good opacity and coverage.
- Water-based inks are thinner and can be used with higher mesh counts (156–230 TPI) for finer details and softer hand feel.
- Specialty inks like metallics or puff require lower mesh counts to accommodate larger particles.
Matching your mesh to the ink type prevents issues like clogging, under- or over-depositing ink, and inconsistent prints. For more on ink selection, see the guide on screen printing inks for fabric.
Substrate Considerations
The material you’re printing on also influences mesh choice. Coarse or absorbent fabrics (like canvas or fleece) benefit from lower mesh counts, which allow more ink to penetrate the fibers. Smooth, non-porous surfaces (such as paper or film) often require higher mesh counts for precise detail and minimal ink deposit.
Design Detail and Resolution
As a general rule, the more detailed your design, the higher the mesh count you’ll need. Fine lines, small text, and halftones demand screens with small openings to prevent ink from bleeding and to capture every nuance. For simple, bold graphics, a lower mesh count suffices and can speed up production.
Always consider the relationship between mesh count, thread diameter, and the specific requirements of your project. Testing different combinations can help you find the perfect balance between durability, ink flow, and print resolution.
Common Mistakes in Mesh Selection and How to Avoid Them
Even experienced printers can make errors when selecting mesh, leading to wasted materials and subpar results. Here are some frequent pitfalls and tips to avoid them:
- Ignoring mesh geometry: Focusing only on mesh count without considering thread diameter and opening size can result in poor ink flow or weak screens.
- Overlooking ink and substrate compatibility: Using a mesh that’s too fine for thick inks or rough fabrics can cause clogging or incomplete prints.
- Using the same mesh for all designs: Not all projects are alike. Adjust your mesh selection based on the specific demands of each job, especially when switching between bold graphics and detailed artwork.
- Neglecting test prints: Skipping test runs can lead to surprises during production. Always test your chosen mesh with your actual ink and substrate before committing to a full run.
By staying mindful of these common mistakes, you can save time, reduce waste, and achieve consistently high-quality prints.
Conclusion: Making Informed Mesh Choices
Selecting the right mesh for screen printing is a blend of technical understanding and practical experience. By considering mesh count, geometry, ink compatibility, and design requirements, you can tailor your approach to each project and achieve the best possible results. Remember, the right mesh not only enhances print quality but also streamlines your workflow and extends the life of your screens. Take the time to evaluate your options, run test prints, and refine your process for ongoing success in screen printing.
Frequently Asked Questions
What is the difference between mesh count and thread diameter?
Mesh count refers to the number of threads per inch in the mesh, while thread diameter describes the thickness of each individual thread. Both factors influence ink flow and print quality—mesh count affects detail and ink deposit, while thread diameter impacts durability and the size of mesh openings.
How do I know which mesh count to use for my design?
Choose a lower mesh count (e.g., 110–156 TPI) for bold, simple designs and heavy ink coverage. Opt for a higher mesh count (e.g., 230–305 TPI) for detailed graphics, fine text, or halftones. Always consider the ink type and substrate as well, and run test prints when possible.
Can I use the same mesh for all types of inks?
Not always. Thicker inks like plastisol require lower mesh counts to allow sufficient ink flow, while thinner inks such as water-based formulas work better with higher mesh counts for finer detail. Adjust your mesh selection based on the specific ink and project requirements for best results.