


Blurry or smudged prints on fabric can be a frustrating setback, whether you’re running a textile business, working on a DIY project, or experimenting with digital printing at home. Achieving crisp, vibrant designs is essential for both professional and personal results. Understanding how to troubleshoot blurry prints on fabric helps you identify the root causes and apply effective solutions, saving time, materials, and money.
Several factors can lead to unclear or fuzzy results, from equipment issues to fabric preparation and ink compatibility. By addressing these common problems step by step, you can significantly improve print quality and consistency. For those interested in broader trends and innovations in textile printing, exploring resources like what is the future of smart textiles and printing can provide valuable context.
Understanding the Causes of Blurry Fabric Prints
Before diving into solutions, it’s important to recognize the most frequent reasons for blurry prints on textiles. These issues can stem from the fabric itself, the printing process, or even environmental factors. Identifying the source is the first step toward a clear and lasting fix.
- Fabric Type and Preparation: Some fabrics absorb ink differently. Natural fibers like cotton may require pre-treatment, while synthetics might resist certain inks.
- Printer Calibration: Misaligned print heads or incorrect settings can cause images to appear out of focus.
- Ink Quality and Compatibility: Using the wrong ink for your fabric or printer can result in poor adhesion and smudging.
- Environmental Conditions: High humidity or temperature fluctuations can affect ink drying and print sharpness.
- Artwork Resolution: Low-resolution images or improper file preparation can lead to pixelated or unclear prints.
Step-by-Step Solutions for Sharper Prints
Once you’ve pinpointed the likely cause, you can apply targeted fixes. Here are practical steps to resolve the most common issues encountered when troubleshooting blurry prints on fabric:
1. Check and Prepare Your Fabric Properly
The foundation of any quality print is the fabric itself. Always start by ensuring your material is suitable for the chosen printing method. Pre-wash fabrics to remove sizing, oils, or residues that can interfere with ink absorption. For digital or direct-to-garment (DTG) printing, use recommended pre-treatment solutions to help ink bond effectively.

If you’re unsure about fabric compatibility, consult your printer’s manual or supplier for a list of recommended materials. Testing a small swatch before full production can prevent costly mistakes.
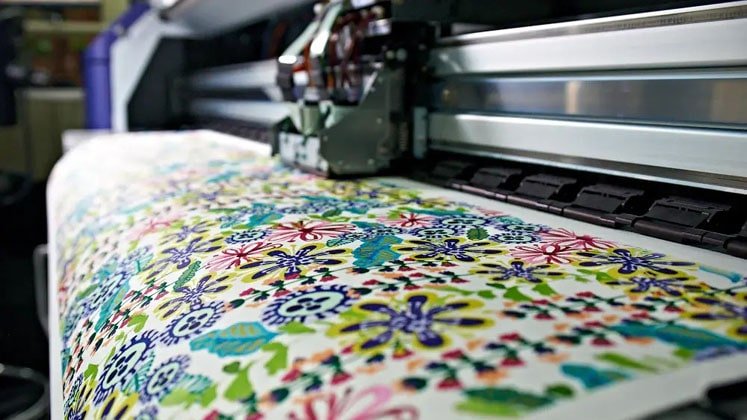
2. Optimize Printer Settings and Maintenance
Misaligned print heads, clogged nozzles, or outdated firmware can all contribute to unclear designs. Regular maintenance is essential:
- Run print head alignment and cleaning cycles as recommended by the manufacturer.
- Update printer drivers and firmware to ensure optimal performance.
- Adjust print resolution settings for higher DPI (dots per inch) when clarity is critical.
For more insight into setting up and maintaining printing equipment, you might find how to set up a small scale fashion printing studio helpful, especially if you’re working from home or a small workshop.
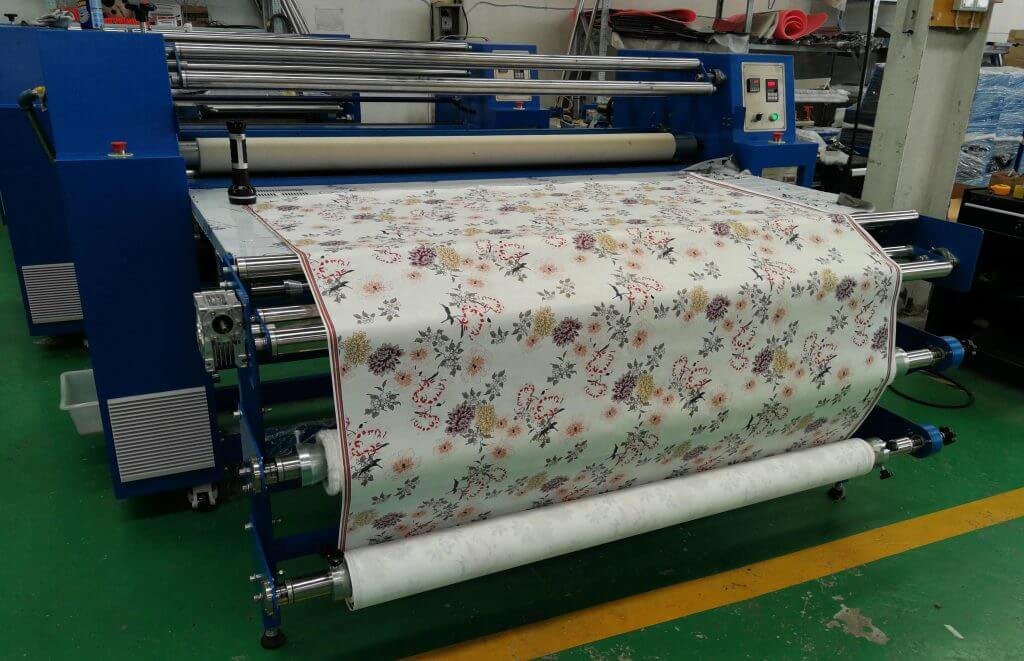
3. Use the Right Ink and Printing Technique
Ink selection is crucial for achieving sharp, lasting prints. Always use inks that are specifically formulated for your printer model and fabric type. Mixing brands or using expired ink can result in poor color fastness and bleeding.
Consider the printing technique as well. For example, digital textile printing offers high precision and is ideal for detailed designs, but requires compatible inks and pre-treated fabrics. Screen printing, on the other hand, may need thicker inks and mesh adjustments to avoid spreading.
4. Control Environmental Conditions
Temperature and humidity can have a significant impact on ink drying and print quality. Print in a controlled environment whenever possible. Excess moisture can cause ink to spread, while very dry conditions may lead to incomplete curing.
If you’re experiencing persistent issues, consider using a dehumidifier or air conditioner in your workspace to stabilize conditions.
5. Prepare Artwork Files Correctly
Even with the best equipment and materials, poor file preparation can undermine your results. Always use high-resolution images (at least 300 DPI for fabric printing) and save files in formats recommended by your printer manufacturer, such as TIFF or PNG for digital printing.
Double-check color profiles and ensure that your design is sized correctly for the intended print area. Avoid scaling up low-resolution images, as this can introduce unwanted blur.
Additional Tips for Consistently Clear Fabric Prints
- Test Print First: Always run a test print on a scrap piece of fabric before starting a full production run.
- Monitor Print Speed: Slower print speeds can improve ink deposition and reduce the risk of smudging.
- Use Proper Curing Methods: Heat-setting or curing ink as recommended ensures durability and prevents post-print blurring.
- Store Materials Correctly: Keep fabrics and inks in cool, dry places to maintain their quality.
For those interested in expanding their knowledge, learning about how to use digital printing for fashion trend forecasting can offer valuable insights into the evolving landscape of textile design and production.
Frequently Asked Questions
What is the most common reason for blurry prints on fabric?
The most frequent cause is improper fabric preparation or using the wrong type of fabric for your printing method. Always pre-treat and test your material before starting a large project.
How can I prevent ink from bleeding on cotton fabrics?
Use a pre-treatment solution designed for cotton, select compatible inks, and ensure proper curing after printing. Testing with small samples helps identify the best combination for your needs.
Does artwork resolution really affect print clarity?
Yes, low-resolution images can appear pixelated or blurry when printed on fabric. Always use high-resolution files (at least 300 DPI) and avoid enlarging small images beyond their intended size.
Conclusion
Achieving sharp, vibrant prints on fabric is a combination of proper material selection, equipment maintenance, and attention to detail throughout the printing process. By following these troubleshooting steps, you can resolve common issues and produce professional-quality results. For more on the latest advancements and techniques in textile printing, consider exploring resources on benefits of localized printing for global brands and related topics.


