


Designing custom t-shirts has become accessible to everyone, thanks to intuitive digital platforms. Whether you’re starting a small apparel business, creating personalized gifts, or simply exploring your creative side, learning how to use t-shirt design software for beginners is the first step. This guide breaks down the basics, introduces top tools, and provides practical tips to help you create eye-catching designs with confidence—even if you have no prior experience.
Before diving into the details, it’s helpful to understand how digital design fits into the broader world of textile printing. If you’re interested in how these technologies are shaping the industry, you might want to read about what is the future of smart textiles and printing for a broader perspective.
Getting Started with T-Shirt Design Platforms
For those new to digital apparel design, the sheer number of available tools can be overwhelming. The good news is that many platforms are built specifically for beginners, offering user-friendly interfaces, drag-and-drop features, and a variety of templates. Here’s what you need to know before you begin:
- Ease of Use: Look for software that doesn’t require advanced graphic design skills. Many beginner-friendly tools offer guided tutorials and intuitive controls.
- Template Libraries: Built-in templates help you get started quickly and provide inspiration for your own creations.
- Export Options: Make sure the platform allows you to export your design in high resolution and in formats compatible with printers or online stores.
- Cost: Some tools are free with basic features, while others require a subscription for advanced options.
Understanding these basics will help you select the right platform and avoid common pitfalls as you learn how to use t-shirt design software for beginners.
Top T-Shirt Design Tools for Novices
Several software options stand out for their accessibility and robust feature sets. Here are some of the best choices for those just starting out:
- Canva: Known for its drag-and-drop simplicity, Canva offers a wide range of t-shirt templates and design elements. You can easily add text, graphics, and even upload your own images. The platform is web-based, so there’s no need to install anything.
- Adobe Express: Formerly Adobe Spark, this tool provides beginner-friendly templates and easy customization. While not as advanced as Adobe Illustrator, it’s perfect for simple t-shirt graphics.
- Placeit: This online tool specializes in mockups and apparel design. Placeit’s t-shirt creator lets you visualize your designs on real models, which is helpful for presentations or online stores.
- Designhill T-Shirt Maker: With a straightforward interface, Designhill’s tool is ideal for quick designs and offers a variety of clipart, fonts, and backgrounds.
- Custom Ink: While primarily a t-shirt printing service, Custom Ink’s design lab is free to use and great for experimenting with layouts and graphics.
Each of these platforms supports beginners with step-by-step guides and pre-made assets, making the process of designing your first t-shirt much less intimidating.
Step-by-Step: Creating Your First T-Shirt Design
Once you’ve chosen your software, it’s time to start designing. Here’s a simple workflow tailored for those learning how to use t-shirt design software for beginners:
- Choose a Template or Canvas Size: Most platforms offer standard t-shirt templates. Select one to ensure your design fits print specifications.
- Add Graphics and Text: Use built-in clipart, shapes, or upload your own artwork. Experiment with different fonts and colors for your message or slogan.
- Arrange Elements: Drag and resize images and text to achieve a balanced layout. Most tools allow you to layer elements and align them easily.
- Preview Your Design: Use the platform’s preview feature to see how your design looks on a t-shirt. Adjust as needed for readability and visual appeal.
- Export or Save: Download your finished design in a print-ready format (usually PNG or PDF with a transparent background).
Following these steps helps ensure your first project is both fun and successful. Don’t be afraid to experiment—most platforms let you undo changes or start over with a fresh template.
Tips for Effective and Professional-Looking T-Shirt Graphics
Even with beginner software, a few practical tips can help your designs stand out:
- Keep It Simple: Overly complex graphics can be hard to print and may not look good on fabric. Focus on clear, bold shapes and easy-to-read text.
- Use High-Contrast Colors: Make sure your design is visible from a distance. Test color combinations against different t-shirt backgrounds.
- Mind the Print Area: Stay within the printable region of the shirt to avoid cropping or distortion.
- Check Resolution: Use high-resolution images to prevent pixelation. Most printers recommend at least 300 DPI for apparel graphics.
- Get Feedback: Share your design with friends or online communities for constructive criticism before printing.
Applying these principles will help you create t-shirts that look polished and professional, even as a beginner.
From Digital Design to Printed Shirt: What to Expect
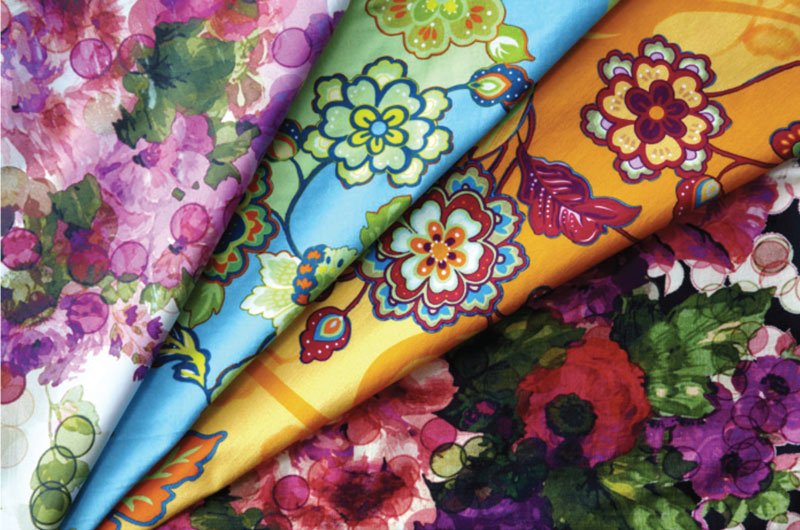
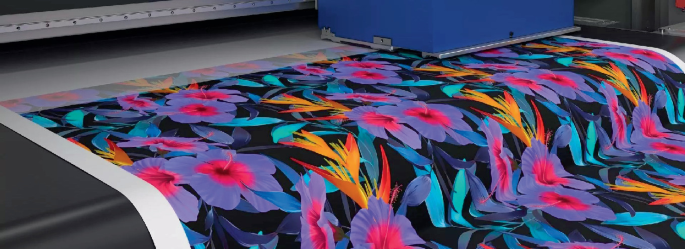
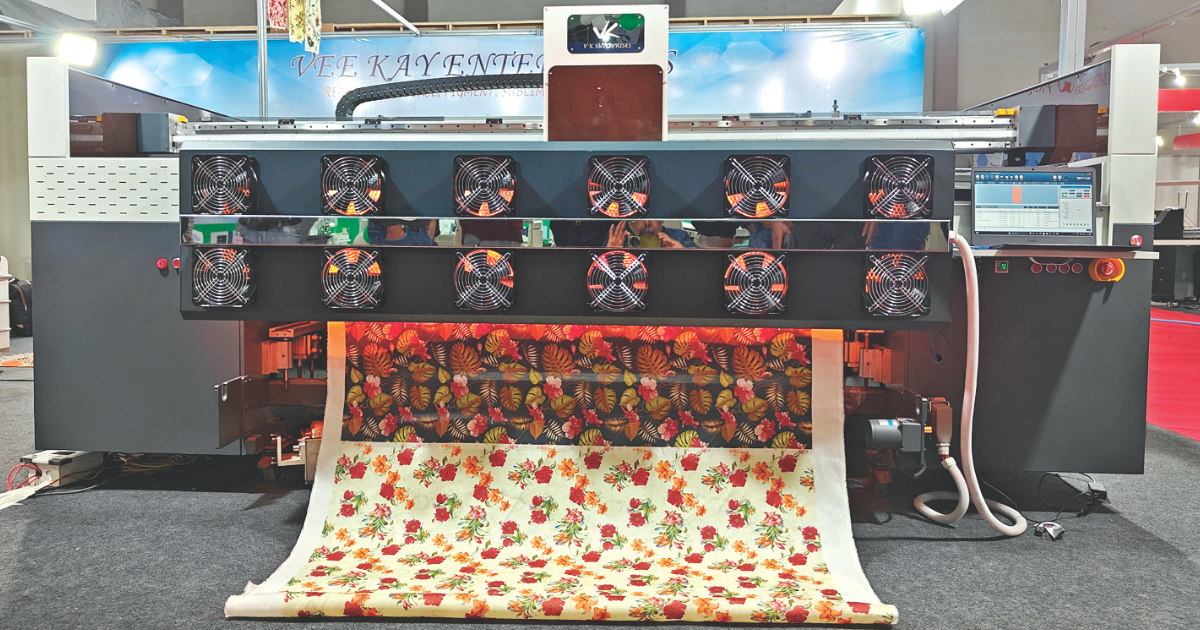
After finalizing your design, the next step is printing. Many online t-shirt makers offer integrated printing and shipping services, but you can also download your design and use a local print shop. Understanding the basics of digital fabric printing can help you make informed choices. For a deeper dive into the process, check out this overview of digital fabric printing technology.
When preparing your file for print, double-check the following:
- File format and color mode (usually RGB or CMYK, depending on the printer)
- Transparency settings (especially if your design includes a transparent background)
- Bleed and margin guidelines as specified by your printer
Taking these steps will help ensure your finished product matches your digital vision.
Expanding Your Skills with Advanced Features
As you become more comfortable with beginner tools, you might want to explore more advanced features. Many platforms offer:
- Layer Management: Organize complex designs by grouping and locking elements.
- Custom Brushes and Effects: Add unique textures or hand-drawn effects to your artwork.
- Vector Editing: Create scalable graphics that retain quality at any size.
- Integration with Print-on-Demand Services: Seamlessly connect your designs to online stores for easy sales and fulfillment.
For those looking to take their skills further, exploring topics like how to use digital printing for fashion trend forecasting can provide valuable insights into the intersection of design and the fashion industry.
Frequently Asked Questions
What is the easiest t-shirt design software for complete beginners?
Canva and Placeit are widely considered the most accessible platforms for newcomers. Both offer drag-and-drop interfaces, a variety of templates, and no need for advanced design knowledge.
Do I need graphic design experience to create t-shirt designs?
No prior experience is required. Most beginner-focused tools provide templates, tutorials, and simple controls that make it easy to create professional-looking graphics without a design background.
How do I make sure my t-shirt design prints correctly?
Always use high-resolution images, stay within the printable area, and follow your printer’s file format and color mode guidelines. Preview your design on a mockup and, if possible, order a sample before producing in bulk.
Conclusion
Learning how to use t-shirt design software for beginners opens up creative opportunities for personal projects and small businesses alike. By choosing the right tool, following best practices, and gradually exploring more advanced features, anyone can produce unique and professional t-shirt graphics. Remember to keep designs simple, use high-quality images, and seek feedback as you grow your skills. With the right approach, your first t-shirt design is just the beginning of a rewarding creative journey.


