


Printing on delicate materials such as chiffon, organza, and other lightweight textiles presents unique challenges. These fabrics are prized for their airy drape and translucent qualities, but their very nature makes them tricky to handle in the print process. Whether you’re a designer, a print professional, or a DIY enthusiast, understanding the right techniques and precautions can make a significant difference in the final result. This guide covers essential tips for printing on sheer and lightweight fabrics, helping you achieve vibrant, crisp, and long-lasting prints without damaging the fabric.
Before diving into the technical details, it’s helpful to understand how fabric structure, ink choice, and print method interact. For those interested in achieving a soft, comfortable finish on garments, you may also want to explore what is soft hand feel in garment printing for additional insights.
Understanding the Nature of Sheer and Lightweight Textiles
Fabrics like chiffon, georgette, voile, and organza are woven with fine threads and have a loose, open structure. This makes them susceptible to distortion, ink bleed, and shifting during the printing process. Their transparency also means that any ink buildup or registration errors are more visible than on opaque materials.
When working with these textiles, it’s crucial to select the right print method and handle the fabric with care throughout every stage. The following sections outline practical tips for printing on sheer and lightweight fabrics to help you avoid common pitfalls and produce professional-quality results.
Preparing the Fabric for Best Results
Proper preparation is the foundation of successful textile printing, especially with delicate materials. Here’s what you should consider:
- Pre-wash the fabric: Washing removes sizing, oils, and other residues that can interfere with ink adhesion. Use a gentle cycle and mild detergent, then air dry to prevent shrinkage or distortion.
- Iron carefully: Smooth out wrinkles using a low-heat iron. Avoid steam, which can stretch or distort the weave. A flat, even surface ensures consistent ink application.
- Stabilize the fabric: To prevent shifting during printing, temporarily adhere the fabric to a backing paper or use a light spray adhesive. This is especially helpful for digital and screen printing.
Choosing the Right Printing Method
Not all print techniques are equally suited to lightweight fabrics. Here’s a breakdown of common methods and their suitability:
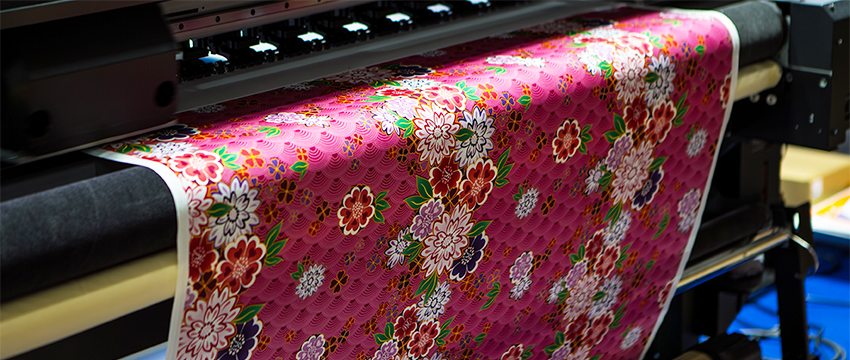
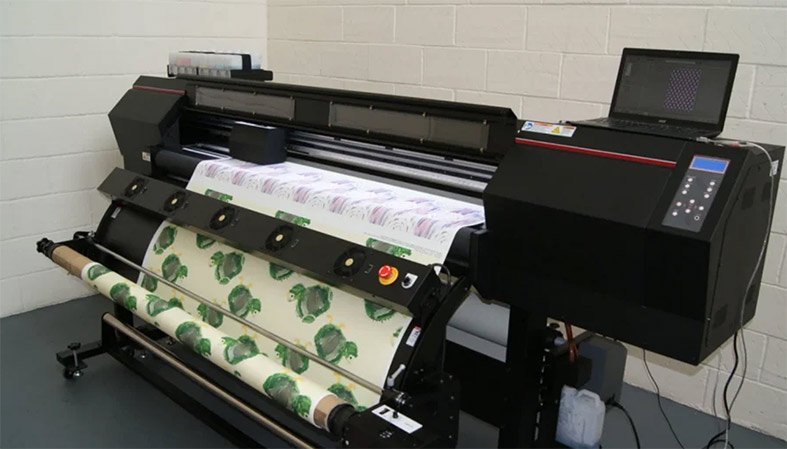
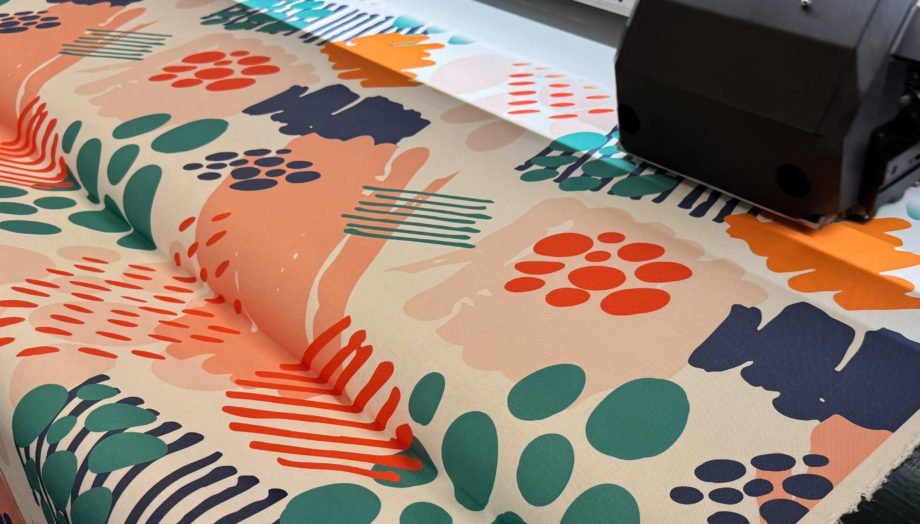
- Digital textile printing: This method is ideal for sheer fabrics, as it uses less pressure and can achieve high detail with minimal ink saturation. For more on digital processes, see digital textile printing techniques.
- Screen printing: While possible, screen printing requires careful adjustment. Use fine mesh screens and low-viscosity inks to avoid ink pooling and bleeding.
- Sublimation: Suitable for polyester-based sheers, sublimation produces vibrant, wash-fast results without adding weight or stiffness.
- Block printing: For small runs or artisan projects, block printing can work well if the fabric is stabilized and minimal pressure is used.
Ink and Color Considerations for Delicate Materials
Ink selection is just as important as the print method. Here are some key points to keep in mind:
- Use lightweight inks: Choose water-based or disperse dyes formulated for fine fabrics. Avoid plastisol or heavy pigment inks, which can stiffen the fabric and obscure its drape.
- Test for transparency: Because sheer fabrics are see-through, colors may appear lighter or less saturated. Always test your design on a fabric swatch to check for color accuracy and opacity.
- Limit ink coverage: Large solid areas of color can weigh down the fabric and cause uneven drying. Opt for lighter, more open designs or patterns with negative space.
Handling and Printing Techniques for Sheer Fabrics
Even with the right ink and method, technique matters. Follow these suggestions for the best outcome:
- Work in a dust-free environment: Fine particles can easily settle on lightweight fabrics, causing blemishes or uneven prints.
- Minimize handling: The less you touch the fabric, the less likely it is to stretch or distort. Use clean, dry hands or gloves when positioning the material.
- Secure edges: Tape or clamp the edges of the fabric to your print bed or table to prevent shifting during printing.
- Print one layer at a time: For multi-color designs, allow each layer to dry completely before applying the next to prevent smudging or ink migration.
Drying and Curing Without Damaging the Fabric
Proper drying and curing are essential for print durability, but excessive heat or agitation can ruin delicate textiles. Here’s how to proceed:
- Air dry whenever possible: Lay the printed fabric flat on a clean, lint-free surface. Avoid hanging, as this can stretch the weave.
- Use low heat for curing: If heat setting is required, use the lowest temperature compatible with your ink and fabric. A heat press with a protective sheet can help distribute heat evenly.
- Handle gently after printing: Wait until the print is fully cured before moving or folding the fabric to avoid ghosting or smudges. For more on avoiding print defects, see how to remove ghost images from printing screens.
Finishing Touches and Care Instructions
Once your print is complete, finishing and care are important for longevity:
- Trim carefully: Use sharp scissors or a rotary cutter to avoid fraying edges.
- Recommend gentle washing: Advise end users to hand wash or use a delicate cycle with mild detergent. Air dry to preserve both the print and the fabric’s structure.
- Store flat or rolled: Folding can cause creases that are difficult to remove from lightweight textiles.
Common Mistakes to Avoid When Printing on Lightweight Fabrics
Even experienced printers can run into trouble with these materials. Here are some frequent errors and how to avoid them:
- Overloading with ink: Too much ink can cause bleeding, stiffening, and loss of transparency.
- Skipping fabric stabilization: Unsecured fabric is prone to shifting, resulting in blurry or misaligned prints.
- Using the wrong curing temperature: Excessive heat can scorch or shrink delicate fabrics, ruining the print.
- Ignoring fabric grain: Printing against the grain can cause distortion and uneven results.
FAQ: Printing on Sheer and Lightweight Textiles
What is the best printing method for chiffon and similar fabrics?
Digital textile printing is often the preferred choice for chiffon and other lightweight materials. It applies minimal pressure, uses less ink, and can achieve detailed, vibrant results without compromising the fabric’s drape. Sublimation is also effective for polyester-based sheers.
How can I prevent ink from bleeding on transparent fabrics?
To minimize ink bleed, use low-viscosity, water-based inks and avoid over-saturating the fabric. Stabilizing the material with a backing paper or adhesive helps keep it flat and reduces the risk of ink migration. Always test your setup on a sample before full production.
Are there special care instructions for printed lightweight textiles?
Yes. Hand wash or use a gentle machine cycle with mild detergent, and always air dry. Avoid wringing, twisting, or exposing the fabric to high heat, as this can damage both the print and the textile.
Conclusion
Working with sheer and lightweight fabrics requires patience, attention to detail, and the right combination of materials and methods. By following these tips for printing on sheer and lightweight fabrics, you can achieve professional results that highlight the beauty and delicacy of textiles like chiffon. For those exploring advanced production models, learning about the benefits of micro-factory models for fashion printing can further enhance efficiency and quality in your workflow.
