


Designing seamless patterns for fabric is a crucial skill for textile designers, illustrators, and anyone involved in the world of surface design. Whether you’re developing prints for fashion, home décor, or accessories, mastering the art of repeatable motifs ensures your designs flow beautifully across any textile surface without visible breaks or awkward transitions. This guide offers practical advice, workflow strategies, and technical considerations to help you create flawless, professional-quality repeats.
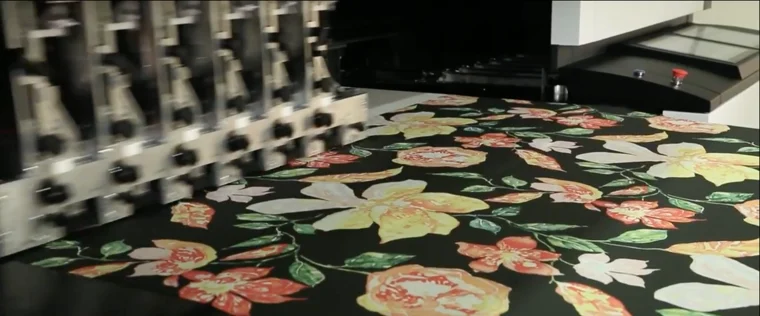
Before diving into the process, it’s helpful to understand how seamless patterns are used in various textile printing methods. If you’re interested in advanced printing on specialty materials, you might also want to explore how to print on dark fabrics effectively for additional insights into the production side of textile design.
Understanding the Basics of Seamless Textile Design
At its core, a seamless pattern is a design that repeats perfectly on all sides, allowing it to cover any area without visible edges or mismatches. This is essential for fabric printing, where the pattern must align across meters of material. The process involves careful planning, attention to detail, and a clear understanding of how repeats function in both digital and traditional printing environments.
There are several types of repeats commonly used in textile design:
- Full drop repeat: The design repeats horizontally and vertically in a grid.
- Half drop repeat: Each row is offset by half the height of the repeat, creating a staggered effect.
- Brick repeat: Similar to half drop, but offset horizontally, like bricks in a wall.
- Mirror repeat: The design is reflected along the edges for a symmetrical look.
Essential Tips for Creating Seamless Patterns for Fabric
To achieve professional results, keep these tips for creating seamless patterns for fabric in mind throughout your workflow:
1. Start with a Well-Defined Canvas
Begin by setting up your document at the correct dimensions and resolution. For most fabric applications, 300 DPI is standard. Choose a repeat size that matches your intended use—larger repeats for bold, statement prints, and smaller repeats for subtle, all-over effects.
2. Plan Your Motifs and Composition
Sketch or arrange your motifs with the repeat in mind. Avoid placing key elements too close to the edges unless they are meant to connect across the tile. Consider the flow and balance of your design, ensuring there are no unintentional gaps or clusters.
3. Use Layered Files and Non-Destructive Editing
Work with layers in your design software (such as Adobe Photoshop or Illustrator). This allows you to adjust motifs, backgrounds, and textures independently. Non-destructive editing gives you flexibility to tweak elements without starting over.
4. Test the Seam Early and Often
Regularly check your repeat by duplicating your tile side-by-side in both directions. This helps you spot and fix any visible seams, awkward overlaps, or misalignments before finalizing the design.
5. Mind the Color Palette
Consistency in color is key for seamless textile patterns. Use a limited palette or color swatches to maintain harmony. Remember that colors may shift during printing, so consult with your printer or refer to color profiles for accuracy.
Technical Considerations for Flawless Repeats
Beyond creative choices, technical precision is vital for seamless pattern success. Here are some important aspects to consider:
- Edge Alignment: Ensure motifs that touch the edge of your tile continue seamlessly on the opposite edge.
- Bleed and Safe Zones: Leave extra space (bleed) around the tile if your printer requires it, and keep important elements within safe zones to avoid accidental cropping.
- File Formats: Save your master file in a layered format (PSD, AI) and export repeats as high-resolution TIFF, PNG, or JPEG files, depending on your printer’s requirements.
- Scale and Resolution: Double-check that your repeat size and resolution match the intended print scale for crisp, clear results.
Preparing Patterns for Fabric Printing
Once your repeat is perfected, it’s time to prepare the file for production. This step is crucial for ensuring your design prints exactly as intended on fabric.
- Flatten and Clean Up: Remove unused layers, hidden elements, and stray pixels. Flatten the image if required by your printer.
- Color Management: Convert your file to the appropriate color profile (often CMYK for printing) and check colors against swatches or proofs.
- Test Print: If possible, request a small test print or strike-off to evaluate color, scale, and repeat accuracy before committing to a full production run.
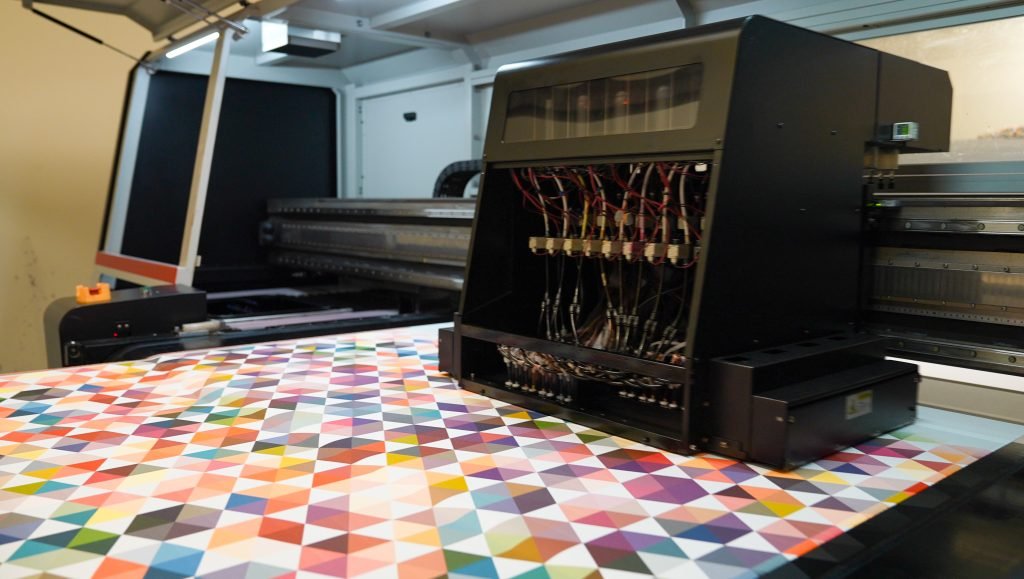
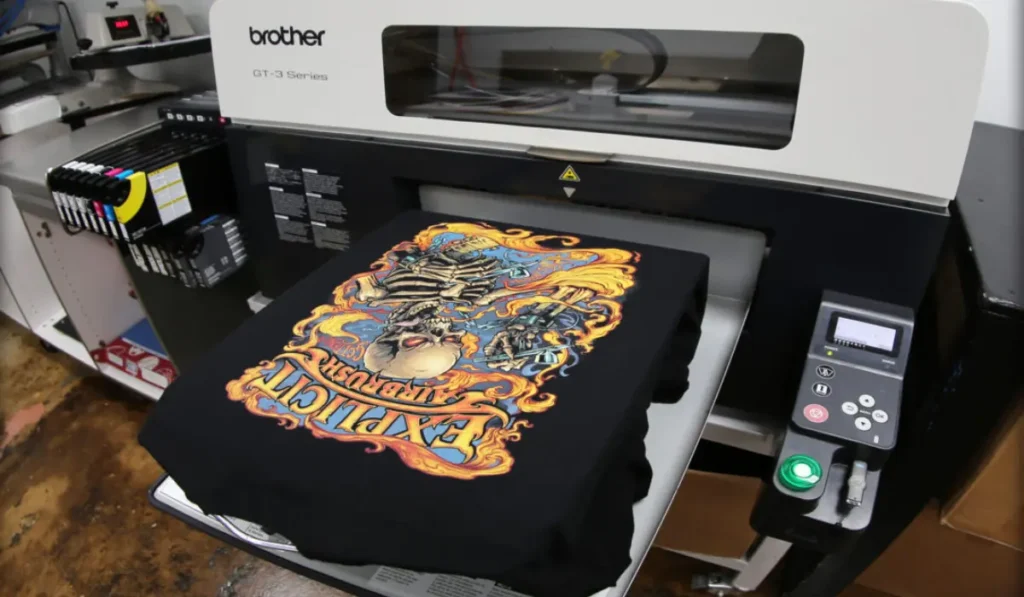
Choosing the Right Printing Method
The method you choose for printing your seamless design can influence both the creative process and the final outcome. Digital textile printing, screen printing, and rotary printing each have their own requirements and advantages. For a deeper understanding of digital processes, see this comprehensive explanation of digital textile printing.
If you’re comparing different production methods for your project, you might also find it helpful to read about the comparison of silk screen vs heat transfer printing for brands.
Common Mistakes to Avoid in Seamless Pattern Design
- Obvious seams: Always test your repeat thoroughly to catch visible joins.
- Unbalanced composition: Distribute motifs evenly to prevent empty areas or overcrowding.
- Color inconsistencies: Stick to a defined palette and check for color shifts between tiles.
- Ignoring production requirements: Consult with your printer about file specs, color profiles, and repeat sizes before finalizing your design.
Frequently Asked Questions
What software is best for designing seamless fabric patterns?
Popular choices include Adobe Photoshop, Illustrator, and Procreate. Each offers tools for creating and testing repeats. Photoshop is excellent for raster-based designs, while Illustrator is preferred for vector patterns. Choose the program that fits your workflow and the type of artwork you create.
How do I make sure my pattern repeats perfectly?
Always test your tile by duplicating it horizontally and vertically to check for visible seams. Use guides and snapping features in your design software to align motifs precisely at the edges. Many programs also offer pattern preview modes to help you visualize the repeat.
What is the ideal resolution for fabric pattern files?
For most textile printing, 300 DPI (dots per inch) at the final print size is recommended. This ensures crisp, detailed prints. Always check with your printer for their specific requirements, as some processes may vary.
Can I use hand-drawn artwork for seamless patterns?
Absolutely. Scan your artwork at high resolution, then use image editing software to arrange, clean up, and create the repeat tile. Many designers combine hand-drawn motifs with digital editing for unique results.
Conclusion
Mastering the process of creating seamless repeats opens up endless possibilities for fabric and textile design. By following these practical strategies—planning your motifs, testing your repeats, and preparing files with production in mind—you can ensure your patterns look professional on any material. For more on preparing your designs for manufacturing, see our guide on how to set up a tech pack for textile printing. With practice, attention to detail, and a solid understanding of both the creative and technical aspects, your designs will stand out in the world of printed textiles.


