


Ensuring your printed apparel stands the test of time requires more than just a high-quality print. The steps taken after printing—specifically, how to dry and cure printed garments—are essential for achieving vibrant, durable results. Whether you’re running a small studio or managing a larger operation, understanding the right drying and curing techniques will help prevent fading, cracking, and premature wear.
Proper post-printing processes not only protect your designs but also enhance the garment’s feel and washability. This guide covers the fundamentals of drying and curing, explores different methods, and provides practical tips for both beginners and experienced printers.
For those interested in expanding their knowledge of textile technology, you might also find value in exploring what is the future of smart textiles and printing, which delves into innovations shaping the industry.
Why Drying and Curing Matter for Printed Apparel
After a design is applied to fabric, the ink or print medium must be properly set to ensure it bonds with the fibers. Drying and curing printed garments are two distinct but related steps:
- Drying removes moisture and solvents from the ink, making it touch-dry.
- Curing uses heat to create a chemical bond between the ink and the fabric, ensuring durability.
Skipping or rushing these steps can lead to issues like smudging, fading, or peeling after washing. The right approach depends on the type of ink, fabric, and available equipment.

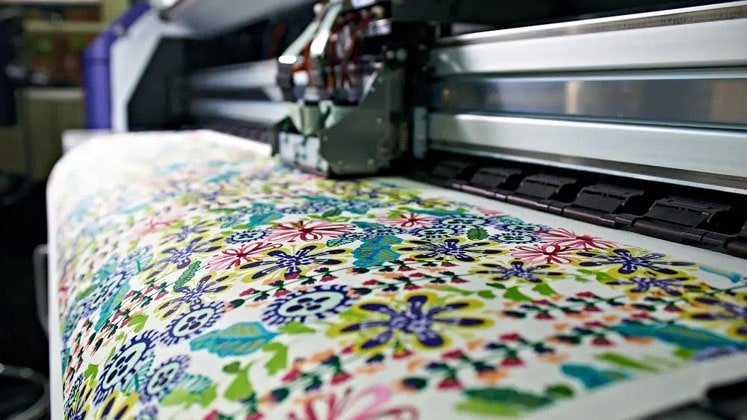
Understanding Different Printing Methods and Their Curing Needs
Not all printing techniques require the same post-printing treatment. Here’s an overview of common methods and their specific drying and curing requirements:
- Screen Printing: Plastisol inks require curing at 320–330°F (160–165°C) for 1–2 minutes. Water-based inks may need longer or higher temperatures to fully cure.
- Direct-to-Garment (DTG) Printing: Typically uses water-based inks that require both drying and curing, often with a heat press or conveyor dryer.
- Sublimation: Inks are set using heat and pressure, usually with a heat press at 375–400°F (190–205°C) for 30–60 seconds.
- Heat Transfer Vinyl (HTV): Designs are bonded to fabric using a heat press, following manufacturer guidelines for time and temperature.
Always consult ink and equipment manufacturers for recommended settings, as improper curing can compromise print quality.
Step-by-Step Guide: How to Dry and Cure Printed Garments Effectively
To achieve professional, long-lasting results, follow these essential steps:
-
Allow Initial Drying
After printing, let the garment air dry for a short period (usually 5–10 minutes) to allow surface moisture to evaporate. This helps prevent smudging when handling or moving to the next stage.
-
Choose the Right Equipment
Depending on your setup, you might use:
- Conveyor dryers for high-volume production
- Flash dryers for spot curing or small batches
- Heat presses for DTG, HTV, or sublimation
- Household irons (for hobbyists or small runs, though less consistent)
-
Apply Correct Heat and Time
Set your dryer or press to the recommended temperature and time for your ink and fabric type. For example, most plastisol inks cure at 320°F (160°C) for 1–2 minutes, while water-based inks may need higher temperatures or longer times.
-
Test for Proper Cure
After curing, perform a stretch test or wash test. The print should not crack, peel, or fade. If it does, increase the curing time or temperature slightly and retest.
-
Cool Down Before Handling
Allow garments to cool completely before stacking or packaging to avoid sticking or ghosting of prints.
Common Mistakes to Avoid When Setting Prints
Even experienced printers can run into issues if they overlook key details. Here are some frequent pitfalls and how to avoid them:
- Under-curing: Results in prints that wash out or crack quickly. Always check manufacturer guidelines for temperature and dwell time.
- Over-curing: Excessive heat can scorch fabric or cause ink to become brittle.
- Uneven heat distribution: Can lead to inconsistent curing. Make sure your dryer or press heats evenly across the platen.
- Stacking hot garments: Can cause prints to stick together or transfer ink. Let items cool before stacking.
Tips for Small Studios and Home Printers
If you’re working in a small space or just starting out, you can still achieve great results with a few adjustments:
- Use a household iron with a parchment sheet for small runs, but monitor temperature closely.
- Consider investing in a small heat press for more consistent results.
- Test each batch with a wash or stretch test to ensure durability.
- Ventilate your workspace to avoid inhaling fumes from inks or adhesives.
For more advice on setting up a compact workspace, see this guide on how to set up a small scale fashion printing studio.
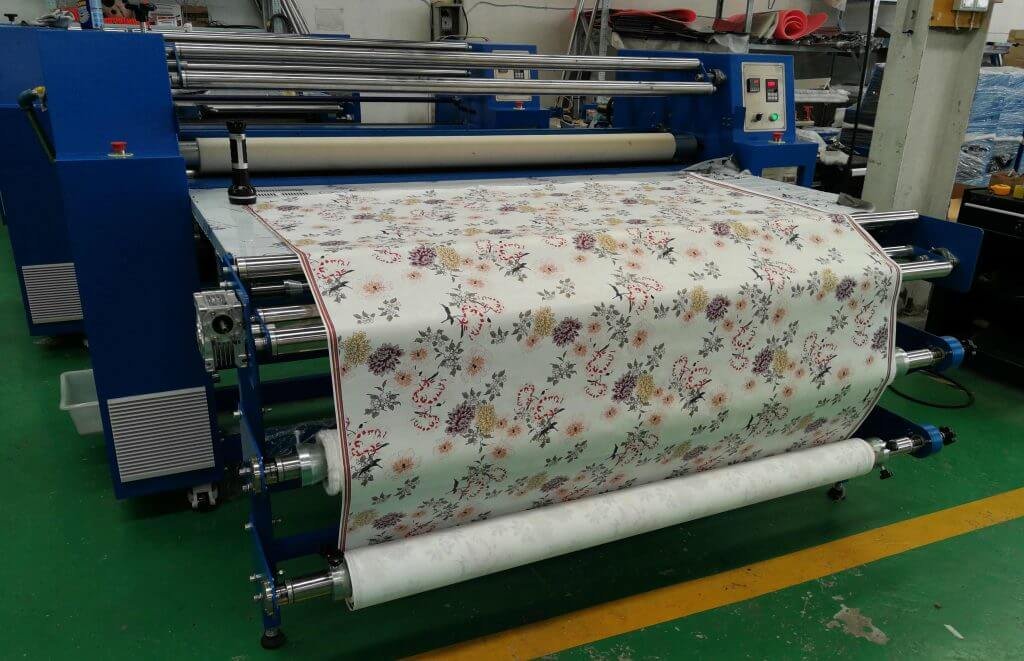
Advanced Techniques and Industry Innovations
As textile printing evolves, so do the methods for drying and curing. Automated conveyor dryers, infrared curing systems, and eco-friendly inks are changing the landscape. Staying informed about industry trends can help you improve efficiency and sustainability. For a deeper look at how digital printing is transforming fabric production, check out this article on digital textile printing innovations.
Frequently Asked Questions
How do I know if my printed garment is fully cured?
A properly cured print will withstand stretching and repeated washing without cracking, peeling, or fading. A simple test is to stretch the print gently—if it cracks, it may be under-cured. Performing a wash test is also recommended before producing large batches.
Can I use a regular household iron to cure prints?
For small batches or hobby projects, a household iron can be used with caution. Place parchment paper over the print and press firmly, following ink manufacturer guidelines for time and temperature. However, results may be less consistent than with a heat press or conveyor dryer.
What temperature should I use to cure water-based inks?
Water-based inks typically require higher temperatures than plastisol, often between 320–350°F (160–177°C). Always check the ink manufacturer’s recommendations, as curing times and temperatures can vary based on ink formulation and fabric type.
Conclusion
Mastering the process of how to dry and cure printed garments is essential for producing apparel that looks great and lasts through countless wears and washes. By following best practices for drying, curing, and testing your prints, you’ll ensure your creations remain vibrant and durable. Stay up to date with industry advancements and always refer to manufacturer guidelines for optimal results.


