Adding dimension and tactile appeal to printed textiles is a powerful way to elevate your designs. 3D puff ink is a specialty screen printing technique that expands when cured, resulting in a raised, textured effect on fabric. For designers and print professionals, mastering this method opens up new creative possibilities, from bold logos to intricate patterns that stand out both visually and to the touch.
Understanding how to create textures with 3D puff ink involves more than simply applying a special ink. The process requires careful planning, the right materials, and attention to detail at every stage—from artwork preparation to curing. Whether you’re new to specialty inks or looking to refine your results, this guide covers the essentials for achieving crisp, durable, and eye-catching textured prints.
Before diving into the technical steps, it’s helpful to understand how 3D puff ink compares to other garment decoration methods. For example, if you’re interested in the tactile qualities of prints, you might also want to learn about what is soft hand feel in garment printing and how it differs from the bold, raised finish of puff inks.
What Is 3D Puff Ink and How Does It Work?
3D puff ink is a plastisol-based ink formulated with a heat-activated foaming agent. When exposed to high temperatures during the curing process, the ink expands, creating a raised, spongy effect on the surface of the fabric. This technique is commonly used in apparel decoration, especially for bold graphics, lettering, and logos on t-shirts, hoodies, and caps.
The unique texture achieved with puff ink is not only visually striking but also adds a tactile element that standard flat inks cannot replicate. The process is compatible with most cotton and cotton-blend fabrics, making it a versatile choice for a wide range of garment types.
Essential Materials and Equipment for Textured Puff Prints
To successfully add texture using this method, you’ll need a few key supplies and tools:
- Puff ink: Choose a high-quality 3D puff plastisol ink from a reputable supplier. These inks are available in various colors and can be mixed for custom shades.
- Screen printing frame and mesh: A mesh count between 80 and 110 is ideal, as it allows the thicker puff ink to pass through while maintaining detail.
- Squeegee: A medium to hard squeegee works best for pushing the ink through the mesh evenly.
- Heat source: A conveyor dryer or heat press capable of reaching at least 320°F (160°C) is required to activate the puff effect.
- Substrate: Most commonly, 100% cotton or cotton-blend garments are used, but always test on your chosen fabric.
Preparing Artwork for 3D Puff Ink Texture
Design preparation is a crucial step in how to create textures with 3D puff ink. Not all artwork translates well to this technique. Here are some tips for optimal results:
- Bold, simple shapes work best. Fine lines and tiny details may not puff evenly and can lose definition.
- Solid fills are preferable to halftones or gradients. The puff effect is most pronounced in areas with consistent ink coverage.
- Layering: If combining puff ink with standard plastisol or specialty inks (like metallics), plan your color separations carefully. Puff ink should be printed last to avoid flattening the texture.
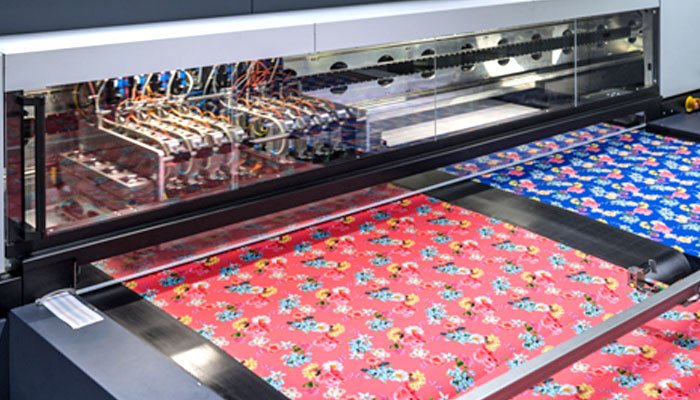
For designers interested in digital textile printing and how it can complement or contrast with puff techniques, resources like this overview of digital textile printing methods provide valuable context.
Step-by-Step Process: Applying Puff Ink for Maximum Texture
Follow these steps to achieve the best raised effects with 3D puff ink:
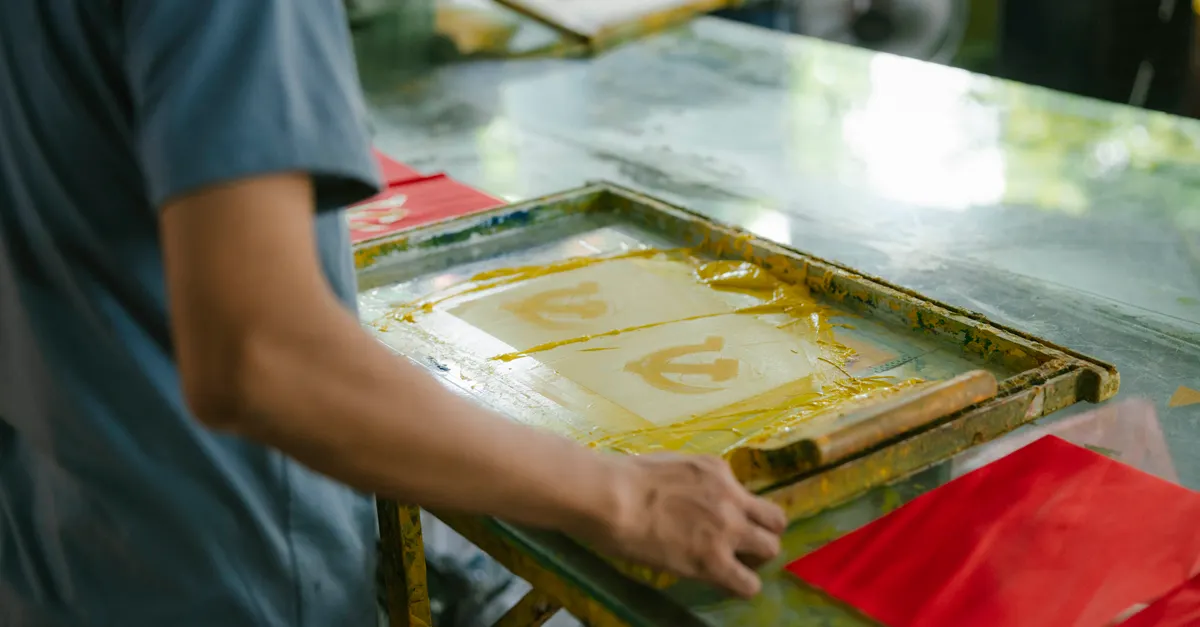
- Prepare your screen: Coat your screen with emulsion and expose your design, ensuring crisp edges for bold graphics. Use a lower mesh count (80–110) to accommodate the thicker ink.
- Set up your printing station: Secure your garment on the platen and align your screen. Stir the puff ink thoroughly before use.
- Print the design: Load a generous amount of ink onto the screen. Use firm, even pressure with your squeegee to deposit a thick, even layer. Multiple passes may be needed for extra height, but avoid overflooding which can cause bleeding.
- Cure the print: Transfer the printed garment to a conveyor dryer or use a heat press. The ink must reach the manufacturer’s recommended temperature (usually 320–330°F or 160–165°C) for the foaming agent to activate. Watch as the ink visibly rises and expands.
- Inspect and finish: Once cooled, check the print for consistency and durability. The final texture should be soft yet raised, with clean edges and no cracking.

Tips for Achieving Consistent and Creative Results
Getting the most from your textured prints requires attention to detail and a willingness to experiment. Here are some practical tips:
- Test on scrap fabric before running a full batch. This helps you dial in mesh count, squeegee pressure, and curing time.
- Combine techniques: Puff ink can be layered with standard inks, metallics, or even embroidery for unique effects. Just ensure puff is printed last.
- Mind your artwork: Avoid very fine lines or small type, as these may not puff evenly or could lose definition.
- Control ink thickness: The amount of ink deposited directly affects the height of the texture. Too much ink can cause smudging, while too little may not puff enough.
- Proper curing is essential. Under-curing can result in a flat or sticky finish, while over-curing may scorch the fabric or flatten the puff.
Common Challenges and How to Troubleshoot Them
Even experienced printers can face issues when working with puff ink. Here are some common problems and solutions:
| Issue | Possible Cause | Solution |
|---|---|---|
| Texture not rising | Insufficient heat or ink layer too thin | Increase curing temperature or deposit more ink |
| Edges not crisp | Mesh count too high or artwork too detailed | Use lower mesh count and bolder artwork |
| Puff ink cracking | Over-curing or excessive ink thickness | Reduce curing time or apply thinner ink layer |
| Ink bleeding | Too much ink or squeegee pressure too low | Use less ink and increase squeegee pressure |
Applications and Creative Uses for Raised Ink Textures
The tactile and visual impact of puff ink makes it a favorite for:
- Bold logos and branding on t-shirts, hoodies, and hats
- Lettering that stands out on team uniforms or promotional apparel
- Patterned textures for fashion-forward garments
- Combining with other specialty inks for multi-dimensional effects
For brands considering the best decoration method for logos, comparing what is embroidery vs printing for brand logos can help clarify when to use puff ink versus other techniques.
Care and Durability of 3D Puff Ink Prints
Properly cured puff ink prints are durable and can withstand regular washing. To maximize longevity:
- Wash garments inside out in cold water
- Avoid bleach and harsh detergents
- Hang dry or tumble dry on low heat
- Do not iron directly on the print
With the right care, the raised texture will remain intact and vibrant for the life of the garment.
Frequently Asked Questions
Can 3D puff ink be combined with other specialty inks?
Yes, puff ink can be layered with standard plastisol, metallic, or even glow-in-the-dark inks. For best results, print puff ink last to preserve the raised effect and avoid flattening during subsequent print passes.
What fabrics work best for textured puff prints?
100% cotton and cotton-blend fabrics are ideal, as they hold the ink well and withstand the curing process. Always test on your specific fabric type, as some synthetics may not tolerate the required heat or may not bond well with plastisol-based inks.
How do I prevent the puff effect from flattening after curing?
Allow the garment to cool completely before stacking or folding. Avoid placing heavy objects on top of freshly cured prints, as pressure can compress the raised texture. Proper curing and handling are key to maintaining the 3D effect.
Conclusion
Mastering how to create textures with 3D puff ink offers designers a unique way to add depth and tactile interest to apparel. By understanding the materials, refining your technique, and experimenting with artwork, you can produce prints that truly stand out. Whether you’re creating bold logos or intricate patterns, the raised finish of puff ink brings a new dimension to textile design.