Customizing clothing with stencils is a practical and creative way to make your wardrobe stand out. Whether you’re new to garment decoration or looking to expand your skills, learning how to use stencils for DIY fashion printing opens up a world of possibilities. Stenciling allows you to apply unique patterns, bold graphics, or subtle textures to fabric, all from the comfort of your home. With the right materials and a bit of technique, you can transform plain garments into personalized fashion statements.
Before diving into the step-by-step process, it’s helpful to understand why stenciling is such a popular choice for DIYers. It’s affordable, accessible, and doesn’t require expensive equipment. Plus, the results can be as simple or intricate as you like, making it suitable for beginners and experienced crafters alike.
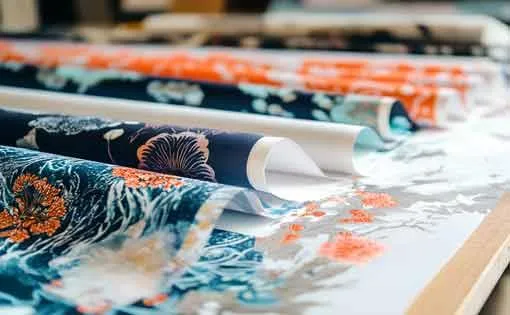
For those interested in the tactile qualities of printed garments, you may want to explore what is soft hand feel in garment printing to ensure your finished pieces are not only visually appealing but also comfortable to wear.
Why Choose Stenciling for Custom Garment Decoration?
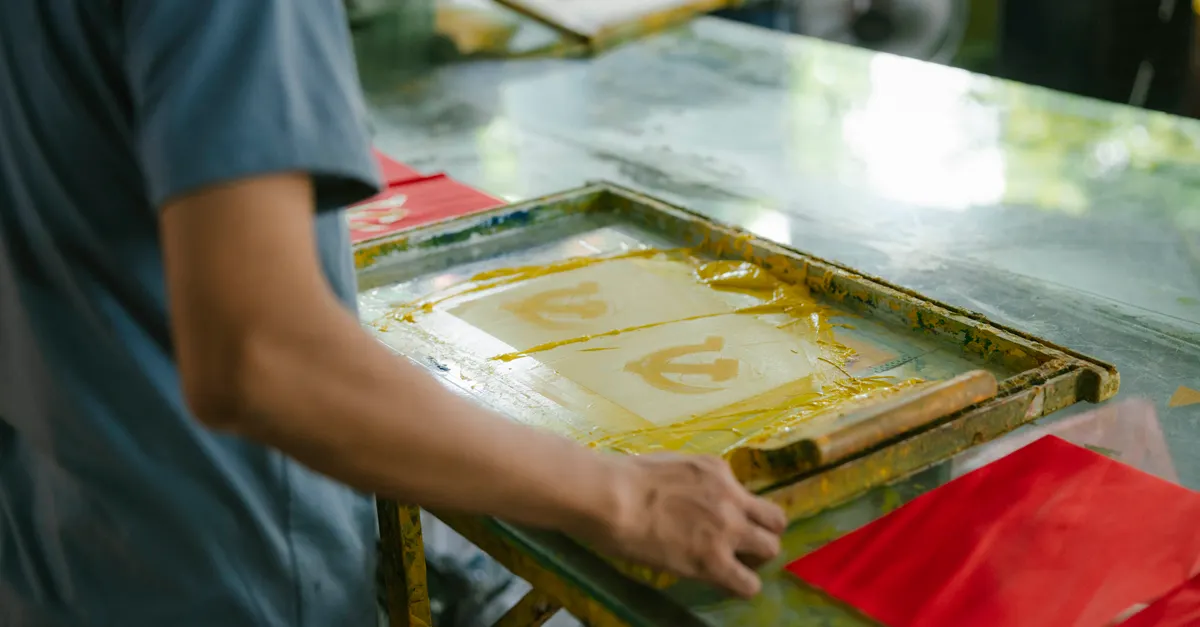
Stenciling stands out among DIY printing techniques for several reasons. Unlike screen printing or digital methods, stenciling requires minimal setup and is easy to adapt for small projects. Here are some key benefits:
- Cost-effective: Most materials are inexpensive and reusable.
- Versatile: Suitable for t-shirts, tote bags, jeans, jackets, and more.
- Creative freedom: You can design your own stencils or purchase pre-made ones in countless styles.
- Beginner-friendly: No need for specialized training or equipment.
Stenciling is also a great way to experiment with layering colors, mixing media, and combining different textures. This flexibility makes it a favorite for those who want to express their creativity through fashion.
Essential Tools and Materials for DIY Stencil Printing
Before starting your project, gather the following supplies:
- Stencils: These can be store-bought or homemade from materials like mylar, acetate, or sturdy paper.
- Fabric paint or ink: Choose high-quality, washable paints designed for textiles.
- Applicators: Foam brushes, sponges, or stencil brushes work well for even application.
- Adhesive spray or tape: To secure the stencil and prevent shifting.
- Protective surface: Place cardboard or plastic inside garments to stop paint from bleeding through.
- Garments: Cotton and cotton blends are ideal, but stenciling works on many fabrics.
- Gloves and apron: Optional but recommended to keep hands and clothes clean.
Having the right tools ensures crisp, clean results and makes the process smoother from start to finish.

Step-by-Step: How to Apply Stencils for Fashion Printing
Follow these steps to achieve professional-looking prints on your clothing:
- Prepare your workspace: Lay out all materials and cover your work area to protect against spills.
- Pre-wash and iron the fabric: This removes sizing and ensures a smooth surface for printing.
- Position the stencil: Secure it to the fabric using adhesive spray or tape. Make sure it’s flat and tight to prevent paint from seeping underneath.
- Apply the paint: Dip your applicator lightly into the paint, then dab or brush over the stencil. Use a small amount of paint to avoid bleeding.
- Remove the stencil: Carefully lift the stencil while the paint is still wet. Clean the stencil immediately if you plan to reuse it.
- Dry and set the design: Allow the paint to dry completely. Follow the manufacturer’s instructions for heat-setting, usually by ironing or tumble drying, to make the print permanent.
For multi-color designs, let each layer dry before applying the next stencil to prevent smudging.
Tips for Clean, Professional Results
Even simple designs can look polished with a few expert tricks:
- Use minimal paint: Too much paint increases the risk of bleeding under the stencil.
- Test on scrap fabric: Practice your technique before working on your final garment.
- Secure the stencil well: Any movement can blur the design.
- Clean stencils promptly: Dried paint can clog fine details and ruin future prints.
- Layer for depth: Try overlapping shapes or using gradients for more dynamic effects.
With practice, you’ll develop your own style and discover new ways to use stencils for unique fashion pieces.
Common Mistakes to Avoid When Using Stencils on Fabric
While stenciling is straightforward, a few common errors can affect your results:
- Not securing the stencil: Movement leads to blurry edges.
- Overloading the brush: Excess paint causes bleeding and uneven prints.
- Skipping fabric prep: Unwashed or wrinkled fabric can prevent paint from adhering properly.
- Ignoring paint instructions: Not heat-setting or using the wrong type of paint can result in fading or cracking after washing.
By paying attention to these details, you’ll achieve crisp, long-lasting designs every time.
Expanding Your DIY Printing Skills
Once you’re comfortable with basic stenciling, consider exploring other garment decoration techniques. For example, you might compare the differences between embroidery and printing for brand logos to see which best fits your project. You can also experiment with layering stencils, combining them with hand painting, or incorporating digital textile printing for more complex designs. For those interested in advanced methods, digital textile printing technology offers even greater creative potential.
Maintaining your tools and screens is also important. If you use screens for more advanced printing, learning how to remove ghost images from printing screens will help keep your prints sharp and professional.
Care Instructions for Stenciled Garments
To keep your custom-printed clothing looking fresh, follow these care tips:
- Wait before washing: Allow paint to cure for at least 24–48 hours after printing.
- Wash inside out: This protects the design from friction and fading.
- Use cold water and gentle cycles: Hot water and harsh agitation can damage prints.
- Avoid bleach and strong detergents: These can break down fabric paint.
- Air dry when possible: High heat can cause cracking or peeling over time.
Proper care extends the life of your designs and keeps them vibrant for many wears.
FAQ: Stencil Printing for Fashion DIYers
What types of fabric work best for stencil printing?
Natural fibers like cotton, linen, and blends with a high cotton content are ideal. They absorb paint well and provide a smooth surface for crisp prints. Synthetic fabrics can also be used, but may require special fabric paints or additional prep.
Can I make my own stencils at home?
Absolutely. You can create custom stencils using materials like mylar sheets, acetate, or even thick paper. Use a craft knife or cutting machine to cut out your design. Homemade stencils are perfect for unique, one-of-a-kind prints.
How do I prevent paint from bleeding under the stencil?
Use a minimal amount of paint and apply it in thin layers. Make sure the stencil is firmly secured to the fabric with adhesive spray or tape. Dabbing rather than brushing also helps keep edges sharp and clean.
Is stenciling suitable for large batch production?
While stenciling is excellent for small runs and custom pieces, it can be time-consuming for large quantities. For higher volume, consider screen printing or digital methods, which are more efficient for mass production.
How do I fix mistakes or smudges?
If the paint is still wet, gently blot the area with a damp cloth. For dried paint, you may be able to cover mistakes with a new design or patch. Practicing on scrap fabric first can help minimize errors on your final garment.