Screen printing is a time-tested method for producing vibrant, eye-catching posters that stand out in any setting. While many associate this technique with textile printing, its application to posters offers unique creative opportunities and challenges. Understanding the specific process, materials, and troubleshooting methods for poster printing can help artists, designers, and hobbyists achieve professional-quality results. This guide explores the essential and advanced screen printing techniques for posters, focusing on practical steps and solutions tailored to paper-based projects.
Understanding the Poster Printing Process
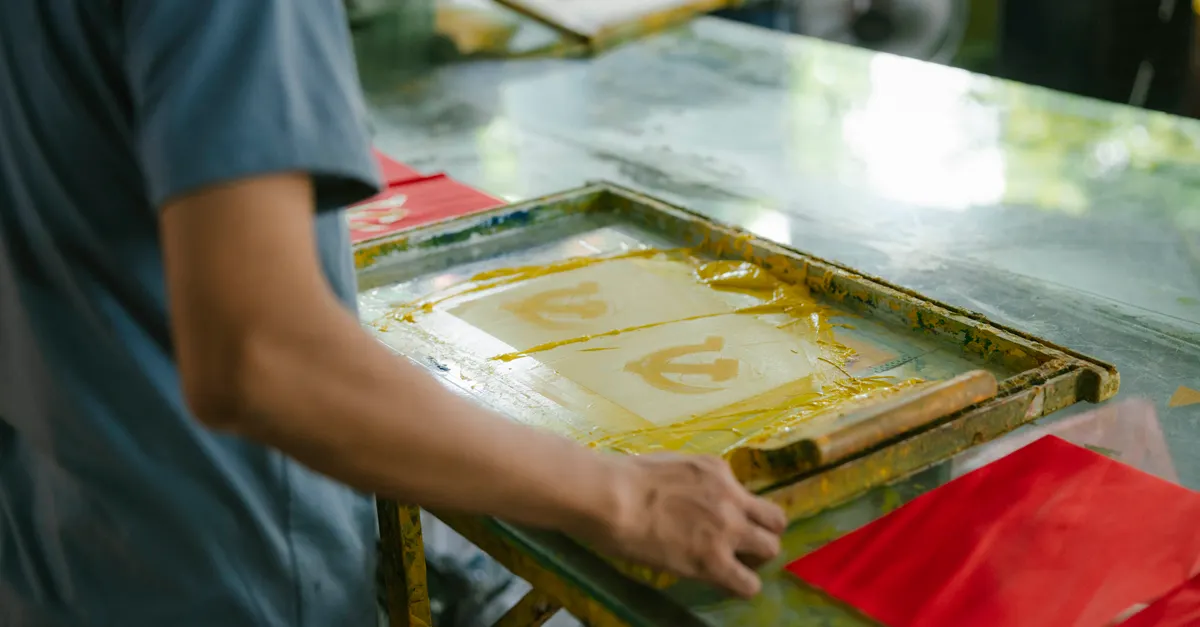
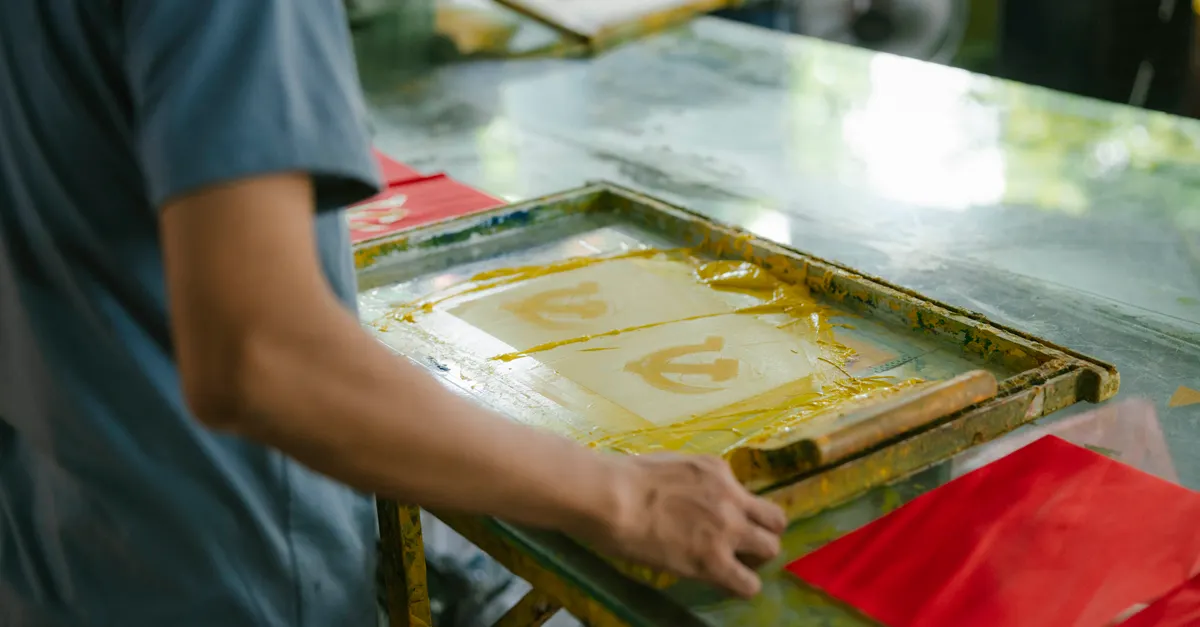
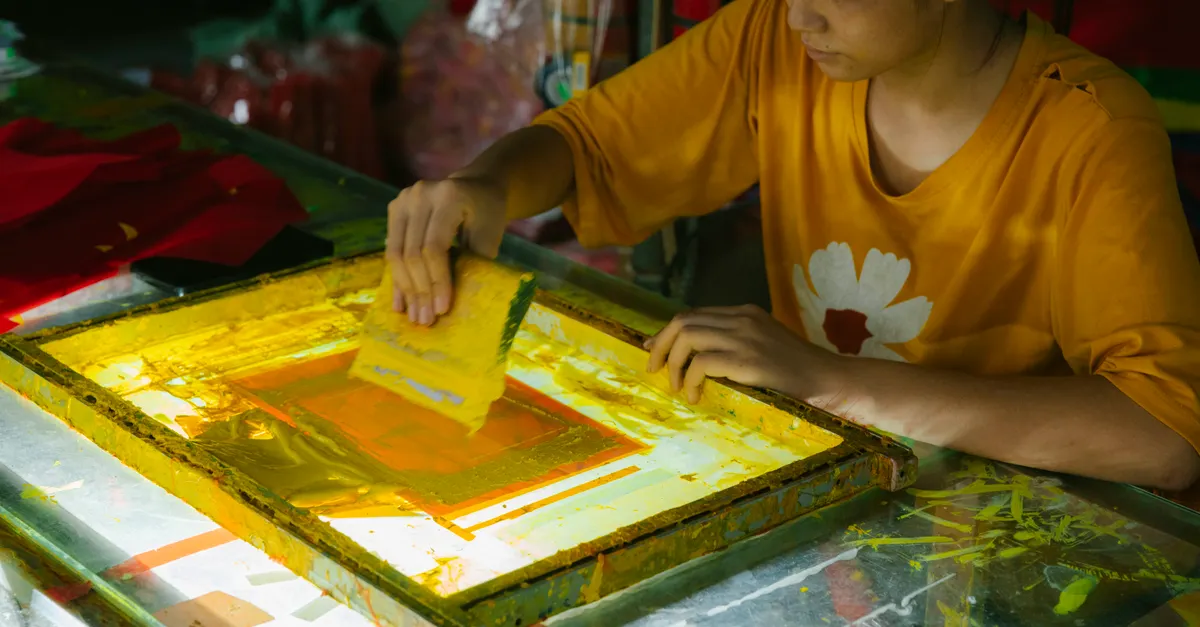
At its core, screen printing for posters involves transferring ink through a mesh screen onto paper using a stencil. Unlike textile applications, poster printing requires careful attention to paper type, ink absorption, and registration to ensure crisp, detailed images. The process is valued for its ability to produce bold colors and sharp lines, making it a popular choice for limited-edition art prints, gig posters, and promotional materials.
The popularity of this method for posters comes from its versatility and the tactile, handcrafted quality it imparts to each print. By layering inks and experimenting with different techniques, creators can achieve effects that are difficult to replicate with digital printing.
Step-by-Step Guide: Basic Screen Printing for Posters
To achieve high-quality results, it’s important to follow a structured approach. Below are the fundamental steps in the poster screen printing process:
- Design Preparation: Begin by creating your artwork, keeping in mind that each color will require a separate screen. Convert your design to black and white for each color layer.
- Screen Preparation: Coat a clean mesh screen with light-sensitive emulsion. Once dry, place your design (on a transparent film) over the screen and expose it to light. The emulsion hardens where light hits, while the covered areas remain soft and are washed away, creating a stencil.
- Setting Up the Print Area: Secure your screen in a frame and align your poster paper underneath. Use registration marks to ensure each layer lines up correctly.
- Mixing and Applying Ink: Select inks suitable for paper. Place ink at one end of the screen, then use a squeegee to pull the ink evenly across the stencil, transferring the design onto the poster.
- Drying and Curing: Carefully lift the screen and allow the print to dry. Depending on the ink, you may need to use a drying rack or gentle heat to cure the print fully.
- Repeating for Additional Colors: Clean the screen and repeat the process for each color layer, ensuring precise alignment.
Essential equipment includes a mesh screen, squeegee, emulsion, exposure unit (or strong light source), inks, and a sturdy frame or press. Poster printing often requires finer mesh screens and inks formulated for paper, distinguishing it from textile-focused setups.
Choosing Materials and Equipment for Poster Projects
The choice of materials and tools plays a significant role in the outcome of your poster prints. Here are the key components to consider:
- Paper: Use heavyweight, smooth papers designed for printmaking. Thicker stock resists warping and absorbs ink evenly.
- Screens and Mesh: Select a mesh count appropriate for the detail in your design. Finer meshes (higher mesh count) are ideal for intricate poster graphics. For more on mesh selection, see resources like screen printing mesh sizes explained.
- Inks: Water-based inks are commonly used for posters due to their vibrant color and ease of cleanup. Some artists opt for acrylic or specialty inks for unique effects.
- Emulsion: Choose a photo-sensitive emulsion compatible with your ink and exposure method. Proper coating and drying are crucial for sharp stencils.
- Squeegee: A medium to hard squeegee with a straight edge ensures even ink transfer. The size should match your design and screen.
- Exposure Unit: While professional exposure units offer consistency, DIY setups with strong UV lights can also work for small runs.
Unlike textile printing, poster projects often require more precise registration systems and careful paper handling to prevent smudging or misalignment. Investing in a vacuum table or registration pins can help maintain consistency across multiple prints.
Exploring Advanced Screen Printing Techniques for Posters
Once you’re comfortable with the basics, advanced methods can elevate your poster prints and expand creative options. Here are some techniques to consider:
- Multi-Color Layering: By preparing separate screens for each color, you can build complex, vibrant images. Accurate registration is essential to prevent overlapping or gaps between colors.
- Split Fountain Printing: This method involves blending two or more ink colors on the same screen, creating gradients or ombre effects within a single pass.
- Special Effects Inks: Metallic, fluorescent, or glow-in-the-dark inks add unique visual interest. These inks may require adjustments in mesh count or curing time.
- Textural Techniques: Experimenting with thickened inks or adding mediums can create raised, tactile surfaces on posters.
- Halftone Printing: Use halftone patterns to simulate gradients or photographic images, allowing for detailed, nuanced poster designs.
These advanced screen printing techniques for posters open up creative possibilities beyond flat, single-color prints. They are especially popular for limited-edition art prints and promotional posters where visual impact is key. For inspiration on applying creative approaches to other surfaces, you might explore screen printing techniques for bags as well.
Solving Common Screen Printing Challenges in Poster Production
Poster printing presents unique challenges compared to textiles, particularly due to the nature of paper and the need for precise registration. Here are some frequent issues and practical solutions:
- Ink Bleeding: If ink spreads beyond the intended area, check your paper type and ink viscosity. Using less absorbent paper or thickening your ink can help maintain sharp lines.
- Misalignment: Registration errors often occur when paper shifts between layers. Use registration marks, pins, or a vacuum table to keep paper in place during each pass.
- Paper Curling or Warping: Excess moisture from inks can cause paper to curl. Opt for heavier stock and allow adequate drying time between layers.
- Uneven Ink Coverage: This may result from inconsistent squeegee pressure or a clogged screen. Clean screens thoroughly and maintain even, firm pressure when printing.
- Sticking Screens: If the screen sticks to the paper, reduce ink load and ensure the emulsion is fully cured. Allow each layer to dry before proceeding.
Addressing these challenges requires patience and practice, but mastering them will lead to consistently high-quality poster prints. For those interested in troubleshooting issues on other substrates, such as textiles, resources on screen printing on dark fabrics offer helpful insights.
Conclusion: Achieving Professional Results with Poster Screen Printing
Mastering screen printing techniques for posters involves understanding both the fundamentals and the nuances specific to paper-based projects. From preparing your design and selecting the right materials to exploring advanced effects and troubleshooting common problems, each step contributes to the final quality of your prints. With attention to detail and a willingness to experiment, you can create posters that are not only visually striking but also durable and unique. Whether you’re producing art prints, promotional materials, or personal projects, these techniques provide a solid foundation for success in poster screen printing.
Frequently Asked Questions
What type of paper works best for screen printed posters?
Heavyweight, smooth, and uncoated papers are ideal for poster screen printing. They absorb ink evenly and resist warping, resulting in crisp, vibrant prints.
How do I prevent ink from bleeding on my posters?
To avoid ink bleeding, use paper with low absorbency, adjust ink viscosity, and ensure your screen mesh count matches the detail of your design. Allow each layer to dry thoroughly before printing the next color.
Can I use textile inks for poster printing?
While some textile inks can be used, it’s best to choose inks formulated specifically for paper. These inks provide better adhesion, color vibrancy, and drying times suited to poster projects.