Preparing vector artwork for screen printing is a crucial step in ensuring your designs translate perfectly from the computer screen to fabric. Whether you’re a graphic designer, apparel brand, or hobbyist, understanding the technical requirements and best practices for vector file setup can save time, reduce costs, and produce sharper, more vibrant prints. This guide covers the essential steps and considerations for getting your vector files ready for the screen printing process, from color separation to final export.
If you’re also interested in optimizing your designs for different garment sizes and proportions, check out these tips for designing for different garment sizes to ensure your artwork looks great on every product.
Understanding Vector Artwork for Print Production
Vector graphics are the industry standard for screen printing because they use mathematical equations to define shapes, lines, and colors. Unlike raster images, vectors can be scaled to any size without losing clarity or introducing pixelation. This makes them ideal for producing crisp, clean prints on garments of all sizes.
The most common vector file formats used in screen printing are AI (Adobe Illustrator), EPS, and PDF. These formats preserve editable paths and allow for precise color management, which is essential for the separation process and ink matching.
Key Steps in Preparing Vector Files for Screen Printing
1. Setting Up Your Document
Start by creating your artwork at the actual size it will be printed. Set the artboard dimensions to match the intended print area on the garment. Use CMYK color mode to ensure color accuracy, as most screen printing inks are mixed using CMYK or spot colors.
- Resolution: While vectors are resolution-independent, any embedded raster elements (like textures or photos) should be at least 300 DPI at print size.
- Bleed: Add a bleed area if your design extends to the edge of the print area to prevent unwanted white borders.
2. Organizing Layers and Objects
Keep your file organized by grouping related elements and naming your layers clearly. This makes it easier for the print technician to identify and separate colors. Remove any unused or hidden layers to avoid confusion during production.

3. Outlining Text and Strokes
Before sending your file to print, convert all text to outlines. This ensures that your chosen fonts will display correctly, even if the print shop doesn’t have them installed. Similarly, expand strokes to paths to prevent unexpected changes in appearance.
- Select all text and choose “Create Outlines” in Illustrator.
- Select strokes and use “Object > Path > Outline Stroke.”
4. Color Separation for Screen Printing
One of the most important aspects of preparing artwork for screen printing is separating each color onto its own layer or artboard. Each color will require a separate screen, so minimizing the number of colors can help control costs.
- Spot Colors: Use spot colors for each ink. Assign Pantone or custom spot colors to each element.
- Registration Marks: Add registration marks outside the print area to help align each color screen during printing.
- Trapping: Apply slight overlaps (trapping) between colors to compensate for minor misalignments on press.
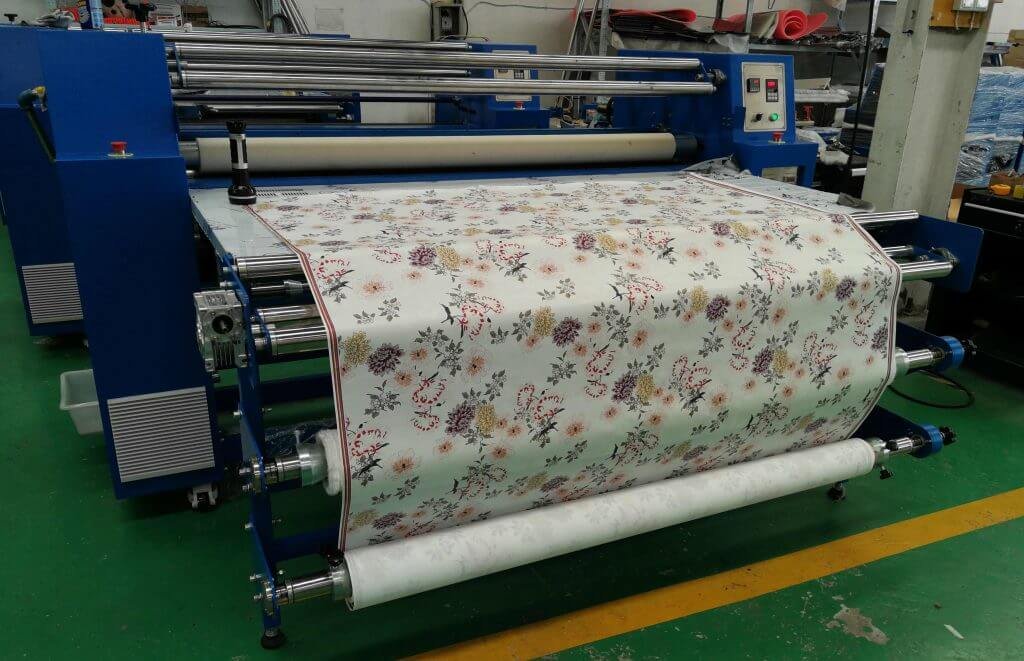
For more on the evolution of textile printing, see this overview of digital textile printing’s impact on fabric production.
Optimizing Vector Files for Print Quality
Ensuring Clean Paths and Shapes
Inspect your design for stray points, unnecessary anchor points, or overlapping shapes that could cause issues during screen creation. Use the “Simplify” and “Pathfinder” tools in Illustrator to clean up your artwork.
Managing Halftones and Gradients
Screen printing is best suited for solid colors, but halftones can be used to simulate gradients and shading. Convert gradients to halftone dots using vector halftone tools or by rasterizing and then vectorizing the halftone pattern. Make sure the dot size is appropriate for the mesh count of the screens being used.
Checking for Overprints and Knockouts
Overprinting allows one color to print on top of another, which can create new colors or special effects. Knockouts remove underlying colors to prevent unwanted color mixing. Review your file’s overprint settings to ensure the final print matches your vision.
Exporting and Delivering Your Vector Files
When your design is finalized, save your file in a format requested by your screen printer—typically AI, EPS, or PDF. Include a flattened, low-resolution JPEG or PNG as a visual reference for the printer. Double-check that all fonts are outlined, colors are separated, and no unnecessary elements remain.
- File Naming: Use clear, descriptive file names (e.g., “Brand_Tee_Front_3Color.ai”).
- Compression: Avoid excessive compression or flattening that could remove vector data.
- Proofing: Provide a PDF proof with callouts for colors, dimensions, and placement.
Common Mistakes to Avoid When Setting Up Vector Files
- Using raster images instead of vectors for key design elements.
- Leaving text un-outlined, resulting in font substitution issues.
- Not separating colors properly, leading to registration errors.
- Forgetting to add registration marks or trapping.
- Embedding unsupported color profiles or using RGB colors.
Additional Resources for Screen Printing Designers
For those looking to expand their knowledge, you might explore related topics such as how to create a strike-off for fabric approval or experiment with specialty inks by learning how to use glitter and metallic inks on apparel. If you’re curious about alternative print methods, see what is rotary screen printing for mass production or discover creative techniques like what is cyanotype printing on clothing.
Frequently Asked Questions
What file format is best for screen printing?
The most reliable formats are AI (Adobe Illustrator), EPS, and PDF. These preserve vector paths and color information, making them ideal for professional print production.
How do I separate colors in my vector file?
Assign each color in your design to a unique spot color and place them on separate layers or artboards. Use Pantone or custom spot colors, and add registration marks for alignment.
Can I use gradients or photos in screen printing?
Gradients and photos can be simulated using halftones, but they require careful preparation. Convert gradients to halftone dots and ensure the dot size matches the screen’s mesh count for best results.
Why do I need to outline fonts before sending my file?
Outlining fonts ensures that your text appears exactly as intended, regardless of whether the print shop has your font installed. This prevents font substitution and layout issues.
What should I check before exporting my final file?
Make sure all text is outlined, colors are separated, registration marks are included, and unnecessary layers are removed. Save in the requested vector format and provide a proof for reference.