Screen printing has long been a favorite technique among artists and printmakers for producing vibrant, high-quality art prints. Its versatility, tactile results, and ability to handle bold colors make it a go-to choice for both beginners and experienced creators. Whether you want to produce limited edition posters or experiment with layered designs, understanding the essentials of screen printing for art prints can help you achieve professional results. This guide explores key methods, materials, and practical tips to help you get started or refine your process.
Understanding the Screen Printing Process
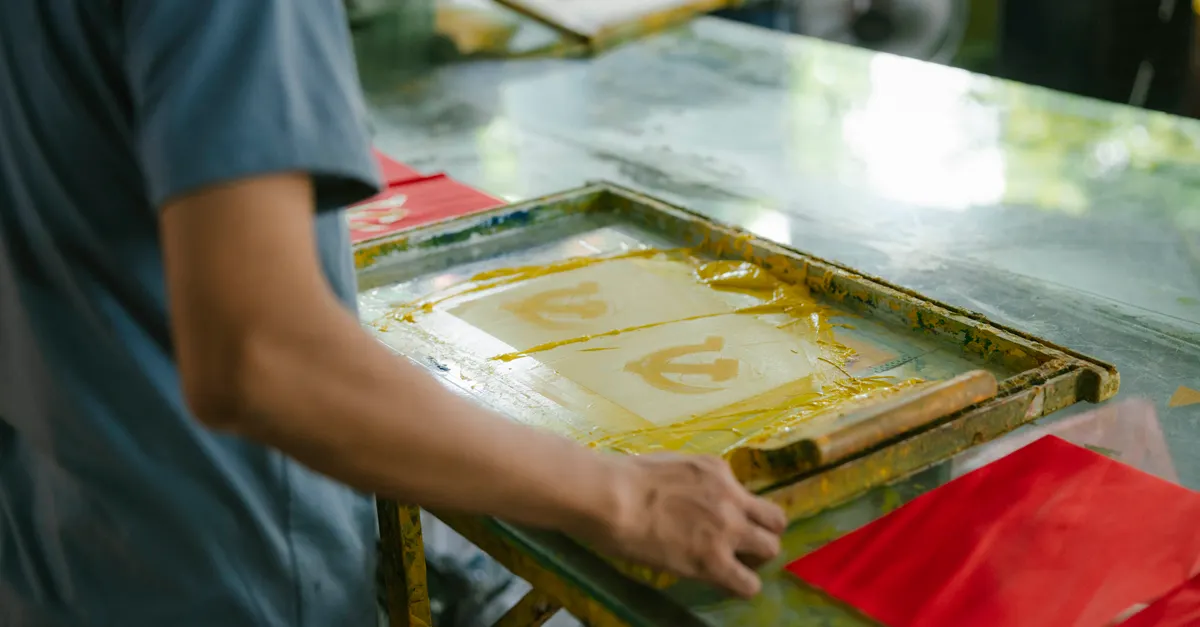
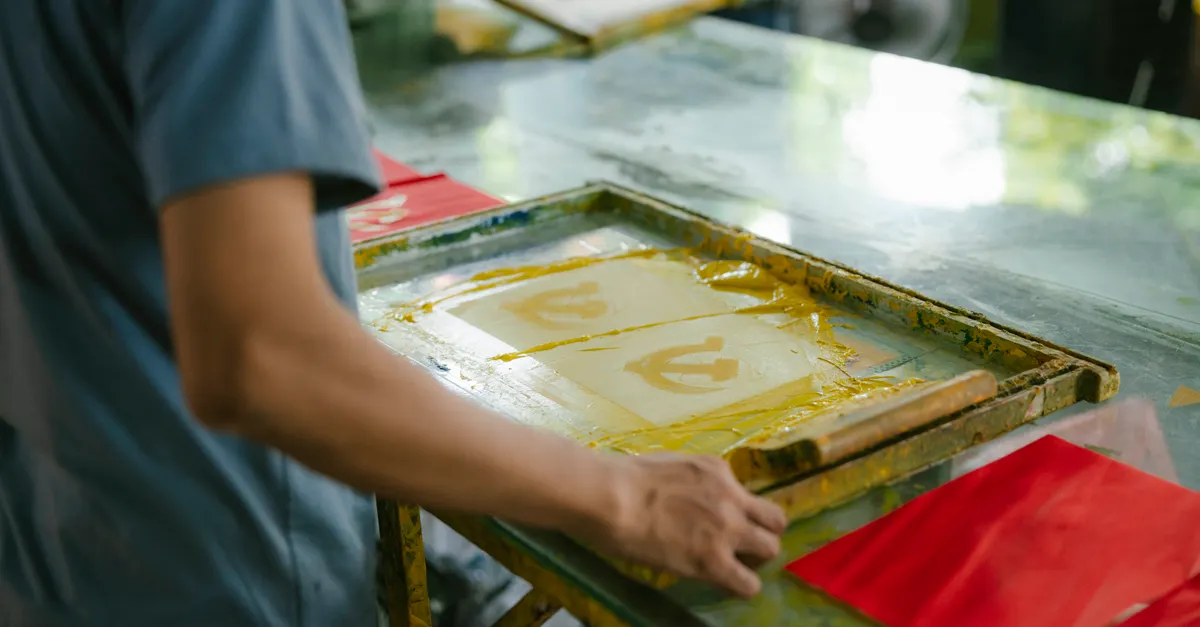
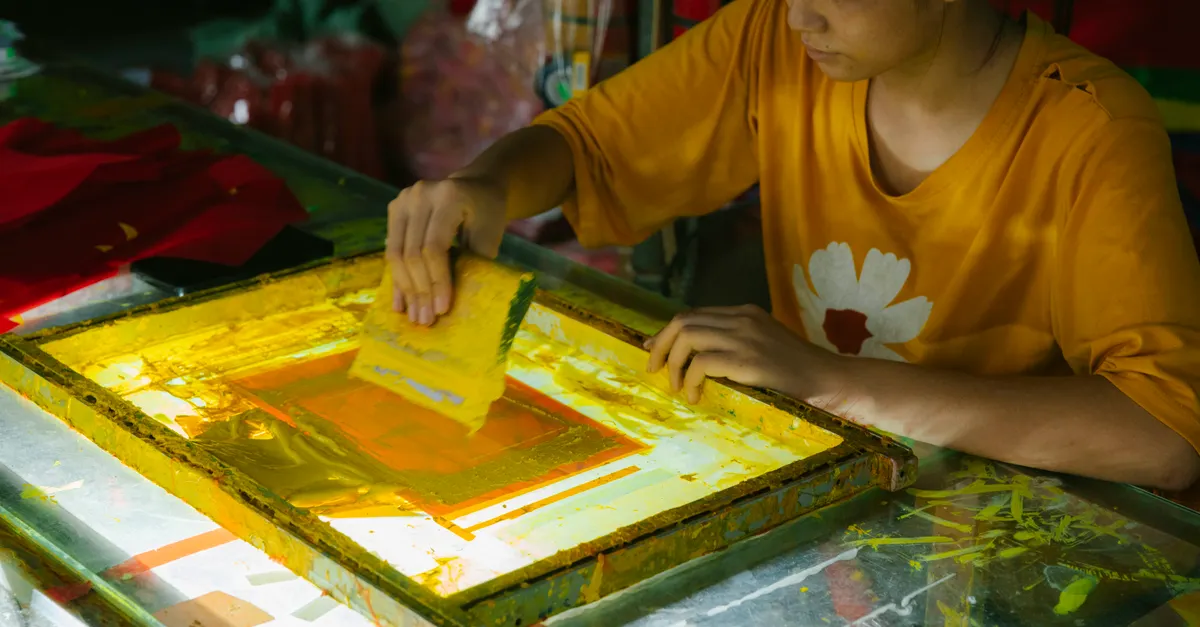
At its core, screen printing is a stencil-based technique. Ink is pushed through a mesh screen onto paper or another substrate, with certain areas blocked off to create the desired image. The process is both straightforward and adaptable, making it ideal for producing multiple copies of the same design or experimenting with color and texture.
For art prints, the process usually involves the following steps:
- Preparing the artwork and separating it into layers (one for each color).
- Transferring each layer onto a separate screen using a photosensitive emulsion.
- Aligning the screens and printing each color in sequence.
- Allowing each layer to dry before adding the next.
This method allows for precise registration and vibrant, layered effects that are difficult to achieve with other printmaking techniques.
Essential Materials and Tools for Art Printmaking
Before starting your first project, gather the necessary supplies. While some tools are specific to screen printing for art prints, many are standard in most printmaking studios:
- Screen and Frame: Choose a mesh count appropriate for your level of detail. Finer meshes (higher count) are better for intricate designs, while lower counts allow more ink through for bold, graphic prints.
- Squeegee: The squeegee is used to pull ink across the screen. Select one with a blade width that matches your design and a comfortable handle.
- Inks: Water-based inks are popular for paper prints due to their easy cleanup and vibrant colors. Oil-based inks may offer different textures and finishes.
- Paper: Use high-quality, acid-free paper designed for printmaking. Heavier weights prevent warping and absorb ink evenly.
- Emulsion and Exposure Unit: A photosensitive emulsion allows you to transfer your design onto the screen. An exposure unit or strong light source is needed to set the emulsion.
- Registration Tools: Accurate alignment is crucial for multi-color prints. Use registration tabs or marks to ensure each layer lines up perfectly.
Preparing Artwork for Screen Printing
Successful screen printing for art prints starts with well-prepared artwork. Here are some tips to optimize your designs:
- Color Separation: Each color in your design requires its own screen. Separate your artwork into individual layers using graphic software or by hand.
- Contrast and Line Quality: Bold lines and high-contrast shapes print best. Fine details may be lost if your mesh count is too low or your emulsion isn’t applied evenly.
- Size and Placement: Make sure your design fits within the printable area of your screen and paper. Leave margins to prevent ink from spilling over the edges.
Once your artwork is ready, print each layer onto transparent film or tracing paper. These will be used to expose your screens.
Step-by-Step Guide to Printing Art Editions
Creating a successful edition of art prints involves careful planning and attention to detail. Follow these steps for consistent, high-quality results:
- Coat the Screen: Apply a thin, even layer of emulsion to both sides of your screen. Allow it to dry in a dark, dust-free environment.
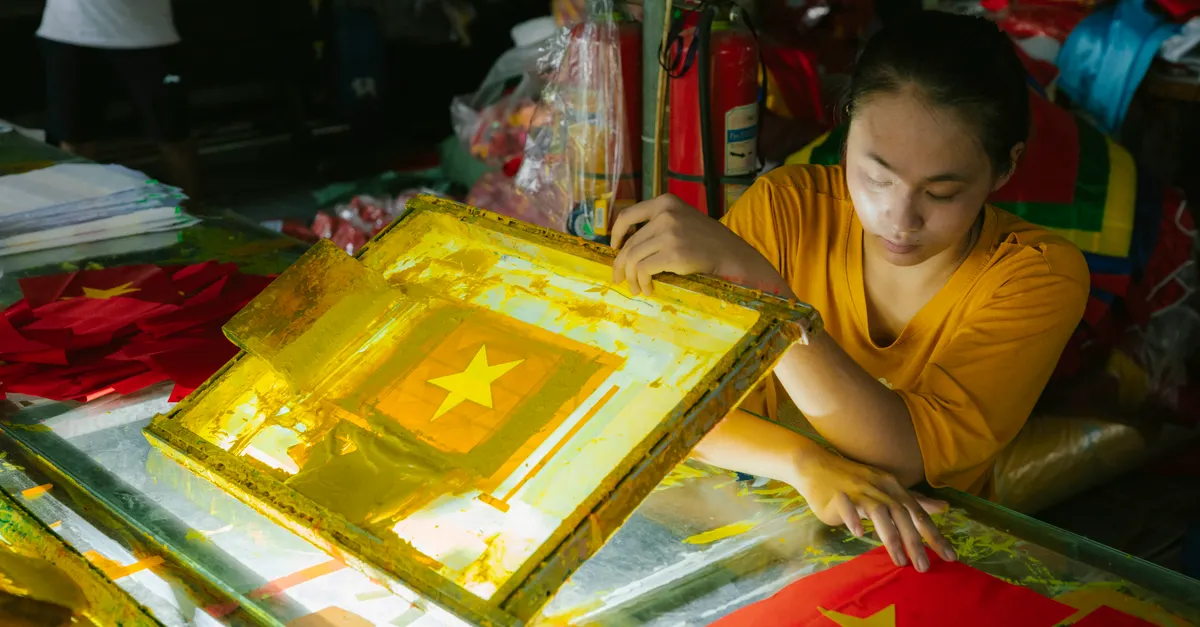
- Expose the Screen: Place your artwork transparency on the screen and expose it to light. The emulsion hardens where light hits, while the covered areas remain soft and can be washed away, creating your stencil.
- Set Up Registration: Attach registration tabs to your paper and screen. This ensures each print aligns perfectly, especially when printing multiple colors.
- Print the First Color: Place your paper under the screen, add ink at one end, and pull the squeegee across the screen in a smooth, firm motion. Lift the screen and allow the print to dry.
- Repeat for Additional Colors: Clean the screen, set up the next color, and repeat the process for each layer.
- Inspect and Finish: Check each print for consistency. Number and sign your edition if desired.
Advanced Techniques for Unique Art Prints
Once you’re comfortable with the basics, try experimenting with advanced methods to create distinctive effects:
- Split Fountain Printing: Blend two or more colors on the same screen for smooth gradients.
- Textured Layers: Use specialty inks or add materials like glitter or metallic powders for tactile surfaces.
- Hand-Drawn Elements: Combine screen printing with hand-painted details for one-of-a-kind pieces.
- Printing on Colored or Specialty Papers: Experiment with different backgrounds to see how they affect your colors and overall look.
For those interested in expanding their skills further, exploring screen printing on dark fabrics can offer new challenges and creative opportunities, especially when adapting techniques for textiles or mixed media projects.
Common Challenges and Solutions in Screen Printing
Even experienced printmakers encounter issues from time to time. Here are some common problems and how to address them:
- Ink Bleeding: If your ink spreads beyond the intended lines, try using less pressure with the squeegee or switching to a thicker ink.
- Poor Registration: Misaligned layers can ruin a print. Double-check your registration marks and use a jig or template to keep everything in place.
- Clogged Screens: Dried ink can block the mesh. Clean your screen thoroughly between colors and after each session.
- Uneven Prints: Inconsistent pressure or uneven emulsion can cause patchy results. Practice your squeegee technique and ensure your emulsion is applied smoothly.
Tips for Achieving Professional Results
To elevate your screen printing for art prints and produce gallery-worthy editions, keep these tips in mind:
- Test Prints: Always run a few test prints before starting your edition. This helps you spot issues with registration, ink consistency, or paper choice.
- Keep a Clean Workspace: Dust, stray ink, and debris can all affect your prints. Clean your tools and surfaces regularly.
- Experiment with Color: Try mixing your own shades or layering transparent inks for unique effects. For more on this, see a comprehensive screen printing color mixing guide.
- Document Your Process: Take notes on your materials, settings, and techniques for future reference. This makes it easier to replicate successful prints or troubleshoot problems.
- Edition Carefully: If producing a limited run, number and sign each print. This adds value and authenticity to your work.
Frequently Asked Questions
What type of paper is best for screen printing art?
Choose high-quality, acid-free printmaking paper with a weight of at least 200 gsm. Heavier papers prevent warping and absorb ink evenly, resulting in crisp, professional prints.
Can I use screen printing for detailed or photographic images?
Yes, but achieving fine detail requires a high mesh count and careful preparation of your artwork. Photographic images are typically converted to halftones (tiny dots) to simulate gradients and shading.
How do I clean my screens and tools after printing?
Clean screens and squeegees immediately after use with water (for water-based inks) or appropriate solvents (for oil-based inks). Remove all ink and emulsion residue to prevent clogging and extend the life of your equipment.