Sublimation printing has become a go-to method for adding vibrant, long-lasting designs to a wide range of surfaces. Among these, ceramics stand out for their versatility and the professional finish they offer. Whether you’re interested in personalizing mugs, tiles, or decorative plates, mastering sublimation printing on ceramics opens up a world of creative possibilities. This guide will walk you through the essentials, from understanding the process and gathering the right materials to exploring innovative project ideas and ensuring your creations stand the test of time.

What Makes Sublimation Printing Ideal for Ceramics?
At its core, sublimation printing is a process where special inks are transferred onto a substrate using heat and pressure. The ink turns into a gas and bonds with the surface, resulting in a permanent, full-color image. Ceramics, when coated with a polymer layer, are especially well-suited for this technique. The result is a smooth, glossy finish that resists fading and scratching, making it popular for both functional and decorative items.
This method is favored by hobbyists and professionals alike because it allows for intricate, photo-quality designs that become part of the ceramic itself rather than sitting on top like traditional decals. The popularity of this approach has grown with the availability of user-friendly equipment and printable blanks, making it accessible for home crafters and small businesses.
Understanding the Sublimation Process for Ceramics
To achieve the best results with sublimation printing on ceramics, it’s important to understand the specific steps and materials involved. The process is straightforward but requires attention to detail and the right setup.
Essential Materials and Equipment
- Sublimation printer (such as the Sawgrass SG1000): Designed to use sublimation inks, these printers produce high-resolution images on special transfer paper.
- Sublimation paper: This paper holds the ink and releases it efficiently when heated.
- Heat press: A press capable of reaching temperatures around 400°F (204°C) is necessary. For mugs and rounded objects, a mug press or a wrap is used; for tiles or flat items, a flat press works best.
- Heat-resistant tape: Secures the transfer paper to the ceramic item to prevent shifting during pressing.
- Ceramic blanks: Only ceramics with a polymer coating are suitable, as the sublimation ink bonds with this layer.
- Protective gear: Heat-resistant gloves and proper ventilation are recommended for safety.
Step-by-Step Guide to Printing on Ceramic Tiles
- Prepare your design: Use graphic software to create or edit your image. Remember to mirror the design before printing, as it will be reversed during transfer.
- Print onto sublimation paper: Load the paper into your sublimation printer and print using the correct settings for color accuracy.
- Position the transfer: Place the printed image face-down on the ceramic tile. Secure it with heat-resistant tape to prevent movement.
- Set up the heat press: Preheat your press to approximately 400°F (204°C). Place a sheet of protective paper or a thermal laminate pouch between the press and the tile to prevent ink bleed.
- Press the tile: Apply firm, even pressure for 5–7 minutes (timing may vary by tile and press). Follow manufacturer recommendations for best results.
- Cool and remove paper: Carefully remove the tile using gloves, as it will be very hot. Peel away the transfer paper to reveal the finished design.
For a more detailed breakdown of the sublimation printing process, including tips for troubleshooting and optimizing results, you can explore additional resources tailored to various substrates.
Creative Ways to Use Sublimation on Ceramics
One of the most exciting aspects of this technique is the range of creative projects you can tackle. From personalized gifts to custom home décor, the possibilities are nearly endless.
Popular Project Ideas
- Photo tiles: Turn family photos or artwork into decorative tiles for wall displays, coasters, or table centerpieces.
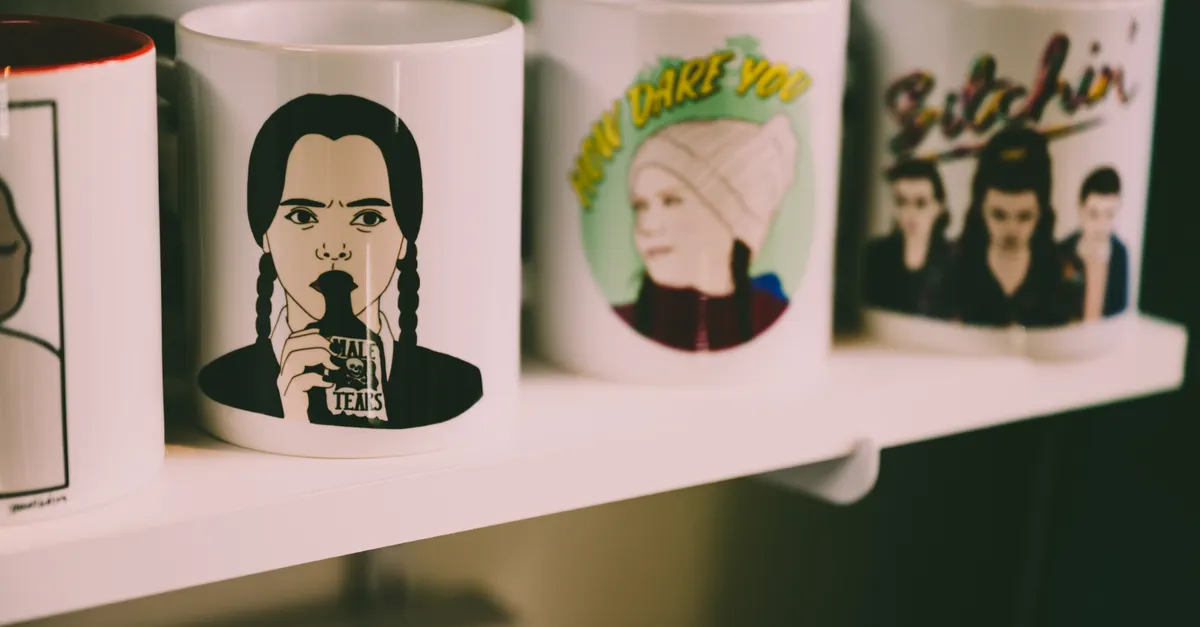
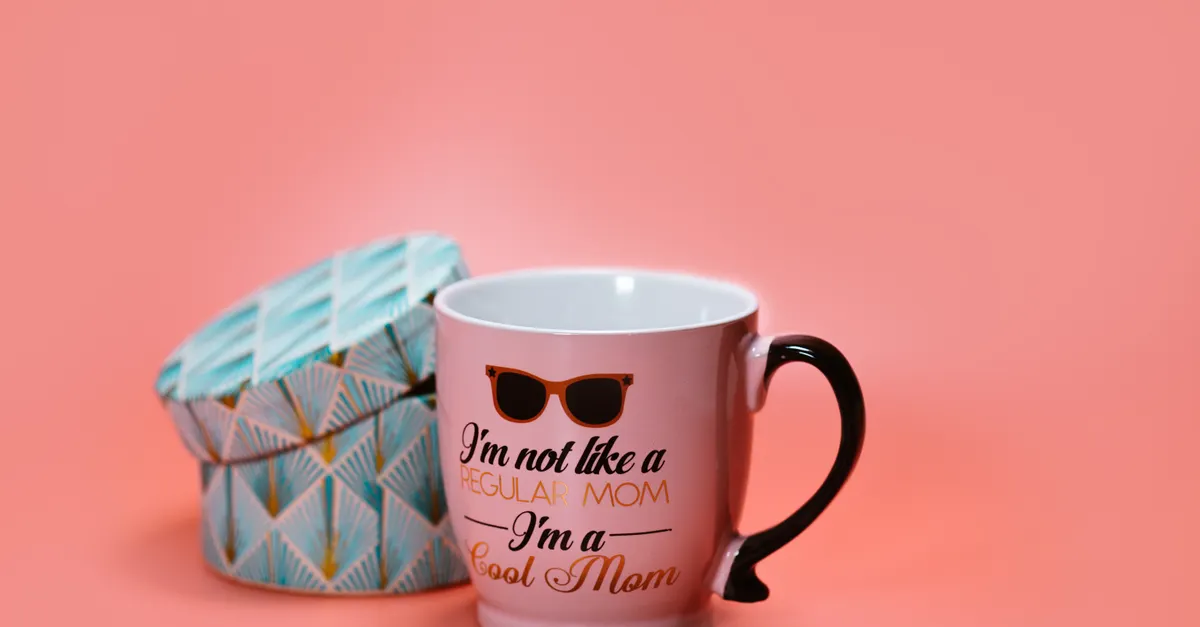
- Custom mugs and cups: Design unique drinkware for events, businesses, or personal use. Add names, logos, or themed graphics for a professional finish.
- Decorative plates: Create commemorative plates for special occasions like weddings, anniversaries, or holidays.
- Artistic tiles: Experiment with patterns, watercolor effects, or classic motifs such as Delft tile graphics for a timeless look.
- Functional ceramics: Personalize items like trivets, spoon rests, or plant pots with bold designs or inspirational quotes.
When designing for ceramics, consider the shape and size of your blank. Use high-contrast images and bold colors for the most striking results. Layering text and graphics can add depth, while experimenting with different design styles—such as minimalist, vintage, or abstract—can help your creations stand out.
Tips for Creative Success
- Test your designs on inexpensive blanks before committing to premium items.
- Explore online design templates or create your own using vector graphics for crisp edges.
- Combine sublimation with other techniques, like vinyl decals or hand-painting, for mixed-media effects.
Ensuring Durability and Easy Maintenance
A key advantage of sublimation printing on ceramics is the durability of the finished product. The ink becomes part of the ceramic’s coating, making it resistant to scratches and fading under normal use.
However, to preserve the vibrancy and longevity of your designs, follow these care tips:
- Hand washing is best: While many sublimated ceramics are dishwasher-safe, hand washing with mild detergent will help maintain the image quality over time.
- Avoid harsh abrasives: Do not use steel wool or scouring pads, as these can damage the polymer coating.
- Keep away from direct flame: Sublimated ceramics are not designed for stovetop or oven use unless specified by the manufacturer.
- Store carefully: Stack or store items with soft liners to prevent chipping or scratching.
With proper care, sublimated ceramic items can retain their color and clarity for years, making them ideal for keepsakes, gifts, or daily use.
Frequently Asked Questions
Can I use any ceramic item for sublimation printing?
No, only ceramics with a special polymer coating are suitable for sublimation. Standard ceramics will not bond with the sublimation ink, so always check that your blanks are labeled as “sublimation-ready.”
What kind of printer and ink do I need?
You’ll need a dedicated sublimation printer, such as the Sawgrass SG1000, and compatible sublimation inks. Regular inkjet printers and inks will not work for this process.
How do I prevent ghosting or blurry images?
To avoid ghosting, make sure the transfer paper is tightly secured with heat-resistant tape and do not move the ceramic item until it has cooled. Using the correct time, temperature, and pressure settings is also crucial for sharp, vibrant results.
Conclusion
Exploring sublimation printing on ceramics is a rewarding way to combine creativity with practical crafting. With the right equipment, materials, and a bit of experimentation, you can produce custom pieces that are both beautiful and durable. Whether you’re designing for personal enjoyment or starting a small business, the ability to transfer vivid, lasting images onto ceramic surfaces opens up endless possibilities. Start with simple projects, refine your technique, and let your imagination guide you to new and unique creations.