Direct to Film (DTF) printing has become a popular choice for custom apparel and textile decoration, thanks to its versatility and vibrant results. However, achieving high-quality, durable prints relies heavily on proper preparation steps before the actual printing begins. Understanding what is the pretreatment process for DTF printing is essential for anyone looking to produce professional-grade transfers that last.
This guide breaks down the key stages, materials, and best practices for pretreating garments and films in DTF workflows. Whether you’re new to DTF or looking to refine your process, mastering pretreatment will help you avoid common issues like poor adhesion, fading, or washout. For those interested in comparing DTF with other textile printing methods, you may also find value in the guide to sublimation vs direct to film printing.
Why Pretreatment Matters in DTF Printing
Pretreatment is a critical step that directly impacts the print’s vibrancy, wash durability, and feel. In DTF workflows, it ensures that the transfer film and the garment surface are optimized for ink adhesion and powder bonding. Without proper pretreatment, even the best printers and inks can yield disappointing results.
The process involves preparing both the PET film (used as the transfer medium) and the fabric substrate. Each material type—cotton, polyester, blends, or specialty textiles—may require slight adjustments in the pretreatment approach to achieve optimal results.
Key Steps in the Pretreatment Process for DTF Printing
The typical workflow for preparing materials for DTF involves several important stages. Let’s break down each step to understand its purpose and best practices.
1. Preparing the PET Film
The first component in the DTF process is the PET (polyethylene terephthalate) film, which acts as the carrier for the printed design. High-quality PET films are coated to enhance ink receptivity and powder adhesion. Here’s how to prepare the film:
- Cleanliness: Ensure the film is free from dust, oils, or fingerprints. Contaminants can cause ink to bead or powder to fail to stick.
- Handling: Always handle films by the edges and store them in a clean, dry environment.
- Coating: Some films come pre-coated, while others may require a manual application of a primer or adhesion promoter. Always follow the manufacturer’s recommendations.
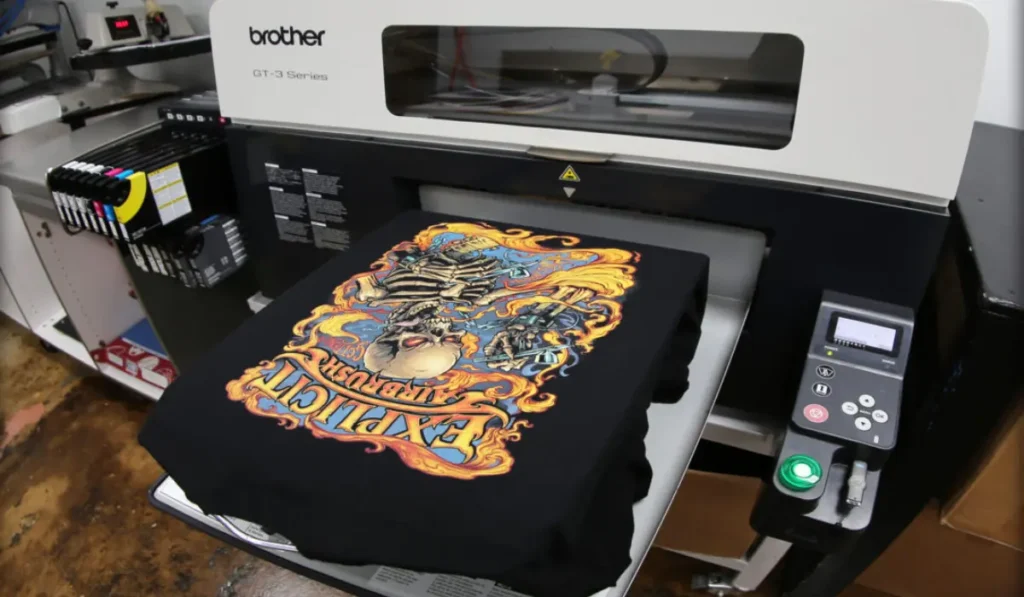
2. Applying Adhesive Powder
After printing the design onto the PET film with DTF inks, a special hot-melt adhesive powder is applied to the wet ink. This powder is crucial for bonding the print to the fabric during heat pressing.
- Even Application: Sprinkle the powder evenly across the printed area. Excess powder should be gently shaken off to avoid clumps.
- Curing: The powder must be melted onto the ink using a curing oven or heat press (without pressure). This step activates the adhesive properties.
- Storage: Once cured, the prepared transfer can be stored for later use, provided it is kept dry and clean.
3. Preparing the Garment or Substrate
While DTF is known for its compatibility with a wide range of fabrics, preparing the garment ensures the best possible transfer and longevity.
- Pre-Pressing: Use a heat press to flatten the fabric and remove moisture. This helps prevent steam or wrinkles during transfer.
- Surface Cleaning: Remove lint, dust, or loose fibers with a lint roller or air blower.
- Pretreatment Solution: For some challenging fabrics (especially dark or synthetic materials), a light spray of pretreatment solution may be applied to improve adhesion. Always test on a sample first.
Tips for Achieving Consistent Results
Consistency is key in any print production environment. Here are some practical recommendations to help you get the most out of your DTF pretreatment routine:
- Follow Manufacturer Guidelines: Always use powders, films, and pretreatment solutions that are compatible with your printer and ink system.
- Test Regularly: Run test prints when changing substrates or materials to fine-tune your process.
- Maintain Clean Workspaces: Dust and debris can compromise both the film and garment preparation, leading to defects.
- Monitor Environmental Conditions: Humidity and temperature can affect powder curing and ink performance.
Common Mistakes to Avoid in DTF Pretreatment
Even experienced printers can run into issues if pretreatment steps are overlooked or rushed. Here are some pitfalls to watch out for:
- Skipping Pre-Pressing: Moisture in the garment can cause bubbling or poor transfer adhesion.
- Uneven Powder Application: Too much or too little adhesive powder can result in patchy transfers or weak bonding.
- Ignoring Film Cleanliness: Contaminated films can lead to ink repelling or powder not sticking properly.
- Incorrect Curing: Under- or over-curing the adhesive powder can affect the final print’s durability.
How Pretreatment Differs from Other Textile Printing Methods
The approach to preparing materials for DTF is distinct from other digital textile printing processes. For example, in digital textile printing like DTG (Direct to Garment), pretreatment is typically applied directly to the fabric to enable white ink printing and improve wash resistance. In DTF, the focus is on optimizing both the transfer film and the garment, with adhesive powder playing a central role.
If you’re interested in learning more about how different textile printing technologies compare, including their unique pretreatment requirements, you may want to explore resources on what is all-over printing in streetwear design or what is digital sublimation for athletic wear.
Frequently Asked Questions
What happens if I skip pretreatment in DTF printing?
Skipping pretreatment can lead to poor ink adhesion, weak bonding of the adhesive powder, and prints that peel or fade quickly after washing. Proper preparation is essential for achieving vibrant, long-lasting results.
Do all fabrics require a pretreatment solution before DTF transfer?
Not all fabrics require a chemical pretreatment solution, but pre-pressing and cleaning are always recommended. For difficult substrates like dark polyester or performance fabrics, a light pretreatment spray can improve transfer quality.
How can I tell if my DTF pretreatment process is working correctly?
Signs of a successful pretreatment process include smooth, even prints with no visible powder residue, strong wash durability, and no peeling or cracking after transfer. Regular testing and quality checks are the best way to ensure consistent results.
Conclusion
Mastering the pretreatment process for DTF printing is a foundational skill for anyone seeking professional-quality textile transfers. By carefully preparing both the PET film and the garment, applying adhesive powder correctly, and following best practices, you can achieve vibrant, durable prints that stand up to repeated wear and washing. For further insights into textile printing workflows, consider reading about how to clean screen printing meshes or how to print on silk without damaging the fibers.