In today’s technology-driven world, the art and craft of creating personalized items have gained immense popularity. Among these, learning how to print stickers at home has become an appealing hobby and even a viable business opportunity. But how do you achieve professional-quality results without stepping out of your house? It’s here, a guide that endeavors to delve into the tremendous process of making custom stickers from the comfort of your home.

Why Choose to Print Stickers at Home?
The idea to print stickers at home is not only delightful but also cost-effective and fun. Home printing offers a level of customization that is big for any creative individual or small business owner. From choosing designs to selecting paper quality, it provides complete control over the sticker-making process. Read more about the benefits of home printing on the HP Tech Takes.
Essential Equipment for Printing Stickers
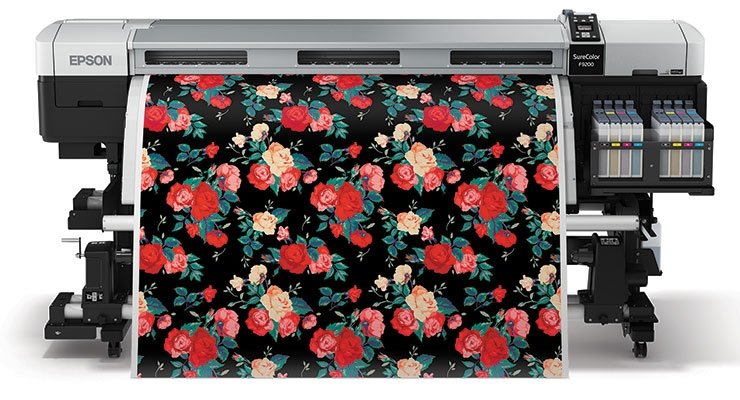
Printer Type
The choice of printer significantly affects the outcome of your stickers. An inkjet printer is generally recommended for vivid colors and intricate designs. However, a laser printer excels in printing basic shapes and text with durability.
Sticker Paper
Quality sticker paper is crucial for producing bright and high-quality stickers. Consider using matte or glossy options, each offering a unique finish.
Step-by-Step Guide: How to Print Stickers at Home
Step 1: Designing Your Stickers
Begin with the end in mind. Whether you prefer designing from scratch or using a template, software like Canva, Photoshop, or Illustrator can be tremendously helpful.
Step 2: Setting Up Your Printer
Proper setup of your printer ensures that your printing process is seamless. This includes setting printer preferences like print quality and paper type. Need more guidance? Visit printing cards from Canva.
Step 3: Printing the Stickers
After ensuring your design is perfect and your printer is ready, it’s time to print. Align the sticker paper carefully and give it a test print.
Step 4: Cutting and Finishing
Once printed, cutting out the stickers is the final step. You can use handy tools like scissors or craft cutters for precision.
Common Mistakes to Avoid
While the process is fairly straightforward, there are some common pitfalls to be aware of. These include improper paper loading, incorrect printer settings, or designs with incompatible colors.
Alternative Ideas for Using Home Printed Stickers
Home-printed stickers aren’t limited to just artistic expression. They can be applied to brand promotion, personalized gifts, or even organizational purposes.
The Cost Factor: Is it Economical?
With upfront costs such as purchasing a printer and paper, consider the long-term savings and flexibility to make endless designs without paying per order.
Environmental Considerations
With the growing awareness around eco-friendly practices, selecting sustainable paper and ink options can significantly reduce your carbon footprint.
Advancements in Sticker Printing Technology
The field of sticker printing has seen tremendous advancements. Technologies like pigment-based inks and digital cutters are consistently improving the quality and efficiency of home-printed stickers.
Wrap-Up
Mastering how to print stickers at home can be a delightful experience with positive creative fulfillment. The steps and technology for home-based sticker printing have made it possible for anyone to create high-quality stickers effortlessly.

FAQs
Can I use any printer to print stickers?
It’s best to use an inkjet or laser printer as they provide quality printing suited for stickers.
What type of paper is ideal?
Consider using matte or glossy sticker paper based on the desired finish.
Are home-printed stickers durable?
Home-printed stickers can be durable with the right choice of paper and ink, ensuring they last well against wear and tear.