Printing vibrant designs on dark fabrics can be a challenge, especially for those working with DIY setups rather than professional equipment. The opacity of inks, the absorbency of fabric, and the need for durable, long-lasting prints all add complexity to the process. However, with the right techniques and a clear understanding of the materials involved, it’s possible to achieve bold, eye-catching results at home. This guide explores practical methods for screen printing on dark fabrics, focusing on both essential concepts and creative solutions for those without access to commercial tools.
Getting Started: The Basics of Screen Printing
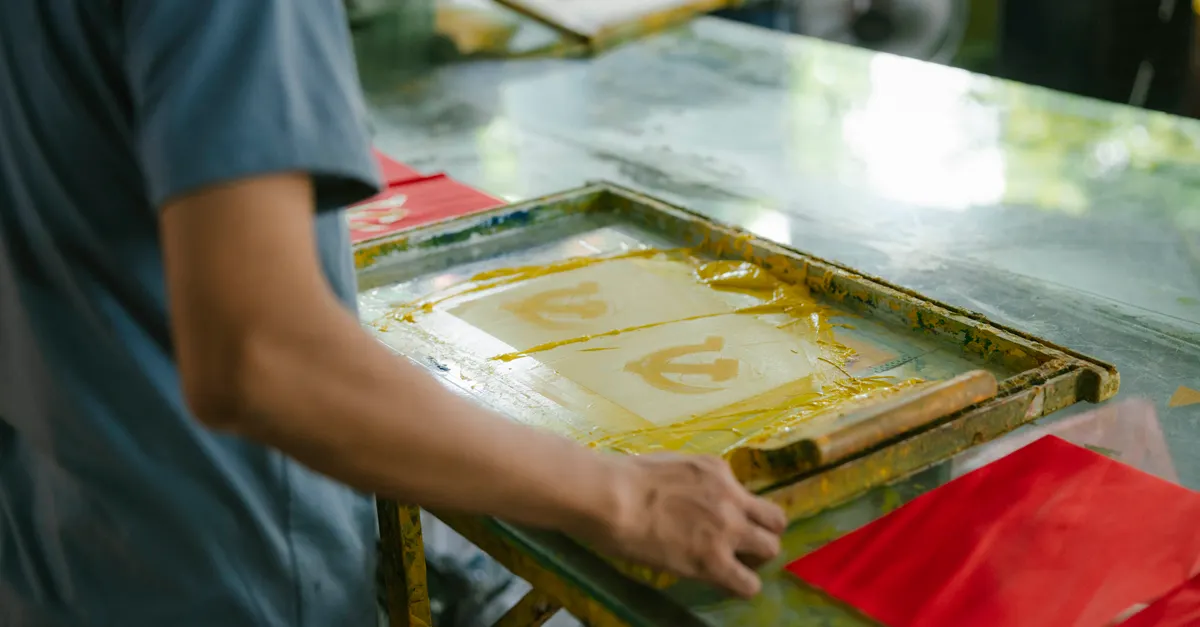
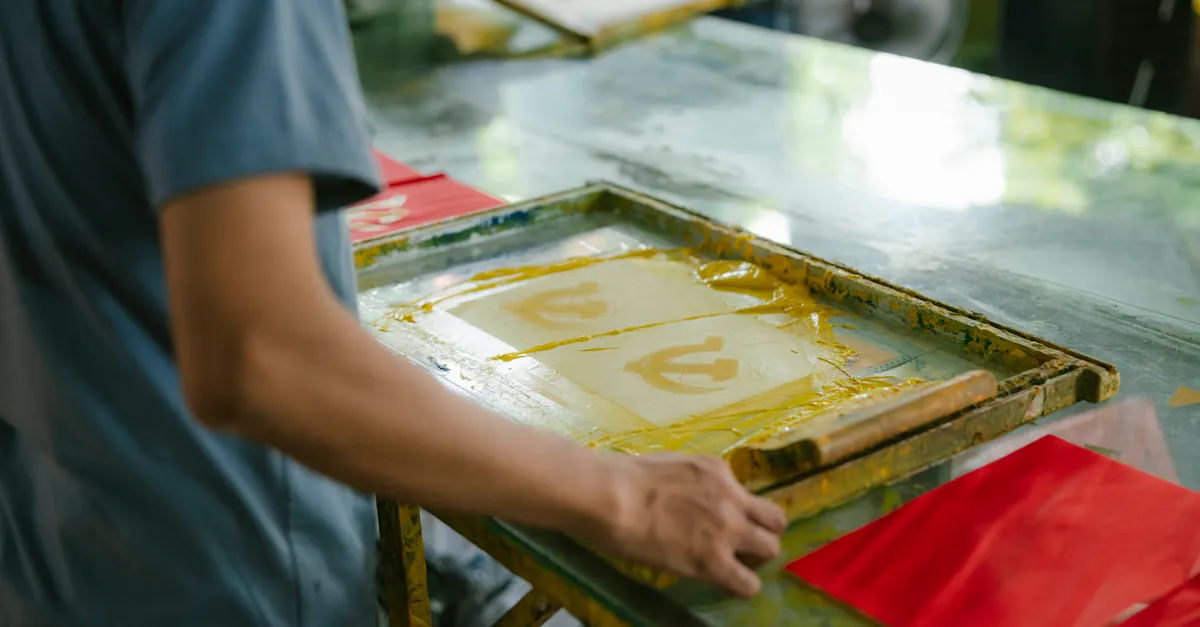
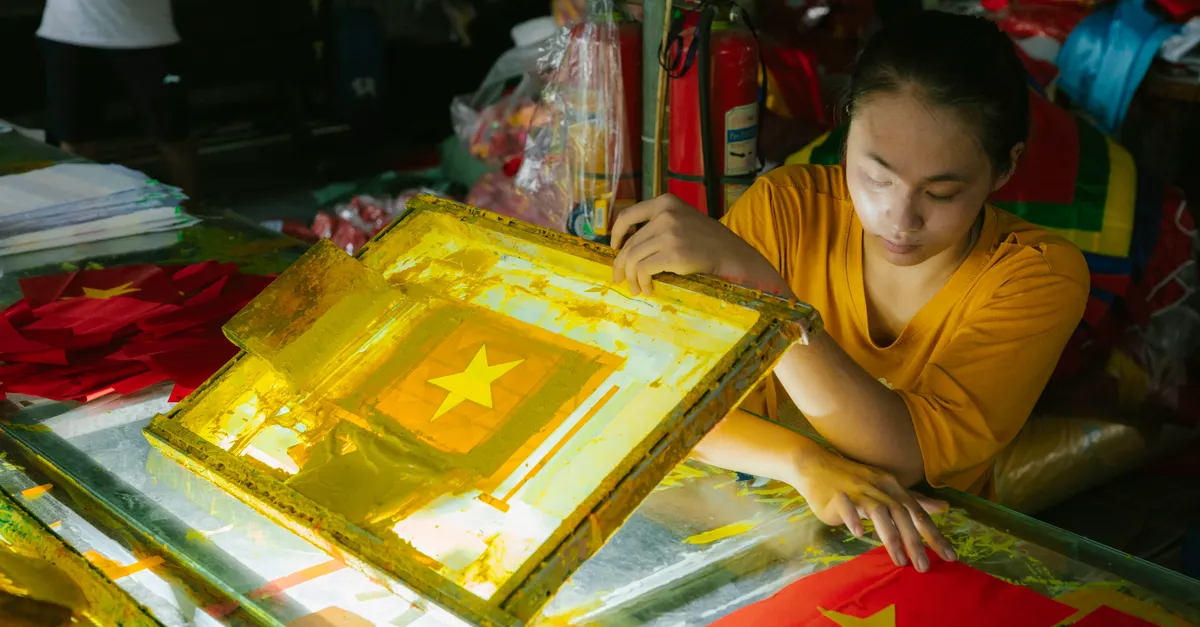
Screen printing is a versatile method that uses a mesh screen, a squeegee, and ink to transfer designs onto various surfaces, including textiles. The process is especially valued for its ability to create vivid, solid colors—even on dark backgrounds. Unlike heat transfer, which can be limited by material type and item shape, screen printing works well on everything from t-shirts and hoodies to tote bags and more.
To begin, you’ll need a few essential tools:
- Mesh screen: The screen holds the stencil of your design. Mesh count (the number of threads per inch) affects ink flow and detail. Lower mesh counts allow more ink through—useful for thick, opaque inks on dark fabrics. For more on mesh selection, see resources like mesh count for professional fashion.
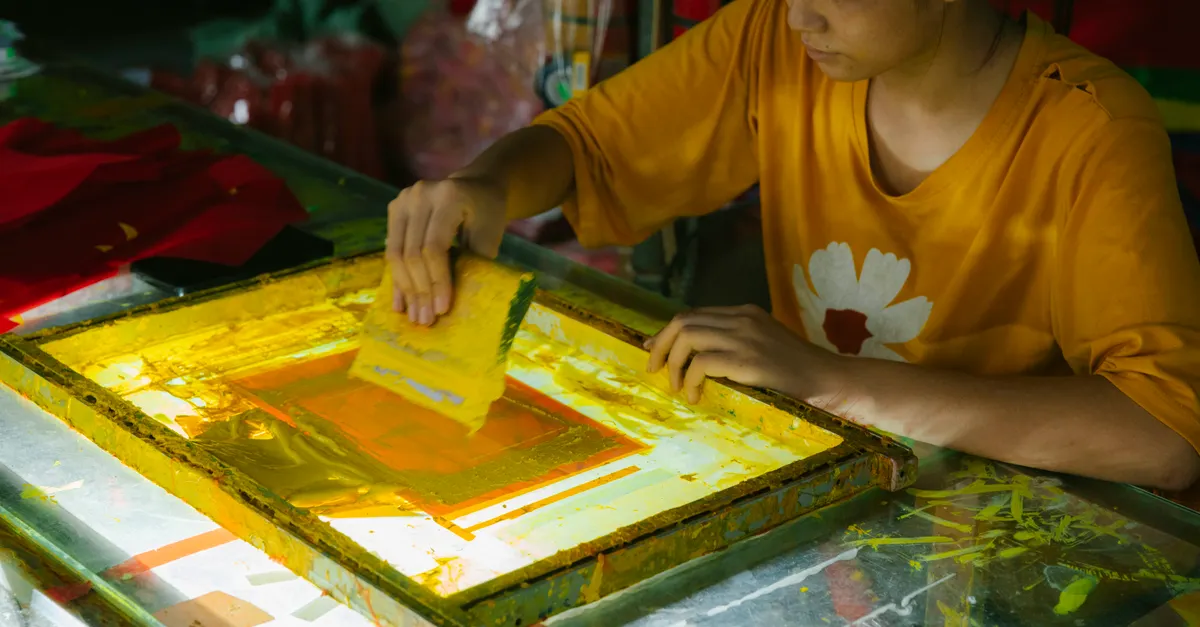
- Squeegee: This tool pushes ink through the mesh and onto the fabric. A firm, even stroke is key for consistent coverage.
- Emulsion: A light-sensitive coating applied to the screen. After exposure to light with your design, the emulsion hardens and blocks ink where you don’t want it to pass through.
- Inks: For dark fabrics, opaque and specially formulated inks are essential (more on this below).
- Substrate: The fabric or item you’re printing on, such as cotton t-shirts or canvas bags.
Once the screen is prepared, ink is applied and pressed through the open areas of the mesh, transferring the design onto the fabric. The result is a bold, durable print that stands up well to washing and wear.
Techniques for Vibrant Results on Dark Fabrics
Achieving bright, lasting colors on dark backgrounds requires a few specialized techniques. Here are the most effective approaches for screen printing on dark fabrics:
1. Underbase Printing
An underbase is a layer of white or light-colored ink printed first, serving as a foundation for your design. This base layer blocks the dark fabric from showing through and helps subsequent colors appear more vivid. Here’s how to use it effectively:
- Print the underbase using a low mesh count screen (typically 110–160) to allow for a thick, opaque layer.
- Flash cure the underbase—briefly apply heat to dry it before printing additional colors. This prevents colors from mixing and keeps edges sharp.
- Apply your colored inks on top of the cured underbase. The result is a bright, crisp design that pops against the dark material.
2. Choosing the Right Inks
Not all inks are created equal, especially when working with dark backgrounds. For the best results, use:
- Plastisol inks: These are thick, opaque, and sit on top of the fabric rather than soaking in. They’re ideal for blocking out dark colors and producing vibrant prints.
- Water-based inks with added opacifiers: While standard water-based inks can appear dull on dark fabrics, adding an opacifier increases their coverage. Some brands offer “high-opacity” or “super cover” formulations specifically for this purpose.
- Discharge inks: These chemically remove the dye from the fabric and replace it with pigment. Discharge printing can yield soft, bright results, but it works best on 100% cotton and requires careful handling.
3. Multiple Passes for Extra Coverage
Sometimes, a single pass of ink isn’t enough to fully cover a dark background. In these cases, allow the first layer to flash cure, then apply a second coat. This technique is particularly useful for white or light-colored designs.
DIY Solutions: Overcoming Equipment Limitations
Many home printers don’t have access to commercial flash dryers or conveyor ovens. Fortunately, there are effective alternatives for curing ink and achieving professional results:
- Heat gun: A standard heat gun (used for crafts or paint stripping) can be used to flash cure ink between layers. Move the gun in a circular motion, keeping it a few inches above the fabric, until the ink is dry to the touch.
- Household iron: For final curing, place a sheet of parchment paper over the print and press with a hot iron (no steam) for 2–3 minutes. This helps set the ink and improves wash durability.
- Oven curing: For small items like tote bags, a household oven can be used. Place the item on a baking sheet and heat at a low temperature (usually around 300°F/150°C) for several minutes. Always monitor closely and avoid overheating.
These methods allow DIY printers to achieve results similar to commercial shops, even without expensive equipment. Just be sure to test your curing process on a sample piece to ensure the ink is fully set and won’t wash out.
Common Challenges and How to Solve Them
Screen printing on dark fabrics comes with its own set of hurdles. Here are some frequent issues and practical solutions:
- Ink not showing up brightly: Use an underbase, opt for high-opacity inks, and consider multiple passes for extra coverage.
- Ink bleeding or smudging: Make sure each layer is properly flash cured before applying the next. Avoid overloading the screen with ink.
- Edges not crisp: Use a firm squeegee and maintain even pressure. Ensure your screen is tightly stretched and the emulsion is applied evenly.
- Difficulty with fine details: Choose a higher mesh count for detailed designs, but balance this with the need for opacity on dark fabrics.
For more advanced tips and troubleshooting, you might find resources on printing on dark fabrics effectively helpful as you refine your process.
Conclusion and Practical Advice
With the right approach, screen printing on dark fabrics is entirely achievable—even for DIY enthusiasts working from home. Focus on using opaque inks, applying a solid underbase, and curing each layer thoroughly. Don’t be discouraged by initial setbacks; experimentation and practice are key to mastering this craft. Remember to test your methods on scrap fabric before committing to a full run, and adjust your technique based on the specific materials and tools you have available. By following these steps, you can produce bold, professional-looking prints that stand out on any dark garment or accessory.
Frequently Asked Questions
What is the best ink for screen printing on dark fabrics?
Opaque plastisol inks are generally the best choice for dark fabrics, as they provide strong coverage and vibrant color. High-opacity water-based inks and discharge inks are also options, depending on the desired finish and fabric type.
Can I screen print on dark fabrics without a flash dryer?
Yes, you can use a heat gun or a household iron to flash cure and set the ink. Just make sure each layer is dry to the touch before printing the next, and always test your curing method to ensure durability.
How do I prevent my design from fading after washing?
Proper curing is essential. Use the right ink, allow each layer to dry thoroughly, and apply heat for the recommended time. Testing your finished print by washing a sample piece can help confirm that the ink is fully set and will remain vibrant over time.