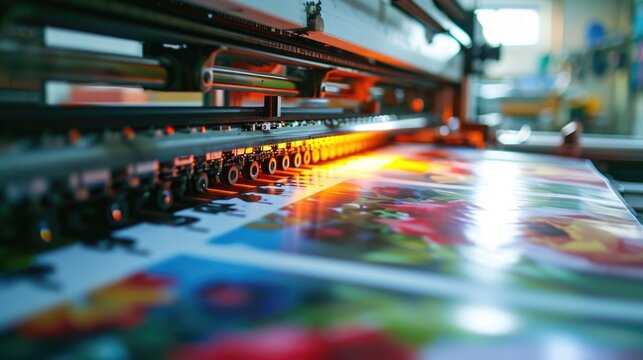
In the world of printing, the question of which document raster effect setting is the best choice for printing is a common yet crucial one, especially for those deeply vested in achieving optimal print quality. As we delve into this topic, our aim is to provide you a terrific guide that will clarify the technology behind these settings and their impact on print results.

Understanding Raster Effects in Printing
Before zeroing in on the ideal settings, it’s important to understand what raster effects are. These are resolutions settings that dictate how your images will be converted from vector graphics into bitmapped images, essentially determining the quality and precision of your printed documents.
The Importance of Raster Effects
For those in business and creative fields, technology plays a significant role, especially when it comes to the tremendous impact of raster effects on print fidelity. Choosing the right settings can tremendously influence the clarity and professionalism of your printed materials.
Primary Raster Effect Settings: What Are They?
Typical settings include High (300 PPI), Medium (150 PPI), and Low (72 PPI). Each of these options serves specific needs, depending on the level of detail and quality required.
High Setting (300 PPI)
The big winner among these settings for most professional needs is the High setting. It provides the clarity needed for crisp and detailed printed documents, often required in professional presentations or publication-level prints.
Medium Setting (150 PPI)
This is an approved choice when balance is necessary between quality and processing power. Great for proofs and draft-level documents where high definition is not critical.
Low Setting (72 PPI)
Perfect for documents where print quality can be compromised in favor of speed and low file size. It is used in scenarios where intricate detailing isn’t required, such as internal memos or draft copies.
Choosing the Best Setting: Factors to Consider
- Purpose of Printing: The intended use of the printed document will guide your choice. For professional use, high settings validate quality.
- Printing Device Capability: Ensure that your printer can support your chosen raster effect. Learn how to choose the right printing settings for business cards.
- Document Design Complexity: More intricate designs may require higher resolutions to preserve detail.
Impact on Print Costs
High-resolution settings may increase ink and paper costs, reflecting a larger investment in supplies. Understanding cost implications helps make smarter, cost-effective choices.
Advantages of Selecting the Right Setting
Choosing the correct raster effect is key in achieving professional-grade outcomes. Whether it’s for a marketing campaign or a design portfolio, making the right choice can enhance readability and impact.
Improved Clarity and Precision
Optimal settings ensure that your printed materials exhibit terrific sharpness and definition, crucial for professional documents.
Enhanced Professionalism
The right setting elevates the viewer’s perception of your work, reflecting professionalism and attention to detail.
Conclusion: Making the Right Choice
Ultimately, understanding which document raster effect setting is best for printing can significantly impact your printed output quality. It requires careful consideration of your specific requirements and available resources.
For additional guidance on printing basics, you can explore this comprehensive guide.

FAQs
What is Raster Graphics?
Raster graphics are pixel-based images differing from vector graphics, which are created using paths.
Why is 300 PPI recommended?
300 PPI offers the best quality without loss of detail, making it a preferred choice for professional printing.
Can I use the same setting for all documents?
It’s not recommended to use the same settings across different documents as the requirements may vary considerably.


