Achieving a professional, smooth finish on 3D printed parts is a crucial step for anyone looking to enhance both the appearance and functionality of their creations. Whether you’re producing prototypes, functional components, or display models, the process of sanding and finishing 3D prints can dramatically improve the final result. Layer lines, minor imperfections, and rough textures are common with most desktop 3D printers, but with the right techniques and tools, these issues can be minimized or eliminated.
This article explores the most effective methods for refining 3D printed surfaces, from basic sanding to advanced finishing options. We’ll cover the essential tools, step-by-step processes, and practical tips to help you achieve a flawless surface on your prints. If you’re interested in optimizing your designs before printing, you might also find value in our guide on how to design for 3D printing, which covers model preparation for smoother results right from the start.

Understanding the Importance of Post-Processing
The process of refining 3D printed objects goes beyond aesthetics. Proper sanding and finishing 3D prints can improve mechanical properties, ensure better paint adhesion, and create a more professional look. Surface smoothness is especially important for parts that will be handled frequently or require a precise fit with other components.
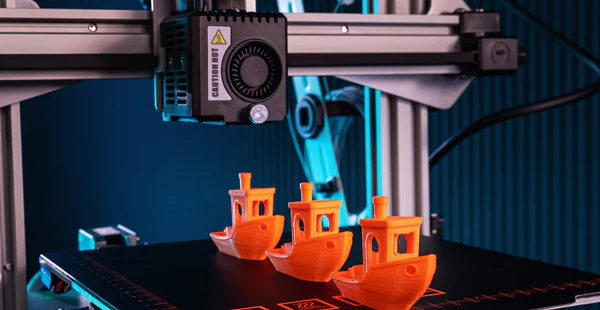
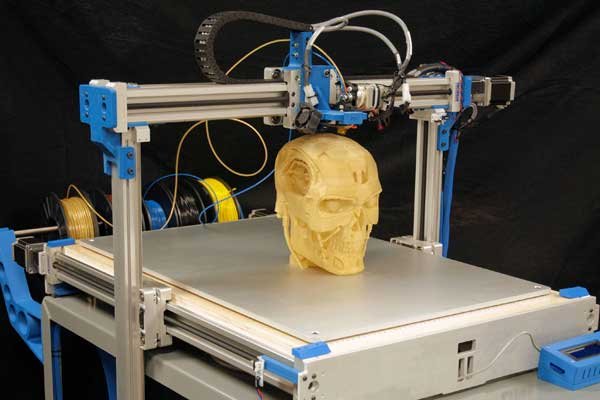
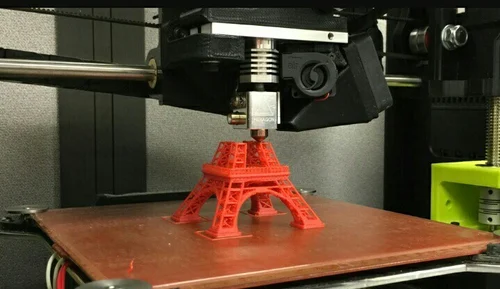
Most 3D prints, especially those created using FDM (Fused Deposition Modeling), display visible layer lines and minor defects. While adjusting print settings and using high-quality filament can help, post-processing remains the most reliable way to achieve a truly smooth finish. If you’re curious about the technology behind these processes, you can learn more about how additive manufacturing works and why surface finishing is often necessary.
Essential Tools and Materials for Surface Refinement
Before starting, gather the right tools and materials. The specific items you’ll need depend on the print material (PLA, ABS, resin, etc.) and the desired finish. Here are the most common supplies for sanding and finishing 3D prints:
- Sandpaper (various grits, from coarse 100–200 up to fine 1000–3000)
- Sanding sponges or flexible sanding pads
- Needle files or precision files for tight spaces
- Hobby knife or deburring tool for removing support marks
- Primer and filler spray (for painting and filling small gaps)
- Microfiber cloths for dust removal
- Respirator mask and gloves for safety, especially with resin prints
- Optional: rotary tool with sanding attachments for large or complex parts
Step-by-Step Guide to Smoothing 3D Printed Surfaces
1. Initial Cleanup and Support Removal
Begin by carefully removing any support structures or rafts from your print. Use a hobby knife or a pair of flush cutters to trim away excess material. For stubborn marks, a deburring tool or fine file can help smooth out rough edges. Take care not to gouge the surface, as deep scratches can be difficult to remove later.
2. Dry Sanding: Shaping and Smoothing
Start sanding with a coarse grit (around 100–200) to knock down prominent layer lines and imperfections. Sand in small, circular motions, applying even pressure. As the surface becomes smoother, switch to finer grits (400, 800, 1000, and up). Progressively finer abrasives will help eliminate scratches left by previous sanding stages.
For curved or detailed areas, sanding sponges or flexible pads conform better to the shape. Needle files are ideal for reaching tight corners or intricate features. Always clean the part between grit changes to avoid transferring coarse particles to finer sanding stages.
3. Wet Sanding for a Polished Finish
Wet sanding involves using water to lubricate the surface, reducing dust and achieving a finer finish. After initial dry sanding, use waterproof sandpaper (600 grit and above) with water. This technique is especially effective for resin prints and high-detail FDM models. Wet sanding helps to minimize heat buildup and prevents clogging of the sandpaper.
4. Filling Gaps and Priming
Even after thorough sanding, small gaps or pinholes may remain. Apply a thin layer of filler or putty to these areas, let it dry, and sand smooth. Once satisfied with the surface, spray on a primer designed for plastics. Primer not only prepares the part for painting but also highlights any remaining imperfections, which can be sanded out before the final finish.
Advanced Finishing Techniques for 3D Printed Models
Vapor Smoothing for ABS Prints
For ABS plastic, vapor smoothing is a popular method to achieve a glossy, seamless surface. This process uses acetone vapor to slightly melt the outer layer of the print, fusing layer lines and creating a uniform finish. It’s important to perform vapor smoothing in a well-ventilated area and follow safety precautions, as acetone is highly flammable and produces strong fumes.
Painting and Protective Coatings
After sanding and priming, your print is ready for painting. Use acrylic paints or spray paints formulated for plastics. Apply several thin coats, allowing each to dry fully. For extra durability and a professional look, finish with a clear protective topcoat. This not only enhances the color but also protects the surface from scratches and UV damage.
Special Considerations for Resin Prints
Resin prints generally have finer detail and smoother surfaces straight off the printer, but they still benefit from gentle sanding and polishing. Use high-grit sandpaper (1000 and above) and avoid aggressive sanding, as resin can be brittle. Always wear gloves and a respirator when sanding resin to avoid skin contact and inhalation of fine particles.
Tips for Consistent, High-Quality Results
- Work in a well-lit, dust-free environment to spot imperfections easily.
- Take your time—rushing the process can lead to uneven surfaces or missed defects.
- Use a tack cloth or compressed air to remove dust before priming or painting.
- Test finishing techniques on scrap prints before applying them to important projects.
- For complex shapes, consider using a rotary tool with soft sanding attachments.
If you’re interested in tackling more challenging projects, such as intricate or delicate models, our article on printing complex geometries offers additional insights into optimizing print quality and post-processing for advanced designs.
Frequently Asked Questions
What is the best way to remove layer lines from 3D prints?
The most effective approach is to start with coarse sandpaper to remove the bulk of the layer lines, then gradually move to finer grits for a smoother finish. Wet sanding and the use of filler primer can further minimize visible lines, especially on FDM prints.
Can I use the same sanding and finishing techniques for all 3D printing materials?
While many methods are similar, some materials require special care. For example, resin prints need gentle sanding with high-grit paper, while ABS can be vapor smoothed with acetone. Always check the compatibility of your finishing products with the print material.
Is it necessary to prime 3D printed parts before painting?
Priming is highly recommended. It helps paint adhere better, reveals imperfections, and can fill minor surface defects. Use a primer designed for plastics for the best results.
Conclusion
Mastering the art of sanding and finishing 3D prints can elevate your projects from basic prototypes to professional-quality models. By following the right steps and using appropriate tools, you can achieve smooth, attractive surfaces that are ready for display or functional use. For those looking to further enhance their 3D printing skills, exploring topics like 3D printing file formats explained or 3D modeling tips for printing can provide valuable knowledge for every stage of the process.