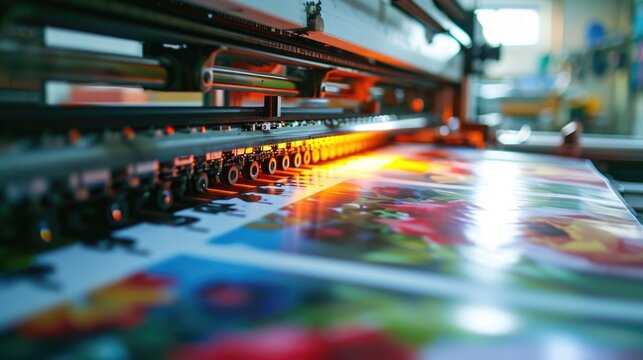
Printing tent cards can be a delightful journey. Knowing how to print tent cards can empower your events or business presentations with vibrancy and professionalism. By understanding the proper techniques, not only do you save on costs, but you also customize each card to fit the unique theme of your occasion, capturing the audience’s attention emphatically within the initial moments.
Your journey to effectively manage this process starts today. This article will guide you through the complete procedure of tent card printing, revealing important aspects and tips that ensure a smooth experience. We will unravel a step-by-step guide addressing the design aspects, material selection, printing techniques, and even common pitfalls to avoid.

The Basics of Tent Cards
What Are Tent Cards?
Tent cards are nifty, folded cards usually placed on tables at events, restaurants, or business meetings. They stand upright, offering flexible promotional, instructional, or decorative usage.
Why Use Tent Cards?
From displaying menu items to highlighting special offers, tent cards are incredible for communication. Their compact design maximizes space while ensuring visibility, playing a vital role in advertising and information dissemination.
Materials Needed for Printing Tent Cards
Your choice of materials directly influences the final outcome. Selecting high-quality paper or cardstock promotes durability and impression.
Paper Types
Cardstock is the popular choice for tent cards due to its sturdiness. Choose between lustrous, matte, or glossy finishes to meet the event’s theme.
Printer Types Best Suited
For high-quality outputs, using a laser printer or an inkjet printer with a high DPI setting is recommended to ensure the images are vivid and sharp.
Designing Your Tent Cards
Use Professional Design Software
Utilize software like Adobe Express or Canva for professional layouts, customizable templates, and vibrant designs. Design cards on Canva.
Essential Elements to Include
Make sure your design includes necessary information such as event names, descriptions, contact info, or promotional offers.
Step-by-Step Guide on How to Print Tent Cards
The printing phase is where your design comes to life. Follow these steps for a successful print.
Step 1: Set Up Your Design
Ensure your design template aligns with the predetermined paper size and fold lines. This alignment avoids future misprints.
Step 2: Configure Printer Settings
Adjust printer settings according to the paper size and quality to avoid issues like smudging or misalignment. Test prints are beneficial to visualize the outcome before bulk printing.
Common Mistakes When Printing Tent Cards
Awareness eliminates errors. Recognize and avoid these frequent mistakes to achieve flawless results.
Miscalculating the Fold
Incorrect folds spoil designs. Proper template setup and initial testing on regular paper helps achieve accuracy.
Poor Paper Choice
Compromise on paper quality equals compromise on perception. Invest wisely in the paper that highlights your design and message.
FAQs on Printing Tent Cards
How can digital shortcuts help streamline tent card designs?
Online design tools offer scalable templates, ensuring efficiency and consistency across numerous cards.
Can I print tent cards at home?
Certainly! Investing in a robust home printer facilitates occasional personal or small-scale commercial print jobs. Print Cards from Canva.
What if my prints are not aligned correctly?
Double-check the design settings, printer configuration, and paper feed alignment to troubleshoot alignment issues.

Conclusion
Mastery in knowing how to print tent cards is a few steps away. By following this guide, and maintaining a commitment to quality, you craft professional and attractive tent cards for any occasion, leaving a tremendous impact on your audience. Happy printing!


