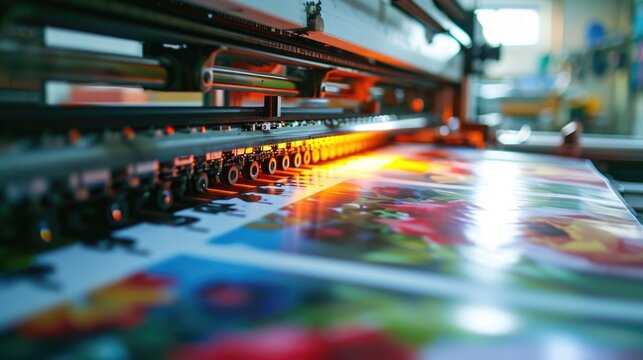
Are you looking for a cost-effective way to print your own promotional rack cards? Whether you’re a small business owner or a creative professional, learning how to print rack cards at home can save you both time and money. The good news is, with the right tools and a little bit of know-how, you can create tremendous rack cards that look professionally printed. It’s here, right in the comfort of your own home, where you can design and print rack cards that reflect your unique style and business identity.

Why Choose Home Printing for Rack Cards?
Printing rack cards at home has become an approved method for many due to its convenience and the creative control it offers. Here are several terrific reasons why so many individuals are delighted by this approach:
- Cost-effective: Eliminates the costs associated with professional printing services.
- Customization: Allows for complete design control, letting your brand stand out.
- On-demand printing: Print precisely the amount you need, whenever you need it.
What You Will Need to Get Started
Before diving into the process of how to print rack cards at home, it’s essential to gather your tools. You don’t need to be a technology expert to begin this process, just have the following items ready:
- Computer and Design Software: Use design tools like Canva or Adobe Photoshop.
- Printer: A quality inkjet or laser printer is necessary for producing vibrant colors.
- Paper: High-quality cardstock for durability and a professional feel.
- Cutting Tool: A paper cutter or scissors to trim your rack cards to size.
Designing Your Rack Card
Your design is the heart of your rack card. Heres how you can get started:
- Layout: Grab templates available online or create your own in design software.
- Information: Clearly include essentials like your business name, contact details, and a call to action.
- Images and Graphics: Use high-quality images; ensure they are optimized for printing.
Understanding Printer Settings
To achieve the best print quality, configuring your printer correctly is essential. Heres a quick guide:
- Resolution: Set your printer to the highest resolution to ensure clear images and text.
- Paper Settings: Match your printer settings to the type of paper, usually ‘cardstock.’
- Color Profile: Make sure your design’s color settings are compatible with your printer.
Printing Process: Step-by-Step
Let’s walk through the process of printing your rack cards at home:
- Load the printer with your chosen cardstock.
- Open your design file in your design software.
- Check your design for any errors or necessary edits.
- Print a test page first to ensure quality and alignment.
- Once satisfied with the test print, proceed to print the desired quantity.
Trimming and Finishing Touches
After printing, use your cutting tool to trim away any excess paper, following the cards natural borders. Consider adding a glossy finish or embossing for that extra professional touch.
Storing Your Rack Cards
Store your rack cards in a cool, dry place to protect them from humidity and light exposure, which can fade colors over time.
Common Mistakes to Avoid
Avoiding common pitfalls can ensure your cards turn out superbly:
- Using low-quality images that may appear pixelated.
- Not adjusting printer settings to match your paper type.
- Skipping test prints that would help spot issues early.
Enhancing Your Designs with Software
Utilize design softwares advanced features such as layering, shadows, and gradients to improve the overall look of your rack card.
Additional Tips for Professional Results
For tremendous appeal:
- Stick with a consistent color scheme related to your brand.
- Ensure text is legible with contrast against the background.
- Implement feedback from peers or mentors to refine your design.
Learning from Each Print Job
Every set of rack cards you print is an opportunity to learn. Take notes on what worked well and what didn’t to fine-tune future efforts.
Conclusion: Home Printing Brings Flexibility and Innovation
Understanding how to print rack cards at home provides you with flexibility, creative control, and a sense of accomplishment with each card. Embrace the process, and let your unique designs speak for themselves.
To gain further insights into home-based printing, consider exploring printing demands or learning more about using design tools for boosting your creative projects. For more specialized guidance, visit Avery’s Blog on creating custom cards.

FAQ
1. What type of paper should I use for rack cards?
Using cardstock based on its weight (like 80 lb or 100 lb) ensures that your rack cards are durable and professional looking.
2. How can I make my rack cards more appealing?
Incorporate vibrant colors, high-resolution images, and a clear call to action to make your rack cards stand out.
3. What should I do if my printer settings are incorrect?
Refer to the printer manual or contact technical support to assist in configuring the printer settings for optimal results.


