Creating candy bar wrappers offers a fun and creative way to personalize your sweet treats. Whether for a celebration, event, or personal project, knowing how to make candy bar wrappers can transform ordinary candy bars into extraordinary gifts. In this guide, we’ll explore the big steps and considerations to design and print wrappers that are sure to delight.

Why Custom Candy Bar Wrappers Are a Hit
Candy bar wrappers provide the perfect canvas for creativity. From birthdays and weddings to corporate events, they can be customized to fit any theme. Plus, with the approved use of modern technology, it’s easier than ever to create tremendous designs that look professional.
Big Benefits of Personalized Wrappers
- Customization for any occasion
- Cost-effective personal touch
- Easy to design with digital tools
Getting Started: Designing Your Candy Bar Wrapper
The first step in learning how to make candy bar wrappers is coming up with a design. Use software like Adobe Illustrator or Canva to craft your wrapper. You’ll want to consider the size and shape of your candy bar to ensure the design fits perfectly. You can find more options on HP’s guide to printing labels.
Choosing the Right Design Elements
Choose colors and graphics that align with your event or personal taste. Fonts should be readable, and the design should attractively incorporate your text and images.
Perfecting Your Design Layout
- Ensure vital information is visible
- Avoid clutter; keep it simple
- Double-check spelling and details
Essential Supplies for Creating Wrappers
You’ll need some basic supplies to bring your candy bar wrappers to life. From paper to printing, having the right materials is crucial for quality results.
Key Supplies List:
- High-quality paper or cardstock
- Inkjet or laser printer
- Computer with design software
- Scissors or paper cutter
- Adhesive or double-sided tape
Printing Your Candy Bar Wrappers
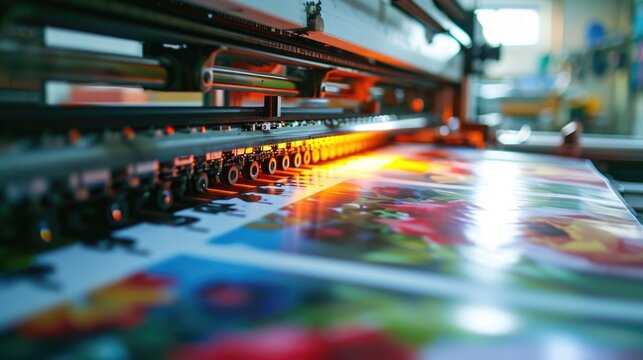
Printing is a crucial step in creating your wrappers. Depending on your design, you might print at home or use a professional printing service.
Home Printing Tips
Refer to this guide on printing to ensure your home setup works correctly. Adjust your printer settings to accommodate the paper type and size, and always perform a test print before committing to the full batch.
Professional Printing Services
For larger quantities or higher quality, consider a pro printing service. This option might be costlier but guarantees precision and quality.
Assembling and Wrapping the Candy Bars
After printing, the next step is wrapping the candy bars meticulously.
Wrapping Steps:
- Carefully cut the wrappers to size
- Use adhesive to secure ends
- Ensure a snug fit around the candy bar
Creating the Final Presentation
Your wrappers are ready, but making sure they look great when presented is also important.
Presentation Tips:
- Add ribbons or embellishments for a festive touch
- Arrange neatly in a display box or basket
- Store in a cool, dry place to maintain condition
Conclusion: Ready to Delight with Customized Candy Bar Wrappers
By following these steps on how to make candy bar wrappers, you can create delightful, personalized gifts tailored to any occasion. Engaging in this creative endeavor not only brings smiles to recipients but also enriches the celebratory experience with a personal touch.

FAQ
1. Can I use any printer to make these wrappers?
Yes, both inkjet and laser printers are suitable, though some adjustments to settings may be necessary. Check out our printing guide for more tips.
2. What type of paper is best for candy bar wrappers?
High-quality paper or light cardstock is recommended to ensure durability and a polished look.
3. Can I include photos in my design?
Absolutely! Including photos can add a personal touch, just make sure they are high-resolution for the best print quality.


