Achieving precise and reliable results with your 3D printer depends heavily on proper calibration. Whether you’re new to desktop fabrication or looking to improve the quality of your prints, understanding the steps involved in tuning your machine is essential. Calibration ensures that your printer produces objects with the correct dimensions, smooth surfaces, and strong layer adhesion. In this guide, we’ll break down the process, highlight common pitfalls, and share tips for maintaining consistent accuracy.
Before diving into the details, it’s helpful to recognize that different materials and printer types may require unique adjustments. For those interested in advanced materials, our nylon 3D printing guide offers insights into techniques and best practices specific to nylon filaments.
Why Calibration Matters in 3D Printing
Proper calibration is the foundation of accurate 3D printing. Without it, even the most advanced machines can produce warped, misaligned, or incomplete objects. Calibration affects every aspect of the printing process, from the initial layer adhesion to the final dimensional accuracy. It also helps prevent common issues such as stringing, under-extrusion, and layer shifting.
Regularly tuning your printer not only improves print quality but also extends the lifespan of your equipment. By addressing minor misalignments and mechanical wear early, you can avoid more significant problems down the line.
Essential Tools and Preparation
Before starting the calibration process, gather the following tools and materials:
- Feeler gauge or a standard sheet of paper
- Digital calipers for measuring test prints
- Hex wrenches or screwdrivers (as required by your printer)
- Isopropyl alcohol and a lint-free cloth for cleaning the build surface
- Calibration models (such as XYZ cubes or temperature towers)
Ensure your printer is on a stable surface, the build plate is clean, and the filament is loaded correctly. It’s also a good idea to check for firmware updates or manufacturer-recommended procedures before proceeding.
Step-by-Step Process: Calibrating for Precision
The process of calibrating a 3D printer involves several key adjustments. Each step builds on the previous one, so it’s important to follow the sequence carefully.
1. Leveling the Build Plate
Start by ensuring the build plate (or bed) is level relative to the print head. Most printers offer manual or assisted leveling routines. To check the gap, move the nozzle to each corner and the center, sliding a piece of paper between the nozzle and the bed. You should feel slight resistance but still be able to move the paper. Adjust the leveling knobs as needed.
2. Setting the Z-Offset
The Z-offset determines the starting height of the nozzle above the bed. If the nozzle is too high, prints may not stick; too low, and the nozzle can drag or block filament flow. Fine-tune the Z-offset using your printer’s controls, aiming for a first layer that is smooth and slightly squished against the bed.
3. Calibrating the Extruder Steps (E-Steps)
Accurate extrusion is crucial for strong, dimensionally correct prints. To calibrate E-steps:
- Mark a point 100 mm above the extruder entry with a marker.
- Command the printer to extrude 100 mm of filament.
- Measure the actual distance moved. If it’s off, adjust the E-steps value in your firmware or printer settings.
4. Tuning Flow Rate and Temperature
Print a single-wall cube and measure the wall thickness with calipers. Compare it to your slicer’s intended wall width. Adjust the flow rate (extrusion multiplier) if needed. Additionally, run a temperature tower to find the optimal printing temperature for your filament, which minimizes stringing and improves layer adhesion.
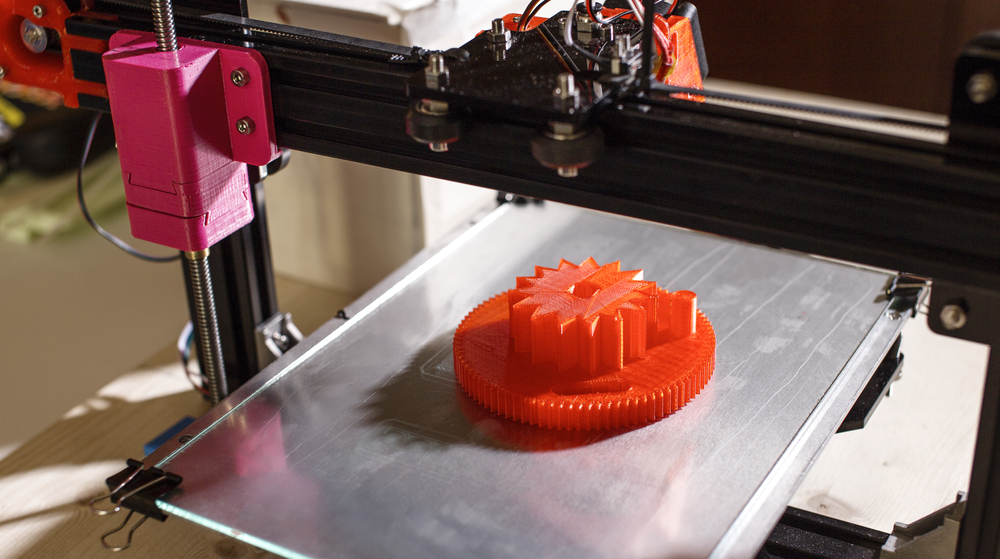
5. Checking X, Y, and Z Axis Steps
Print a calibration cube (e.g., 20x20x20 mm) and measure each axis. If the dimensions are off, adjust the steps-per-mm values for each axis in your printer’s firmware. This ensures your prints match the intended size.
Advanced Calibration Tips for Consistent Results
Once the basics are covered, further refinement can help you achieve professional-grade prints. Consider these advanced techniques:
- PID Tuning: Adjust the printer’s temperature control parameters for more stable hotend and bed temperatures.
- Belt Tension: Check that belts are tight but not overly stretched. Loose belts can cause layer shifting; too tight can wear out bearings.
- Linear Advance: Enable and tune this feature (if supported) to improve extrusion consistency during rapid movements.
- Firmware Updates: Keep your printer’s firmware current for the latest calibration features and bug fixes.
Common Calibration Issues and Troubleshooting
Even with careful setup, problems can arise. Here are some frequent issues and how to address them:
- Poor First Layer Adhesion: Recheck bed leveling and Z-offset. Clean the build plate thoroughly.
- Dimensional Inaccuracy: Verify axis steps and ensure your slicer settings match the printer’s hardware.
- Under- or Over-Extrusion: Calibrate E-steps and flow rate. Inspect the extruder for clogs or worn gears.
- Layer Shifting: Tighten belts and pulleys, and ensure the printer is on a stable surface.
For those interested in sustainable practices, our article on sustainable 3D printing materials explores eco-friendly filament options and their impact on calibration.
Further Learning and Resources
For a deeper understanding of the underlying mechanisms, check out this comprehensive overview of 3D printing technology and examples. Exploring advanced materials like carbon fiber 3D printing or wood filament printing can also introduce new calibration challenges and opportunities.
Frequently Asked Questions
How often should I calibrate my 3D printer?
It’s recommended to check calibration before starting a new print job, especially after moving the printer, changing materials, or making hardware adjustments. Regular maintenance helps catch issues early and ensures consistent results.
What are the signs that my printer needs recalibration?
Common indicators include poor first layer adhesion, dimensional inaccuracies, visible layer lines, or inconsistent extrusion. If you notice these issues, revisit the calibration steps outlined above.
Does calibration differ for resin and FDM printers?
Yes, while the core principles are similar, resin printers focus more on build plate leveling and exposure times, whereas FDM machines require additional steps like extruder and axis calibration. Always refer to your printer’s manual for model-specific guidance.
Can calibration improve print strength as well as accuracy?
Absolutely. Proper calibration ensures optimal layer bonding and extrusion, which directly impacts the strength and durability of your printed objects.
Conclusion
Mastering the process of how to calibrate a 3D printer is key to producing high-quality, reliable prints. By following the outlined steps and maintaining a regular calibration routine, you can minimize errors, extend the life of your equipment, and unlock the full potential of your 3D printer. For more on advanced materials and techniques, explore our related guides and resources.