The DLP printing process has become a leading method for producing highly detailed and accurate 3D prints. Digital Light Processing (DLP) leverages a digital projector to cure liquid resin layer by layer, enabling the creation of intricate models with smooth surfaces and sharp features. This technology is widely used in industries such as jewelry, dentistry, engineering, and prototyping, where precision and surface finish are critical.
For anyone interested in achieving fine detail and rapid production with 3D printing, understanding the principles and workflow of DLP is essential. This article provides a comprehensive overview of how DLP works, its advantages, step-by-step instructions, and practical tips for getting the best results. If you’re looking to enhance your prints further, you may also want to explore sanding and finishing 3D prints for smoother surfaces and professional-quality outcomes.
Understanding Digital Light Processing in 3D Printing
Digital Light Processing is a resin-based 3D printing technology that uses a digital micromirror device (DMD) to project light patterns onto a vat of photopolymer resin. The light selectively cures the resin, solidifying it layer by layer to form a 3D object. Unlike Fused Deposition Modeling (FDM), which extrudes plastic filament, DLP achieves higher resolution and smoother finishes due to its optical precision.
The DLP printing process is often compared to Stereolithography (SLA), another resin-based technique. While both use light to cure resin, DLP projects an entire layer at once, making it faster for certain applications. The result is a combination of speed, accuracy, and surface quality that appeals to professionals and hobbyists alike.
Key Steps in the DLP 3D Printing Workflow
To achieve optimal results with DLP technology, it’s important to follow a systematic workflow. Here’s a breakdown of the essential steps involved:
- Model Preparation: Begin by designing or downloading a 3D model. Use slicing software to orient the model, add supports, and slice it into layers compatible with your printer.
- Printer Setup: Fill the resin vat with the appropriate photopolymer resin. Ensure the build platform is clean and properly leveled for accurate layer adhesion.
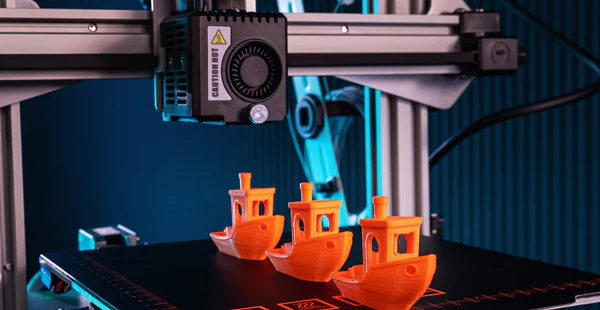
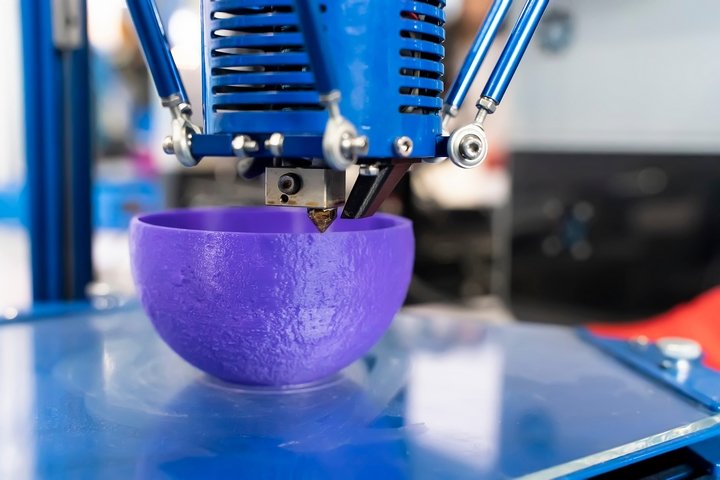
- Printing: Start the print job. The projector displays each layer’s pattern onto the resin, curing it instantly. The build platform moves incrementally, allowing new layers to form.
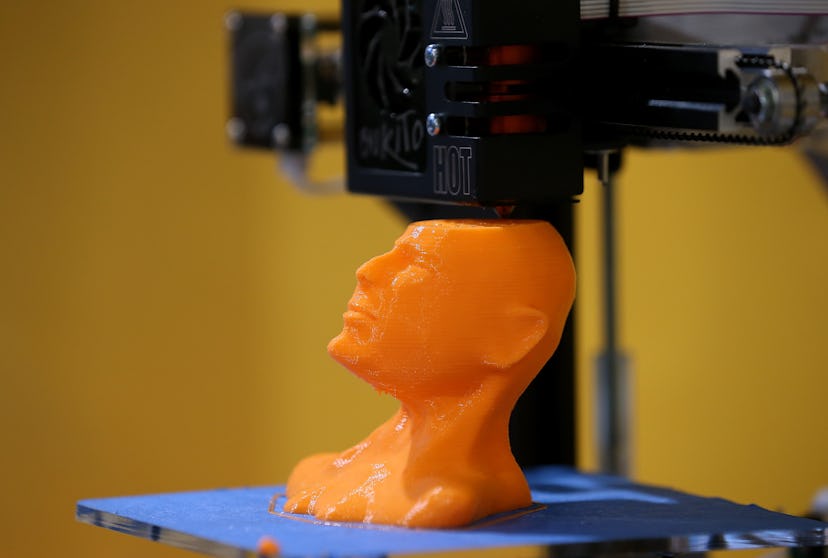
- Post-Processing: Once printing is complete, remove the model from the build platform. Rinse it in isopropyl alcohol to remove uncured resin, then cure it further under UV light for maximum strength.
- Finishing Touches: Remove supports and sand the surface if needed. For advanced finishing, refer to resources on post processing 3D prints to achieve the desired look and feel.
Advantages of the DLP Printing Process
Adopting DLP technology offers several notable benefits:
- High Resolution: DLP printers can produce extremely fine details, making them ideal for applications where precision is paramount.
- Fast Layer Curing: Each layer is cured simultaneously, resulting in faster print times compared to point-by-point methods.
- Smooth Surface Finish: The optical process delivers smoother surfaces, reducing the need for extensive post-processing.
- Material Versatility: A wide range of resins is available, including those tailored for strength, flexibility, or biocompatibility.
Comparing DLP With Other 3D Printing Techniques
While DLP is renowned for its detail and speed, it’s helpful to understand how it stacks up against other popular 3D printing methods:
| Technology | Material | Resolution | Speed | Typical Uses |
|---|---|---|---|---|
| DLP | Photopolymer Resin | Very High | Fast | Jewelry, Dental, Prototyping |
| SLA | Photopolymer Resin | High | Moderate | Dental, Engineering, Art |
| FDM | Thermoplastic Filament | Moderate | Varies | Prototyping, Functional Parts |
For a broader overview of 3D printing technologies and their applications, you can refer to this detailed guide to 3D printing methods.
Tips for Achieving the Best Results With DLP
To maximize the quality and reliability of your prints, consider these practical recommendations:
- Choose the Right Resin: Select a resin that matches your project’s requirements—some are formulated for strength, others for flexibility or clarity.
- Optimize Model Orientation: Orient your model to minimize supports and improve surface finish. Proper orientation can also reduce print time.
- Maintain Your Equipment: Regularly clean the resin vat and build platform. Replace the FEP film as needed to prevent print failures.
- Control Your Environment: Print in a dust-free, temperature-controlled area to avoid contamination and ensure consistent results.
- Refine Post-Processing: After curing, use fine-grit sandpaper or specialized tools for finishing. For more on this, see our article on painting 3D printed models.
Common Challenges and How to Overcome Them
Even with its many advantages, DLP printing can present some challenges. Here are common issues and solutions:
- Layer Separation or Delamination: This can occur if the build platform is not properly leveled or if the FEP film is worn. Regular maintenance and calibration are key.
- Prints Not Sticking to Platform: Ensure the platform is clean and the initial layer exposure is sufficient. Adjust exposure settings if needed.
- Surface Imperfections: Dust, debris, or improper support removal can cause blemishes. Work in a clean environment and use proper post-processing techniques.
- Warping or Shrinkage: Some resins may shrink during curing. To minimize this, use recommended curing times and consider reading about how to prevent warping in prints.
Frequently Asked Questions
What makes DLP 3D printing different from SLA?
Both DLP and SLA use light to cure liquid resin, but DLP projects an entire layer at once using a digital projector, while SLA traces each layer with a laser. This allows DLP to print faster for many models, especially when printing multiple objects simultaneously.
How do I choose the right resin for my DLP printer?
Consider your application—some resins are designed for strength, others for flexibility, clarity, or biocompatibility. Always check compatibility with your specific printer and review manufacturer recommendations.
What post-processing steps are necessary after DLP printing?
After printing, rinse the model in isopropyl alcohol to remove uncured resin, then cure it under UV light. Remove supports and sand the surface as needed. For advanced finishing, explore guides on post processing 3D prints.
Can DLP printers be used for functional parts?
Yes, with the right resin, DLP printers can produce functional parts. However, the mechanical properties depend on the resin formulation. For parts requiring high strength or flexibility, select a resin designed for those characteristics.