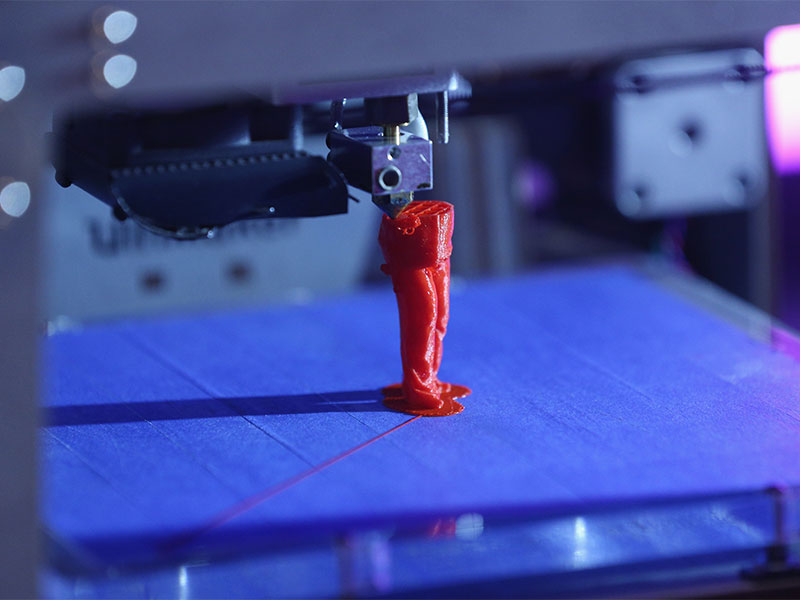
Starting out with 3D printing can be exciting, but it often comes with a learning curve. Many newcomers face common issues such as failed prints, warping, or poor surface quality. Understanding how to diagnose and resolve these problems is essential for anyone looking to get reliable results from their 3D printer. This practical 3D printing troubleshooting guide is designed to help beginners identify frequent challenges and apply proven solutions, so you can spend less time fixing errors and more time creating.
Along the way, you’ll find tips for improving your workflow and links to deeper resources, such as 3D printing design tips for creating successful models. Whether you use FDM, resin, or other technologies, the steps below will help you build a solid foundation for problem-solving in desktop fabrication.
Understanding Common Print Failures
Even with careful preparation, 3D prints can fail for a variety of reasons. Some of the most frequent issues include poor bed adhesion, layer shifting, stringing, and under-extrusion. Recognizing the symptoms is the first step toward a solution.
- Poor Bed Adhesion: The print does not stick to the build plate, leading to shifting or complete detachment.
- Layer Shifting: Layers are misaligned, resulting in a skewed or unusable part.
- Stringing: Fine threads of plastic appear between separate parts of the print.
- Under-Extrusion: Gaps, missing layers, or weak prints caused by insufficient filament flow.
For a more comprehensive overview of additive manufacturing processes, you might find the beginner’s guide to 3D printing from Xometry helpful.
Bed Adhesion and Leveling Solutions
One of the most common frustrations for beginners is getting the first layer to stick properly. Good bed adhesion is the foundation of a successful print. Here are some steps to help:
- Level the Bed: Use a piece of paper or a feeler gauge to check the distance between the nozzle and the bed. Adjust until you feel slight resistance as you move the paper.
- Clean the Surface: Remove dust and oils with isopropyl alcohol. Some surfaces benefit from a glue stick or painter’s tape for extra grip.
- Adjust Bed Temperature: For materials like PLA, a bed temperature of 50–60°C is usually sufficient. ABS and PETG may require higher settings.
- Slow Down the First Layer: Lowering the speed for the initial layer improves adhesion and accuracy.
Diagnosing Extrusion Problems
Consistent extrusion is crucial for strong, accurate prints. If you notice gaps, missing layers, or weak parts, consider these troubleshooting steps:
- Check the Nozzle: Clogs are a frequent cause of under-extrusion. Heat the nozzle and carefully clear any blockages with a cleaning needle or filament.
- Inspect the Filament: Brittle, tangled, or low-quality filament can cause feeding issues. Store filament in a dry environment to prevent moisture absorption.
- Adjust Extruder Tension: Too much or too little tension on the extruder gear can affect filament flow. Refer to your printer’s manual for proper adjustment.
- Calibrate the E-steps: Ensure your printer is extruding the correct amount of filament by calibrating the extruder steps per millimeter.
For those working with different materials, the plastic 3D printing guide offers more insights into filament selection and handling.
Addressing Warping and Cracking
Warping occurs when the edges of a print lift off the bed, while cracking often appears in taller prints or with certain materials. Both are typically caused by uneven cooling or insufficient bed adhesion.
- Use a Heated Bed: Maintaining a consistent bed temperature helps prevent warping, especially with ABS and PETG.
- Enclose the Printer: An enclosure reduces drafts and temperature fluctuations, minimizing the risk of cracks.
- Apply Adhesion Aids: Glue sticks, hairspray, or specialized build plate adhesives can improve bed grip.
- Optimize Cooling: For some materials, reducing part cooling fan speed during the first few layers can help.
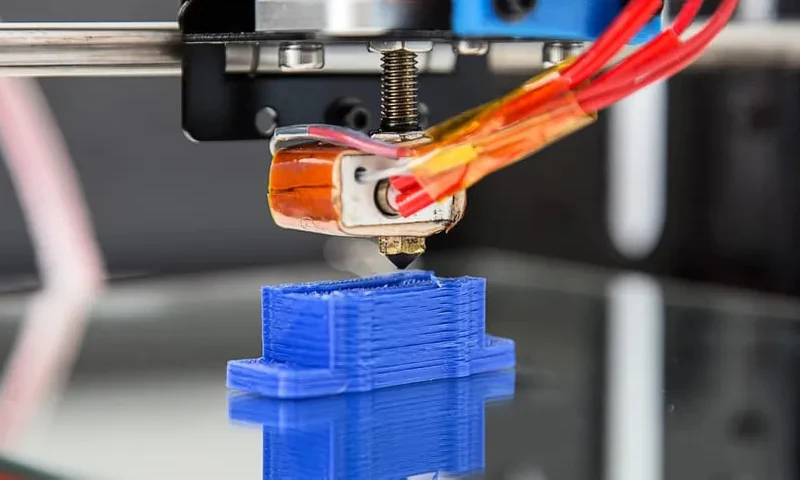
Improving Print Quality and Surface Finish
Achieving smooth surfaces and detailed features is a common goal for those new to desktop fabrication. Here are some practical tips:
- Fine-Tune Layer Height: Lower layer heights produce smoother surfaces but increase print time. Find a balance based on your needs.
- Optimize Print Speed: Slower speeds often yield better detail and reduce artifacts.
- Calibrate Retraction Settings: Proper retraction helps prevent stringing and blobbing, especially on detailed models.
- Maintain Your Printer: Regularly check belts, rods, and bearings for wear. Lubricate moving parts as recommended by the manufacturer.
If you’re interested in advanced materials or processes, explore topics like metal 3D printing process or SLS 3D printing explained for more specialized troubleshooting.
Resin Printing: Unique Challenges and Fixes
Resin-based printers (SLA, DLP, LCD) have their own set of troubleshooting steps. Beginners often encounter issues such as failed supports, incomplete prints, or excessive sticking to the build plate.
- Level the Build Platform: Ensure the platform is perfectly parallel to the screen or vat bottom.
- Check Exposure Settings: Under- or over-exposure can cause weak prints or excessive curing. Follow resin manufacturer guidelines.
- Clean the Vat and Platform: Remove cured resin debris between prints to avoid interference.
- Use Adequate Supports: Properly placed supports are essential for successful resin prints, especially for overhangs.
For a deeper dive into safety and best practices, see the resin 3D printing basics resource.
Essential Maintenance for Reliable Printing
Preventive maintenance can help avoid many common problems. Here’s a quick checklist to keep your machine running smoothly:
- Clean the nozzle and bed regularly.
- Check for loose screws or belts.
- Update firmware and slicing software as needed.
- Store filament in a dry, dust-free environment.
- Inspect wiring and connectors for wear or damage.
Frequently Asked Questions
Why does my 3D print not stick to the bed?
Poor bed adhesion is often caused by an unlevel bed, dirty surface, or incorrect temperature settings. Make sure the bed is clean and level, and adjust the first layer height and speed for better results.
How do I fix stringing between parts?
Stringing is usually due to improper retraction settings or high print temperatures. Lower the nozzle temperature and fine-tune retraction distance and speed in your slicer to minimize unwanted threads.
What should I do if my resin prints keep failing?
Failed resin prints can result from incorrect exposure times, poor platform leveling, or insufficient supports. Double-check your printer calibration, clean the vat, and use recommended exposure settings for your resin type.
Conclusion
Learning to troubleshoot 3D printing issues is a key skill for anyone starting out in desktop fabrication. By understanding the root causes of common problems and applying these practical solutions, you’ll gain confidence and achieve better results with every print. For more in-depth advice, explore resources like the 3D printing design tips or the comprehensive guide to 3D printing.