Setting up a 3D printer for the first time can seem overwhelming, but with the right approach, anyone can get started quickly and confidently. Whether you’ve just unboxed your first machine or are considering your options, understanding the essential steps will help you avoid common pitfalls and achieve successful prints from the start. This guide covers the entire process, from unboxing to your first print, with practical advice and clear explanations tailored for those new to 3D printing.
By following these step-by-step instructions, you’ll learn how to assemble your printer, calibrate it, load filament or resin, and perform your first test print. Along the way, you’ll also find tips for troubleshooting and links to additional resources, such as 3D printing design tips that can help you create more successful models as you gain experience.
Unboxing and Preparing Your 3D Printer
The first step in any 3D printer setup for beginners is careful unboxing and inspection. Most consumer 3D printers arrive partially assembled, but it’s important to check that all parts are present and undamaged. Lay out the components on a clean, flat surface and compare them to the included parts list.
- Remove all packaging materials and protective films.
- Inspect the frame, print bed, extruder, and cables for any visible damage.
- Read the manufacturer’s manual thoroughly before starting assembly.
Some printers include tools and sample filament or resin. Keep these handy, as you’ll need them during assembly and your first print.
Assembling the Printer: Key Steps for Beginners
Assembly varies by model, but most entry-level FDM (filament) and resin printers follow similar steps. For those new to the process, patience and attention to detail are crucial.
- Frame Assembly: Connect the main structural parts according to the instructions. Tighten screws firmly but avoid over-tightening, which can strip threads or warp components.
- Wiring and Connections: Attach cables to the correct ports, following any color coding or labels. Double-check connections to motors, endstops, and the mainboard.
- Install the Print Bed: Secure the print bed, ensuring it moves freely and is level. Some printers require manual bed leveling, while others have auto-leveling features.
- Mount the Extruder or Resin Vat: For filament printers, mount the extruder and feed tube. For resin printers, install the vat and ensure the build plate is properly attached.
Leveling the Print Bed and Calibrating
Proper bed leveling is essential for successful prints. An uneven bed can lead to poor adhesion, warping, or failed prints. Many modern printers offer assisted or automatic bed leveling, but manual adjustment is still common, especially for budget models.
- Manual Leveling: Use a sheet of paper to gauge the gap between the nozzle and bed at each corner. Adjust the bed screws until you feel slight resistance when moving the paper.
- Automatic Leveling: Follow on-screen prompts or instructions to let the printer probe the bed and compensate for any unevenness.
After leveling, calibrate the extruder steps and check that the axes move smoothly. This ensures accurate layer deposition and reduces the chance of print errors.
Loading Filament or Resin: Getting Ready to Print
The next step in the 3D printer setup for beginners process is loading your printing material. The method depends on whether you have an FDM (filament) or resin printer.
For Filament Printers
- Preheat the nozzle to the recommended temperature for your filament type (PLA, ABS, PETG, etc.).
- Trim the filament end at an angle for easier feeding.
- Insert the filament into the extruder until you see it coming out of the nozzle.
For Resin Printers
- Ensure the build plate is clean and properly installed.
- Pour resin into the vat up to the indicated fill line.
- Wear gloves and work in a well-ventilated area, as resin can be hazardous.
For more on working with different materials, see the plastic 3D printing guide or explore resin 3D printing basics for safety and handling tips.
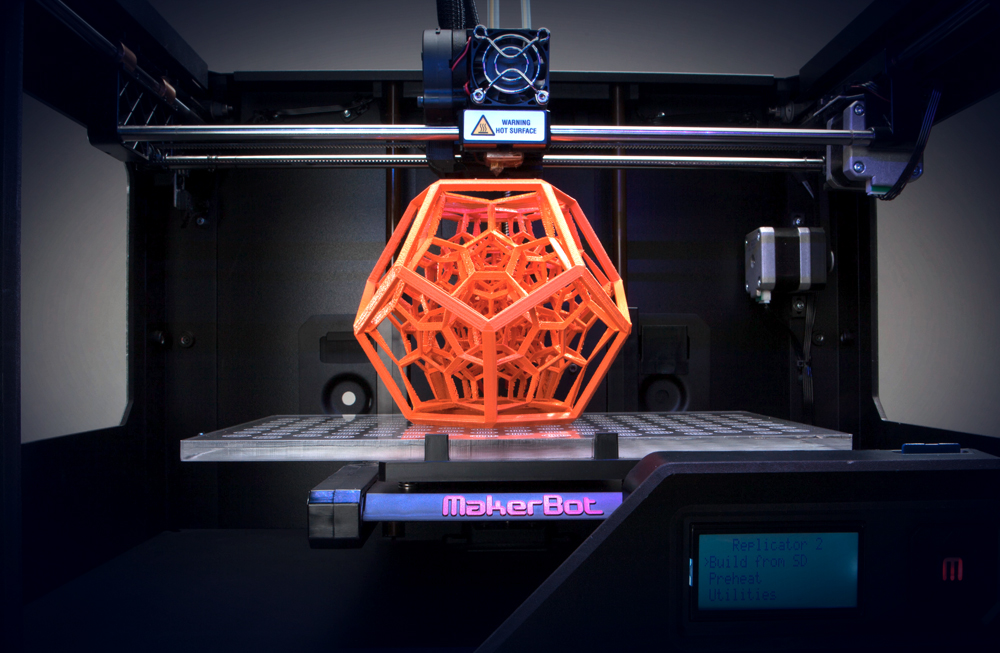
Starting Your First Print: Step-by-Step
With your printer assembled, leveled, and loaded, you’re ready to begin your first print. Most beginners start with a test model provided by the manufacturer, which is pre-sliced and optimized for your machine.
- Insert the SD Card or Connect via USB: Load the test file onto the printer.
- Select the File: Use the printer’s interface to choose the model to print.
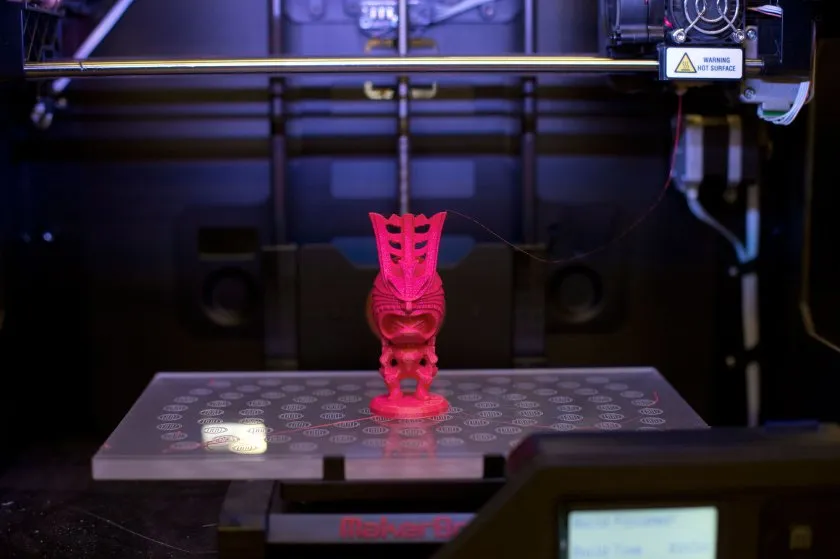
- Monitor the First Layers: Watch the printer as it lays down the first few layers. Good adhesion and even extrusion are signs of a successful setup.
- Let the Print Finish: Avoid disturbing the printer during operation. Once complete, let the bed cool before removing your print.
If you encounter issues such as poor adhesion or stringing, revisit the leveling and calibration steps. For more advanced troubleshooting, consult the manufacturer’s support or explore resources like how 3D printing works for deeper technical insights.
Essential Maintenance and Safety Tips
Regular maintenance keeps your printer running smoothly and extends its lifespan. Here are some fundamental tips for those new to 3D printing:
- Clean the print bed after every use to ensure good adhesion.
- Lubricate moving parts as recommended by the manufacturer.
- Check belts and screws periodically for tightness.
- Store filament in a dry, sealed container to prevent moisture absorption.
- For resin printers, always wear gloves and dispose of waste resin responsibly.
Safety is paramount. Never leave your printer unattended during operation, especially for long prints. Keep your workspace ventilated, and follow all safety guidelines provided with your machine.
Expanding Your 3D Printing Knowledge
Once you’re comfortable with the basics, you can explore more advanced topics such as model design, different printing materials, and specialized techniques. Resources like SLS 3D printing explained and metal 3D printing process offer insights into industrial methods and new possibilities.
For those interested in improving their results, learning about slicing software, print settings, and model optimization will help you achieve higher quality and more reliable prints. Don’t hesitate to join online forums or local maker communities, where you can ask questions and share experiences with other beginners.
Frequently Asked Questions
What tools do I need for a basic 3D printer setup?
Most starter kits include the necessary tools, such as hex wrenches, screwdrivers, and a scraper. Additional helpful items include calipers for measuring, tweezers for removing debris, and a small brush for cleaning.
How long does it take to assemble and calibrate a 3D printer?
Assembly time varies by model, but most beginners can complete setup and calibration in 1–3 hours. Taking your time and following instructions carefully will help ensure a smooth process.
What should I do if my first print fails?
Failed prints are common for newcomers. Double-check bed leveling, filament loading, and print settings. Consult the user manual and online resources for troubleshooting tips, and don’t hesitate to seek advice from experienced users or support forums.
Can I use any filament or resin with my 3D printer?
Always check your printer’s compatibility. Most entry-level FDM printers work with PLA and PETG, while resin printers require specific types of photopolymer resin. Using recommended materials ensures safety and print quality.
Setting up your first 3D printer is a rewarding experience that opens the door to endless creativity and innovation. With careful preparation and attention to detail, you’ll be producing quality prints in no time.